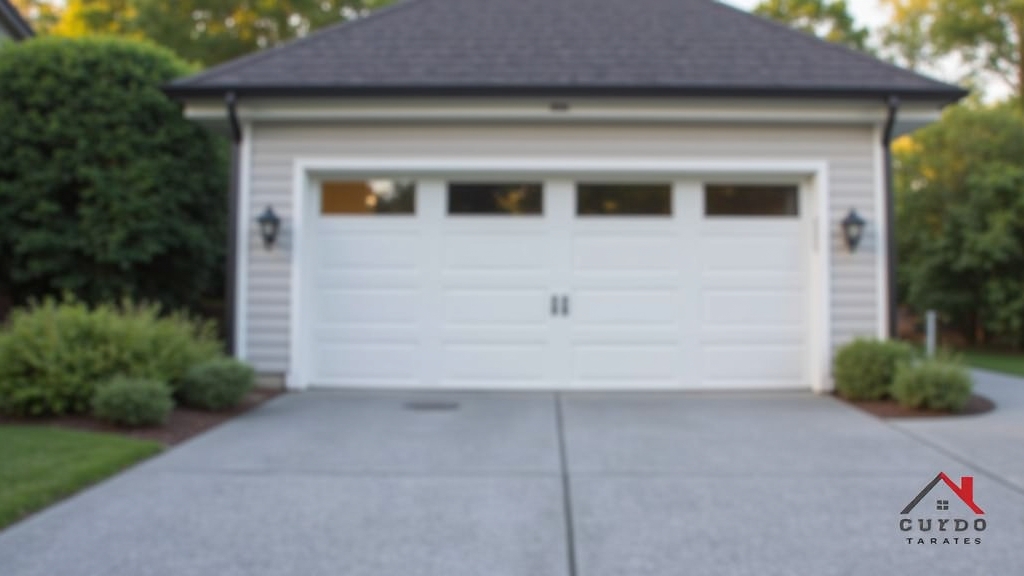
Why Your Garage Door Seal Matters
In most homes, the garage serves as a buffer between the outdoors and the living space. However, many homeowners overlook the thin strip of rubber at the bottom of the door. From experience, a worn-out seal is the primary reason for a cold garage and high energy bills. The real issue usually is not the door itself, but the gap where the door meets the pavement. Over the years, I have learned that a simple bottom seal replacement is one of the most cost-effective ways to improve home comfort.
A failing seal allows more than just cold air inside. It creates an open invitation for mice, spiders, and moisture. By choosing the right garage door weatherstripping, you can create a barrier that keeps your garage dry and your utility costs manageable. This guide breaks down the different types of seals, their costs, and which one will work best for your specific floor condition.
Signs You Need a Replacement
What works best is a quick visual inspection on a sunny day. Close your garage door and stand inside with the lights off. If you see daylight peeking through the bottom, your seal has failed. A common situation is seeing 'checking' or cracks in the rubber. This happens because the material loses its flexibility after years of temperature fluctuations. If you notice puddles after a rainstorm or find small piles of debris near the corners, it is time for a new draft stopper.
The Comparison: Bottom Seal Options
There is no one-size-fits-all solution for garage seals. The best choice depends on your door type and the condition of your concrete floor. Here are the most common options available today.
T-Style Rubber Seals
This is the standard for most modern sectional doors. It features two 'T' shaped edges that slide into a metal track on the bottom of the door. In my experience, these are the easiest to replace for a DIYer. They are typically made of synthetic rubber or vinyl.
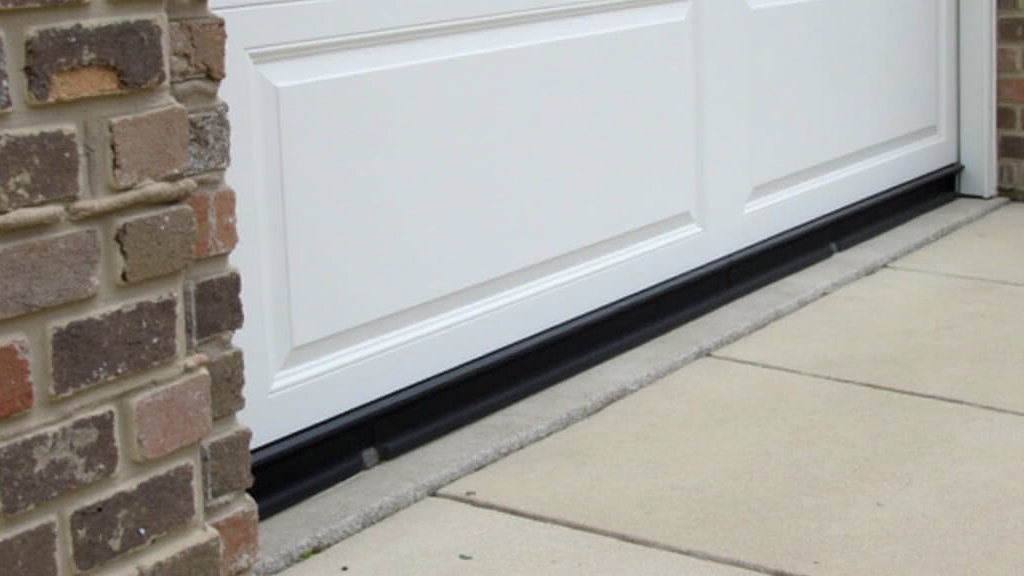
Bulb Seals
Bulb seals look like a circular tube when not compressed. When the door closes, the tube flattens to create a wide surface area of contact. One thing many people overlook is that bulb seals are excellent for doors that don't sit perfectly level. The air-filled chamber compensates for small dips in the concrete.
Bead Seals
Often found on older doors or specific brands like Wayne Dalton, bead seals use a round track rather than a T-track. These are less common at local hardware stores, so you may need to order them specifically. The key thing to remember is to measure the 'bead' diameter before purchasing.
Brush Seals
If pest proofing your garage is your main priority, brush seals are a strong contender. They consist of thousands of stiff nylon filaments. While they aren't as effective at stopping air drafts as rubber, mice find them extremely difficult to chew through. In most homes with heavy rodent pressure, I recommend a combination of a rubber seal and a metal kick plate.
Detailed Pros and Cons
Rubber and Vinyl Seals
- Pros: Excellent air sealing, inexpensive, widely available.
- Cons: Can freeze to the driveway in winter; vinyl can become brittle in extreme cold.
Brush Seals
- Pros: Superior pest proofing, does not freeze to the ground, lasts a long time.
- Cons: Allows more air infiltration than solid rubber; higher initial cost.
Threshold Seals
These are unique because they are glued to the floor rather than attached to the door. What I have found is that these work best when the concrete floor is significantly bowed. They create a 'hump' that the door meets. However, they can make sweeping out the garage more difficult.
Cost Analysis: DIY vs. Pro
The real value in this project comes from the low material cost. If you decide to handle the bottom seal replacement yourself, you are mostly paying for the material and a bit of your time. If you hire a professional, you are paying for the trip charge and labor.
DIY Material Costs
- Standard 16ft T-Seal: $25 - $45
- Heavy-Duty EPDM Rubber: $50 - $80
- Threshold Seal Kit: $60 - $110
- New Aluminum Retainer (if yours is damaged): $40 - $70
Professional Installation Costs
- Service Call Fee: $75 - $150
- Labor (1 hour): $50 - $100
- Markup on Materials: 20% - 30%
- Total Estimated Professional Cost: $150 - $350
From experience, if your metal track (the retainer) is in good shape, this is a 30-minute DIY job that saves you over $200. If the track is bent or rusted, the job becomes more complex and might justify a professional's help.
Best Use Cases for Each Option
Choosing the right seal depends on your environment. In my experience, homeowners often pick based on price, but performance varies by climate.
- For Cold Climates: Use EPDM rubber. It stays flexible down to -40 degrees, preventing the 'stiff seal' that causes doors to reverse when closing.
- For High-Pest Areas: Choose a brush seal or a rubber seal with an integrated stainless steel mesh.
- For Uneven Floors: A large 4-inch or 6-inch U-shape seal provides enough 'squish' to fill gaps up to two inches wide.
- For Flooding Issues: A floor-mounted threshold seal is the best way to divert heavy rain away from the garage interior.
Installation Tips for Success
When you start the replacement, use a bit of dish soap in the track. This acts as a lubricant. One thing many people overlook is that pulling 16 feet of dry rubber through a narrow metal track is nearly impossible without lubrication. Also, always leave an extra inch of material on each end. Rubber shrinks slightly over the first few months. If you cut it flush, you will end up with gaps at the corners by next season.
Final Recommendation
For the average homeowner, I recommend a high-quality EPDM rubber T-style seal. It offers the best balance of draft stopping and durability. If you have an older door with a damaged bottom, consider buying a kit that includes a new aluminum retainer. This allows you to upgrade to a standard T-style seal that will be easy to find and replace in the future. The small investment in a better seal pays for itself in one winter through reduced heating costs and a cleaner garage floor.