In most homes, the garage door represents the largest thermal bridge in the building envelope. It is effectively a giant, thin sheet of metal or wood that conducts outdoor temperatures directly into your home. From experience, homeowners often overlook the garage when winterizing, only to wonder why the bedroom above the garage remains freezing or why the water heater is working overtime.
The Reality of Garage Temperature Control
Before diving into materials, the key thing to remember is that an insulated door is only half the battle. What I have found is that air infiltration—the drafts coming through the gaps at the top, sides, and bottom—often accounts for more heat loss than the panels themselves. However, reducing the radiant heat transfer through the panels is the essential first step to achieving a warm garage in winter.
Overview of Insulation Options
There are three primary ways to approach this project, ranging from budget-friendly weekend DIY tasks to full-scale replacements.
Reflective Foil and Fiberglass Batt Kits
A common situation is finding these kits at big-box retailers. They typically consist of fiberglass batts with a white vinyl or reflective foil facing. These are lightweight and designed to be tucked into the rails of a standard metal garage door.
Rigid Foam Panels
Polystyrene (EPS) or Polyisocyanurate (ISO) panels are cut to fit snugly into the door’s recessed panels. These offer a higher R-value per inch than fiberglass and provide a much cleaner, more professional aesthetic once installed.
Professional Pre-Insulated Doors
If your current door is dented or nearing the end of its 15–20 year lifespan, the real issue usually is that no amount of DIY insulation will match the structural integrity and thermal break of a factory-injected polyurethane door.
Detailed Pros and Cons
DIY Insulation Kits
Pros: Extremely affordable; can be installed in under two hours; requires minimal tools (utility knife and straight edge).
Cons: Lower R-value (typically R-3 to R-6); can look messy if not trimmed perfectly; fiberglass can irritate skin during installation.
Rigid Foam Inserts
Pros: Higher R-value (R-4 to R-9); durable and easy to wipe clean; adds some structural rigidity to the door panels.
Cons: Slightly more expensive; requires precise measuring; can be difficult to fit into doors with non-standard panel shapes.
Factory-Insulated Doors
Pros: Highest R-values (up to R-18); includes thermal breaks that prevent heat from traveling through the metal frame; much quieter operation.
Cons: Significant upfront investment; requires professional installation.
Realistic Cost Breakdown
Over the years, I have learned that homeowners often underestimate the "hidden" costs of DIY, such as adhesive sprays or specialized weatherstripping. Here is how the numbers actually stack up for a standard two-car garage (16' x 7'):
- Fiberglass Batt Kits: $75 – $150. These are the most budget-friendly, but you often need two kits for a double door.
- Rigid Foam DIY: $120 – $250. This depends on whether you buy a pre-cut kit or buy 4x8 sheets of foam and cut them yourself.
- Professional Retrofit: $400 – $600. This includes labor and higher-quality materials installed by a technician.
- New Insulated Door: $1,500 – $3,500. This is a capital improvement that adds to the home's resale value.
One Thing Many People Overlook: The Springs
One thing many people overlook is the weight. Garage doors are balanced by high-tension springs. When you add insulation, you are adding weight. While a few pounds of foam might not seem like much, it can be enough to throw the door out of balance. In my experience, if the door doesn't stay halfway open when disconnected from the opener, you need to have a professional adjust the spring tension. Ignoring this will burn out your garage door opener motor prematurely.
Best Use Cases for Each Solution
Use a DIY Kit if: You are on a tight budget and simply want to take the "edge" off the cold so you can get from your car to the house without a parka.
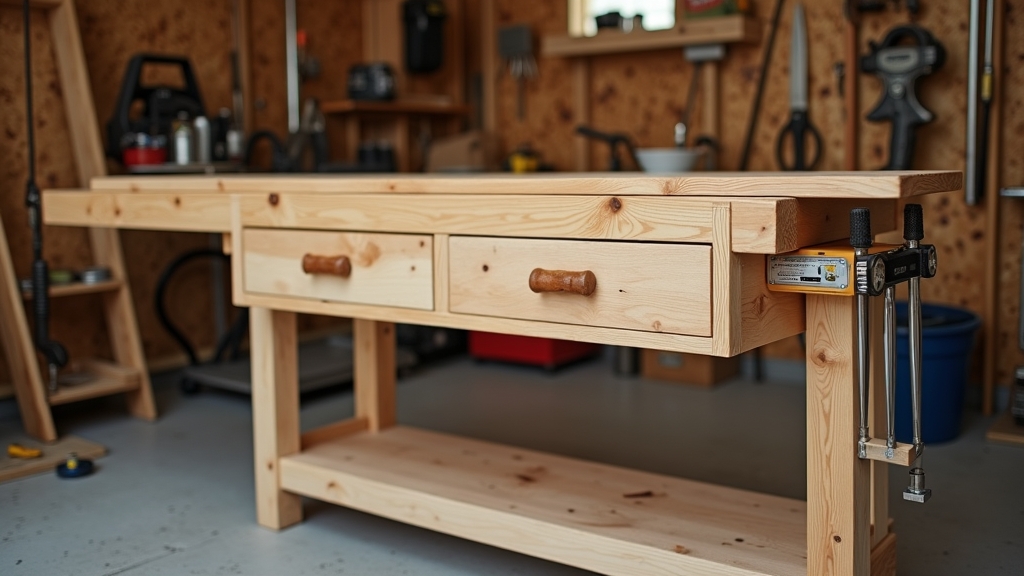
Use Rigid Foam if: You use your garage as a workshop, gym, or hobby space. The increased R-value and durability are worth the extra $100.
Replace the Door if: The door is damaged, or if the garage is attached to the house and has a bedroom directly above it. The noise reduction and thermal efficiency of a polyurethane-filled door are transformative for the living space above.
Final Recommendation
What works best for 90% of homeowners is a high-quality rigid foam insulation kit paired with a complete weatherstripping overhaul. Don't just insulate the panels; replace the bottom rubber seal and install vinyl jamb seals around the exterior perimeter. This combined approach offers the best ROI, keeping the garage 10-15 degrees warmer in the winter and significantly cooler in the summer for a total investment of under $300.