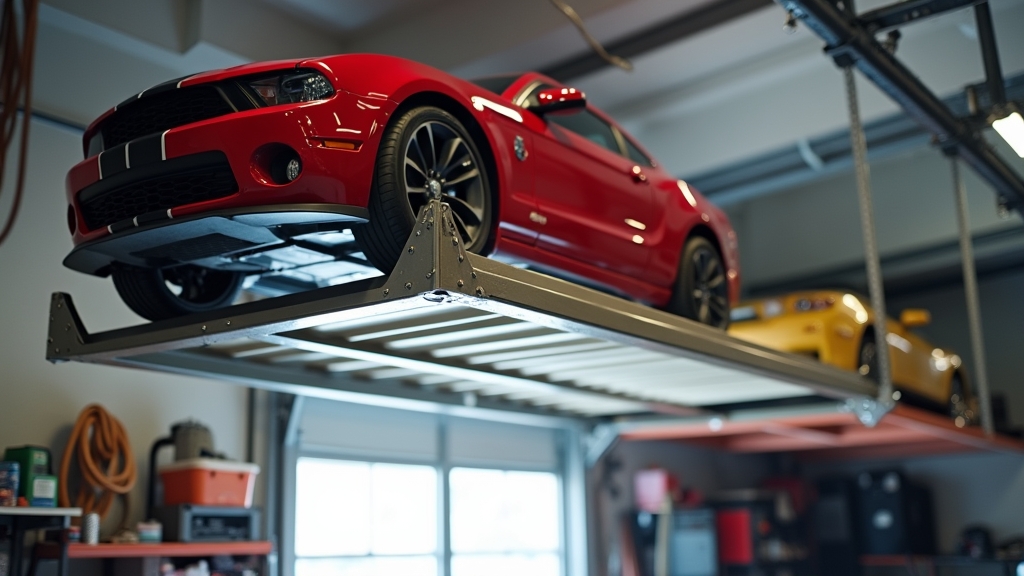
Reclaiming the Dead Space: The Overhead Storage Advantage
In my years managing properties, I’ve seen garages transformed from cluttered chaos into streamlined workspaces simply by looking up. The ceiling is the most underutilized square footage in your home. By installing overhead racks, you maximize garage space while keeping the floor clear for what actually belongs there: your vehicles. However, here is the thing: a poorly installed rack isn't just a nuisance; it’s a structural hazard waiting to happen. This guide covers how to do it right the first time, ensuring your storage solution lasts as long as your home.
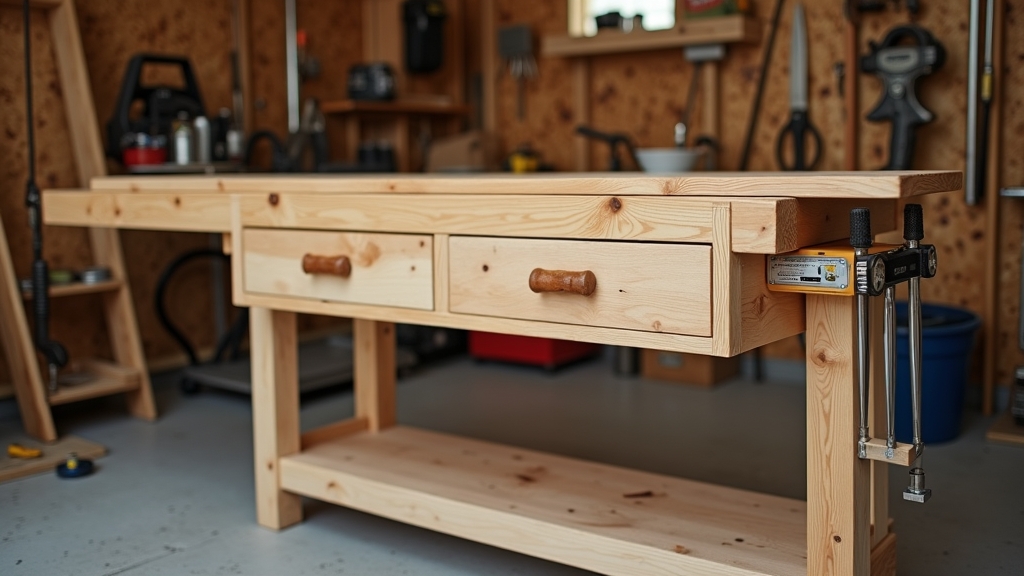
Tools and Materials Needed
Don't settle for the basic toolkit. To ensure these racks stay put under heavy loads, you need the right gear. Worth mentioning is that an impact driver is far superior to a standard drill for this job.
- High-quality Stud Finder: Look for one with 'deep scan' capabilities to penetrate thick garage drywall.
- Impact Driver: Essential for driving heavy-duty lag bolts without stripping heads.
- Chalk Line or Laser Level: For ensuring brackets are perfectly aligned across multiple joists.
- Socket Wrench Set: Specifically for tightening the frame bolts.
- Step Ladders: Two ladders are better than one, especially when positioning the main rails.
- Tape Measure and Painter's Tape: For marking layout without ruining ceiling paint.
- Safety Gear: Eye protection is non-negotiable when drilling overhead.
Preparation: The Step Most People Skip
What most people miss is checking the 'path of travel' for their garage door. Before you even buy a rack, open your garage door and measure the clearance. Now, the important part: you need at least 2 inches of clearance between the highest point of the garage door and the bottom of your intended rack. On the other hand, consider your lighting. Don't install a massive 4x8 rack directly under your only light source unless you plan on rewiring the space.
Identifying Your Joists
This is where it gets interesting. Most garage joists run either 16 or 24 inches on center. You must determine the direction they run before planning your layout. If your ceiling is finished with drywall, use a stud finder to locate the edges of the joist, then find the center. Pro tip: Use a small finishing nail to poke through the drywall and verify the joist's exact edges before you drill your primary pilot holes.
Step-by-Step Installation Instructions
Step 1: Layout and Marking
Once you’ve identified your joist direction, mark the ceiling for your corner brackets. Use a chalk line to snap a straight line across the joists. This ensures your rack sits square. If your rack is 4x8, your mounting brackets will likely span three or four separate joists for maximum weight distribution.
Step 2: Drilling Pilot Holes
Never drive a lag bolt into a joist without a pilot hole. Doing so can split the wood, compromising the structural integrity of your ceiling. Use a bit that is slightly smaller than the shank of the lag bolt. The good news is that most kits tell you the exact bit size required—usually 3/16".
Step 3: Installing Ceiling Brackets
Mount your primary ceiling brackets using the provided lag bolts. Ensure the bolt is centered in the joist. If you miss the center, the bolt might feel tight initially but could pull out under a full load. Tighten until the bracket is flush against the ceiling, but don't over-torque to the point of crushing the drywall.
Step 4: Assembling the Downbeams and Frame
Attach the vertical support arms to the ceiling brackets. Something to keep in mind: height adjustability is your friend, but the higher the rack, the more stable it will be. Once the verticals are in, bolt the horizontal frame members together. Keep the bolts slightly loose until the entire frame is assembled to allow for minor adjustments.
Step 5: Laying the Wire Decking
Drop the wire mesh panels into the frame. Most professional-grade racks have a 'locking' mechanism or require a few small screws to keep the decking from shifting. Ensure the decking sits flat. If it doesn't, your frame is likely out of square.
Lessons Learned: Common Mistakes to Avoid
Over the years, I’ve seen several recurring failures. First, don't overload the center of the rack. Even the best ceiling storage units have a weight limit (typically 300-600 lbs). Distribute weight evenly, placing the heaviest bins directly over the vertical supports. Second, avoid mounting racks to 'engineered' I-joists without checking the manufacturer’s specs. These joists have very specific drilling zones, and hitting the wrong spot can weaken your home's structure.
Tips for Best Results
- Use Clear Tubs: Don't guess what is up there. Clear plastic bins with labels facing outward save you from climbing a ladder unnecessarily.
- Check Lag Bolts Annually: Vibrations from the garage door can loosen hardware over years. Give them a quick check during your spring cleaning.
- The 'Nudge' Test: Once installed, give the rack a firm shake. There should be zero play at the ceiling connection.
Troubleshooting Common Issues
The Joists Aren't Where They Should Be
In some older homes, joists aren't perfectly spaced. If your rack brackets don't align with your joists, you may need to install 'blocking' or a 2x4 header across two joists first, then mount the rack to the header. This is a common fix that provides a rock-solid foundation.
The Rack Sways Side-to-Side
If your rack feels unstable, check the vertical supports. Most swaying is caused by bolts that aren't tightened enough or by installing the rack at its maximum vertical extension without using a sway brace (often sold separately or easily DIY-ed with a piece of angle iron).