Mastering Mower Storage: Protect Your Investment This Winter
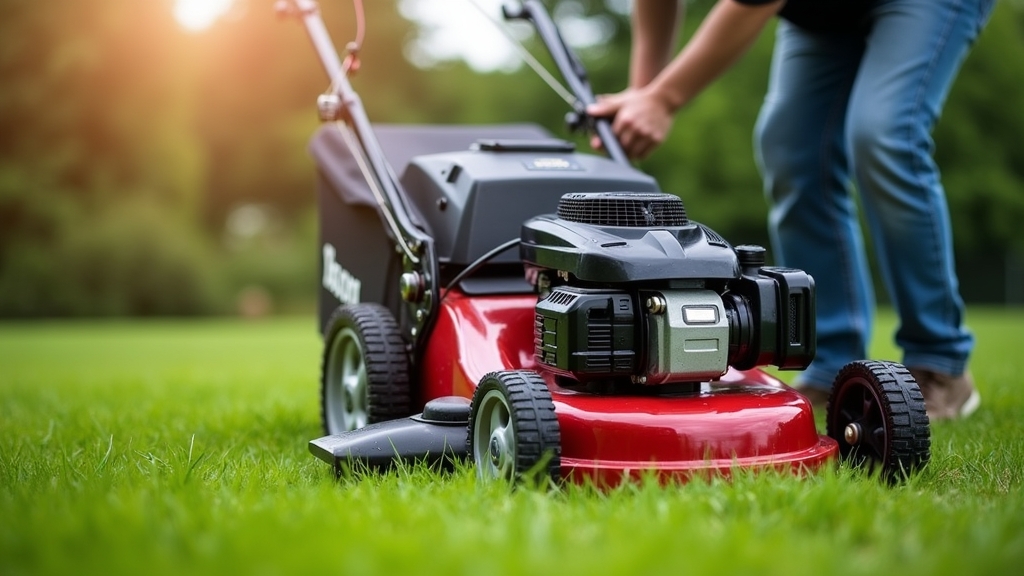
After 15 years of maintaining my own gear, I’ve learned that the first warm day of spring is either a celebration or a repair bill. How you handle your mower storage in the fall dictates which one you'll get. In the garage equipment storage world, neglect is the most expensive mistake you can make. This guide breaks down the critical steps of winterizing lawn equipment and helps you decide whether to tackle the job yourself or call in the pros.
The DIY Approach: Hands-On Winterization
Taking the DIY route for winterizing lawn equipment isn't just about saving money; it’s about understanding the machine you rely on. If you are mechanically inclined, this process takes about 90 minutes and ensures you know the exact condition of your mower.
Fuel System Management
The biggest culprit of spring engine failure is degraded fuel. Modern gasoline contains ethanol, which attracts moisture and turns into a corrosive varnish over three months. You have two DIY options: run the tank dry or use a high-quality fuel stabilizer. I prefer adding stabilizer to a full tank of fresh gas. It prevents air (and moisture) from entering the tank and keeps seals from drying out. After adding the stabilizer, run the engine for five minutes to ensure the treated fuel reaches the carburetor.
The Undercarriage Deep Clean
Small details matter here. Dried grass clippings trap moisture against the metal deck, leading to rust and eventual structural failure. Disconnect the spark plug wire first—safety is paramount. Tilt the mower (air filter side up) and scrape the deck with a putty knife. A clean deck ensures better airflow and a cleaner cut next season. Trust your instincts on this one; if it looks like there's caked-on mud, get it off now before it hardens into concrete over the winter.
Oil, Spark Plugs, and Filtration
Change the oil while the engine is still warm from your fuel-stabilizing run. Warm oil flows better and carries more contaminants out with it. Replace the air filter—a clogged filter makes the engine work harder and run hotter. Finally, remove the spark plug and spray a small amount of fogging oil into the cylinder to prevent internal corrosion. Install a new plug, but leave the lead disconnected.
The Professional Service Route: When to Delegate
Professional winterization services often go beyond a simple oil change. Most local shops offer "Winter Tune-Up" packages that include pickup and delivery, which is a lifesaver if you don't own a trailer or a truck.
What Pros Do Differently
A professional technician has access to tools most homeowners don't, such as ultrasonic cleaners for carburetors and commercial-grade blade balancers. They will check the RPM settings, inspect belts for hairline fractures, and grease all zerk fittings on the mandrels. For complex machines like zero-turn mowers or those with electronic fuel injection (EFI), a professional scan can catch sensor issues before they strand you in June.
Detailed Pros and Cons
DIY Winterization
- Pros: Immediate cost savings; no transport logistics; complete control over parts quality (e.g., using synthetic oil); builds mechanical confidence.
- Cons: Messy (disposable of old oil); requires specific tools (torque wrench, blade sharpener); time-consuming for beginners.
Professional Service
- Pros: Comprehensive safety inspection; professional blade sharpening; convenient pickup/delivery; documented service history (better resale value).
- Cons: Higher cost ($150-$300+); long lead times in late autumn; potential for upselling unnecessary repairs.
Cost Comparison: DIY vs. Pro
It is worth doing right the first time, regardless of the cost. Here is how the numbers typically break down for a standard walk-behind mower:
- DIY Cost: Approximately $40–$60. This includes a quart of oil ($10), a new spark plug ($5), an air filter ($15), and a bottle of fuel stabilizer ($10). You’ll also need to factor in your time.
- Professional Cost: $125–$200 for walk-behinds; $250–$500 for riding mowers. This usually includes labor, parts, and a basic cleaning.
Best Use Cases for Each Option
Choose DIY If:
You have a standard push mower, own basic hand tools, and enjoy the satisfaction of maintenance. It’s the best choice for those with limited budgets who want to ensure their garage equipment storage is handled meticulously.
Choose Professional If:
You own a high-end zero-turn or a tractor with a complex deck. If your mower had performance issues during the summer (surging, smoking, or poor cut quality), a pro can diagnose the root cause while winterizing. It's also the right move if you lack the physical ability to tilt and maneuver heavy machinery.
Final Recommendation: My Veteran Perspective
Take your time with this decision. For most homeowners with a basic gas mower, DIY is the way to go. It forces you to look at the machine, noticing things like a loose belt or a fraying pull-cord before they fail. However, every three years, I recommend taking even a DIY-maintained mower to a pro for a "deep" service to check timing and valve clearances. Proper mower storage isn't just a chore; it’s an insurance policy for your lawn’s future success.