The Dark Side of the Modern Garage
We have all been there: you are trying to finish a weekend project or simply locate a specific tool, but you are squinting under the flickering, yellow haze of a humdrum fluorescent tube. Here is the thing... most garages are treated as an afterthought when it comes to lighting design. We focus on the landscaping and the curb appeal, but once we step inside the workshop, we are essentially working in a cave.
Poor workshop illumination isn't just a matter of aesthetics; it is a safety hazard and a productivity killer. When you cannot see your marks on a piece of lumber or the small components of an engine, frustration sets in. The good news is that upgrading to bright garage lighting through LED technology is one of the most transformative DIY projects you can undertake.
Root Causes: Why Your Current Lighting is Failing
Before we jump into the fix, it is important to understand why your current setup feels so inadequate. Most builder-grade garages come equipped with a single porcelain light socket or a pair of cheap T12 fluorescent fixtures. These systems suffer from several inherent flaws:
- Lumen Depreciation: Fluorescent bulbs lose a significant percentage of their brightness within the first year of use.
- Temperature Sensitivity: If you live in a climate where it gets cold, you know that fluorescent lights take forever to warm up, often flickering or buzzing in the winter.
- Poor Color Rendering: Traditional bulbs often have a low Color Rendering Index (CRI), making it difficult to distinguish between colors or see fine details.
- Shadow Creation: Single-source lighting creates deep shadows, which is the enemy of any precision work.
This is where it gets interesting... many homeowners try to solve this by simply putting a higher-wattage bulb in a single socket. This doesn't solve the shadow problem and can actually lead to garage electrical strain if the fixture isn't rated for the heat.
Immediate Steps: The Quick Switch to LED
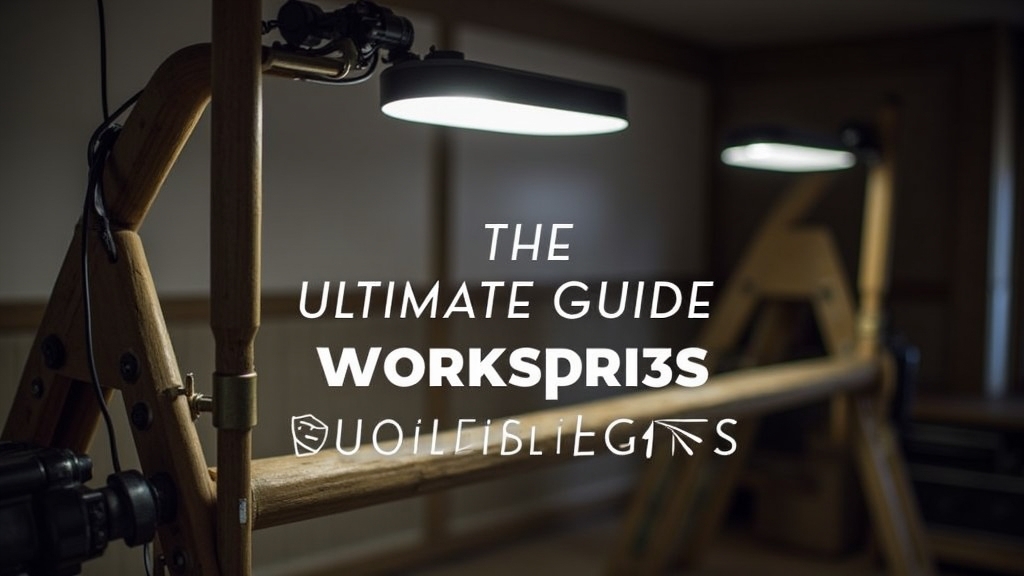
If you need better light today, you don't necessarily have to rewire your entire ceiling. The first step is often swapping out old bulbs for LED retrofits. However, for a long-term solution, you want to look at LED linkable lights. These fixtures allow you to connect multiple units together from a single power source.
Choosing the Right Lumens and Color Temperature
When shopping for bright garage lighting, stop looking at watts and start looking at lumens. For a standard workshop, you should aim for approximately 60 to 100 lumens per square foot. Now, the important part... is the color temperature. For a workspace, you want 'Daylight' or 'Cool White' (4000K to 5000K). This mimic natural light and keeps your brain alert during detailed tasks.
Long-Term Prevention: Designing a Permanent Lighting Grid
A truly professional workshop doesn't just have bright lights; it has distributed light. What most people miss... is the layout. Instead of one massive light in the center, you want a grid that eliminates shadows from every angle.
The Benefits of Linkable Systems
Using LED linkable lights is the secret weapon of the modern garage. Most high-quality LED shop lights allow you to daisy-chain up to 4 or 6 fixtures together. This means you only need one outlet on the ceiling to power an entire row of lights. It keeps your garage electrical setup clean and reduces the need for messy extension cords.
Strategic Placement for Maximum Efficiency
Consider placing lights directly over your workbenches. If you have a garage door opener, ensure the lights are positioned so that the door doesn't block them when it is open. Worth mentioning... is the height of your ceiling. If you have high rafters, you might need 'High Bay' LEDs which are designed to throw light further down to the floor level.
When to Call a Professional for Garage Electrical Work
While hanging LED linkable lights is often a DIY task, there are times when you need to call in a licensed electrician. Something to keep in mind... is the load on your existing circuits. If you are adding 10-12 high-output fixtures, or if you are planning on running heavy machinery (like a table saw or air compressor) at the same time as your lights, you might trip a breaker.
Signs You Need an Electrician:
- Your circuit breaker trips frequently when the lights are turned on.
- You have no existing ceiling outlets and are currently using 'screw-in' outlet adapters (which are often against fire code).
- You want to install a dedicated 20-amp circuit for your workshop tools.
- You notice flickering that persists even after upgrading to LEDs, which could indicate a grounding issue.
On the other hand... if your garage is already wired with several outlets on the ceiling controlled by a wall switch, the upgrade is as simple as mounting the brackets and plugging in the links.
The Investment in Quality
Ultimately, upgrading your workshop illumination is an investment in your home's value and your own well-being. LED lights last 25,000 to 50,000 hours, meaning you likely won't have to climb a ladder to change a bulb for the next 15 to 20 years. That peace of mind, combined with a workspace that feels professional and safe, makes this upgrade a no-brainer for any homeowner.