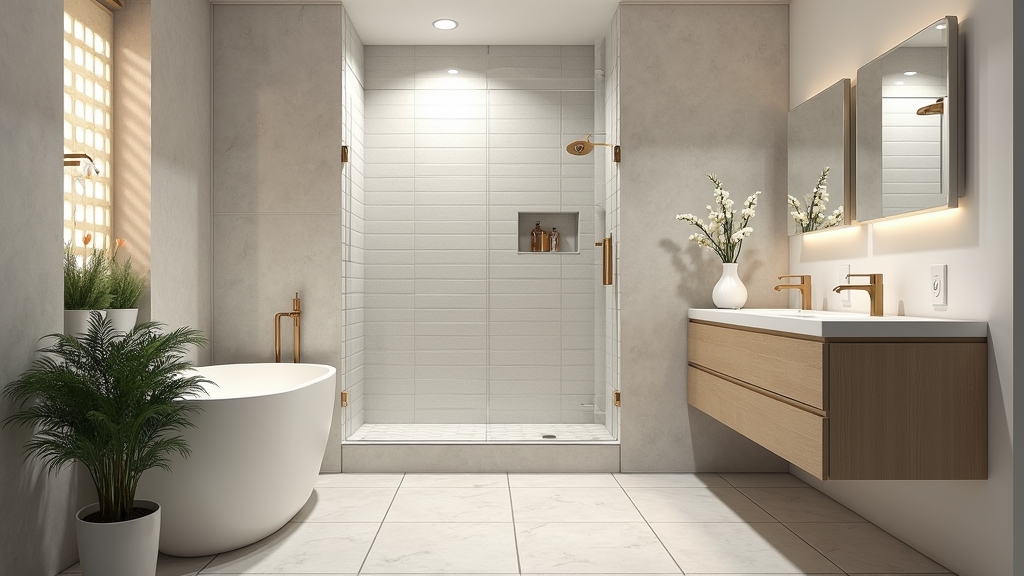
Why a Bidet Attachment is the Smartest Bathroom Upgrade
In my years of managing properties, I’ve seen countless bathroom 'upgrades' that end up being more trouble than they are worth. However, the bidet attachment is one of those rare exceptions. It is a low-cost, high-impact addition that improves hygiene and reduces plumbing strain from excess paper usage. Here is the thing: you don't need a professional plumber to get this done, but you do need to follow a specific sequence to avoid the most common headache in my industry—water damage.
What most people miss is that a bidet installation isn't just about bolting a plastic plate under a seat; it’s about managing your home's water pressure and ensuring every seal is watertight for the long haul. This guide will walk you through the process of a bathroom plumbing DIY that transforms your daily routine in under thirty minutes.
Essential Tools and Materials
Before you start, gather everything you need. There is nothing worse than having your toilet disassembled only to realize you’re missing a specific wrench. Most bidet kits are 'all-inclusive,' but as someone who has fixed dozens of these, the tools included in the box are often flimsy. Having your own gear makes a world of difference.
- Adjustable Wrench: A medium-sized crescent wrench is best for the T-valve and supply line.
- Screwdriver: Usually a flat-head or Phillips, depending on your toilet seat bolts.
- Plumber’s Tape (Teflon Tape): This is your best friend for preventing micro-leaks.
- A Small Bucket and Towels: You will always have a little residual water in the lines; be ready for it.
- The Bidet Kit: This includes the main unit, a T-valve adapter, and a flexible braided hose.
Preparation: Setting the Stage for Success
Now, the important part of any plumbing project is preparation. You aren't just working on a toilet; you’re interacting with the main water pressure of your home. Worth mentioning is the condition of your shut-off valve. If your home is older and that valve looks corroded or hasn't been turned in a decade, be gentle. If it feels stuck, don't force it with a heavy wrench—that's how you snap a pipe inside the wall.
First, clear the area around the toilet. You need space to move. Lay down a towel directly under the water intake to catch the inevitable drips. This isn't just for cleanliness; it helps you see exactly where a leak might be coming from later during the testing phase.
Step-by-Step Bidet Attachment Installation
Step 1: Shut Off the Water
Locate the silver oval handle behind the toilet. Turn it clockwise until it stops. Once it’s off, flush the toilet and hold the handle down. You want to drain as much water as possible from the tank. If the tank starts refilling, the valve isn't fully closed. Something to keep in mind: if your shut-off valve fails to stop the water entirely, you may need to briefly turn off the main water line to the house.
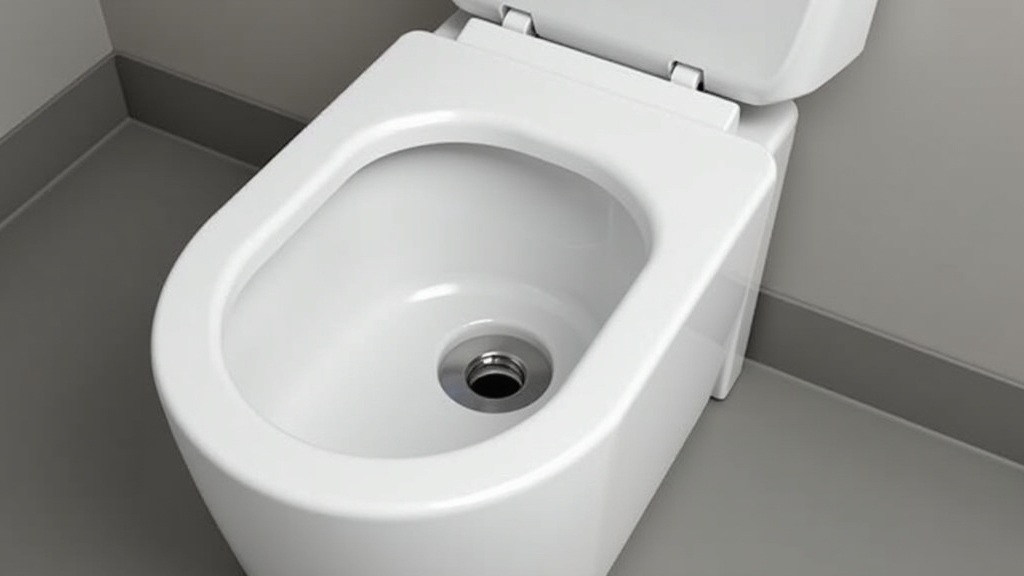
Step 2: Remove the Toilet Seat
Pop the plastic covers at the back of your toilet seat. Use your screwdriver to hold the bolt in place while you reach underneath to unscrew the plastic nuts. Once the bolts are out, lift the seat off and set it aside. This is also a great time to deep-clean those hard-to-reach areas that haven't seen the light of day since the toilet was installed.
Step 3: Install the T-Valve
This is where it gets interesting. Unscrew the flexible supply line from the bottom of the toilet tank. There will be a bit of water left in the line, so keep your bucket or towel handy. Take your T-valve (the metal or plastic T-shaped piece from your kit) and screw it onto the threaded shank at the bottom of the toilet tank. What most people miss: ensure the rubber washer is seated flat inside the T-valve. If it’s cockeyed, it will leak no matter how hard you tighten it.
Step 4: Connect the Hoses
Now, connect your original water supply line to the bottom of the T-valve. Then, take the thin, braided bidet hose and connect one end to the side of the T-valve and the other end to the bidet attachment itself. Hand-tighten everything first. Use your wrench for an extra quarter-turn, but don't overdo it. Modern plumbing fixtures use plastic threads that can easily crack under too much torque.
Step-5-reattach-the-seat
Place the bidet attachment over the bolt holes on the toilet bowl. Align the nozzles so they are centered. Place the toilet seat back on top, lining up the holes of the seat, the bidet, and the bowl. Reinsert the bolts and tighten the nuts underneath. Ensure the bidet is straight before you do the final tightening; otherwise, the spray angle will be off.
Pro Tips for a Lasting Install
The good news is that most installations go smoothly, but as a property manager, I always look for ways to make fixes permanent. On the other hand, if you rush it, you'll be dealing with a slow drip that ruins your subfloor. Always use Teflon tape on metal-to-metal connections. Wrap the tape clockwise around the threads so it doesn't unspool when you screw the nut on.
Another tip: check your toilet seat bumpers. Because the bidet attachment adds about a quarter-inch of height to the back of the seat, there might be a gap at the front. If the seat flexes too much when you sit down, it can crack the bidet unit. You can buy adhesive seat bumpers to level things out and prevent the plastic from stressing over time.
Troubleshooting Common Issues
If you turn the water back on and hear a hiss or see a drip, don't panic. Usually, it’s a simple fix. Most leaks happen at the T-valve connection. If it’s dripping from the top of the T-valve, the connection to the tank isn't square. Loosen it, realign it, and try again. This is where it gets interesting: sometimes the leak isn't from your work, but from the old supply line. Moving those old lines can cause the internal seals to fail. If you see water coming from the nut at the wall, it’s time to replace the supply line entirely.
If the water pressure is too high, check the side of your bidet. Many models have a pressure control dial. If yours doesn't, you can partially close the main wall valve to throttle the flow, though this is a temporary fix. A better solution is a T-valve with a built-in shut-off lever that allows you to manually adjust the pressure going to the bidet specifically.
Final Thoughts
Installing a bidet is a weekend project that pays dividends in comfort and sustainability. By following these steps and respecting the plumbing, you’ll have a professional-grade setup that lasts for years. Remember, the key is in the details—the washers, the alignment, and the gentle touch with the wrench.