When we think about energy efficiency and home optimization, we often look at insulation or HVAC systems. However, a cluttered home is an inefficient home. A well-organized bedroom closet doesn't just save you time in the morning; it allows for better airflow, prevents the accumulation of dust-trapping clutter, and adds significant value to your property. Transforming a wire-racked mess into a custom wood shelving system is one of the most rewarding 'quick fix' projects you can undertake.
Take your time with this. While the physical assembly might only take a few hours, the planning and precision you put in now will ensure the system lasts for decades. It is worth doing right the first time, as wood is a sustainable, sturdy material that—unlike plastic alternatives—won't sag or snap under pressure.
The Closet Makeover Vision
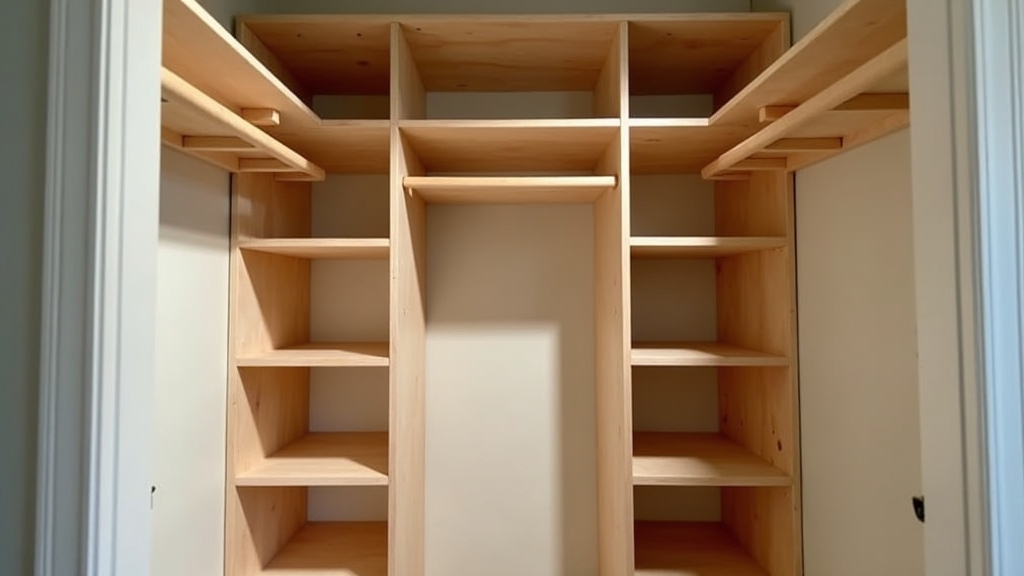
The goal of this project is to replace flimsy, generic storage with a custom closet organizer tailored to your specific needs. By using wood, you are opting for a renewable resource that provides a high-end look without the high-end price tag of a professional installation. We will focus on a simple cleat-and-shelf design that is both structurally sound and beginner-friendly.
Tools and Materials Needed
Before you head to the hardware store, double-check your inventory. Having the right tools on hand prevents mid-project frustration and ensures cleaner cuts.
Essential Tools
- Circular Saw or Miter Saw: For precise cuts on your boards.
- Power Drill/Driver: For securing cleats and shelves.
- Stud Finder: Crucial for structural integrity.
- Level (at least 2 feet): Small details matter here; a level shelf is a functional shelf.
- Tape Measure: Accuracy is everything.
- Kreg Jig (Optional): For hidden pocket hole joins.
Materials List
- 1x12 Common Board or Plywood: This will be your main shelving material.
- 1x2 Pine Strips: These serve as the "cleats" that hold the shelves up.
- 2.5-inch Wood Screws: To secure cleats into wall studs.
- 1.25-inch Wood Screws: To secure shelves to cleats.
- Wood Glue: For extra durability.
- Sandpaper (120 and 220 grit): For a professional finish.
- Paint or Wood Stain: To match your bedroom aesthetic.
Preparation Steps
Do not rush the process of preparation. A successful DIY closet makeover is 70% planning and 30% execution. Start by emptying the closet completely. This is a great time to donate items you no longer use, reducing the load on your new system.
Measuring and Mapping
Measure the width of your closet back wall and the depth of the side walls. Note that most walls are not perfectly square. Measure at the top, middle, and bottom, and use the smallest measurement to ensure your shelves fit. Trust your instincts on this one; if a wall looks bowed, measure it twice.
Finding the Studs
Use your stud finder to locate the vertical framing members behind the drywall. Mark these clearly with a pencil. Your shelves must be anchored to these studs to support the weight of heavy coats or storage bins. Failing to hit studs is the most common reason for shelf failure.
Step-by-Step Instructions
Step 1: Cut the Cleats
Using your 1x2 pine strips, cut three pieces for each shelf: one for the back wall and two for the side walls. The back cleat should be the width of the shelf minus the thickness of the side cleats. Sand the edges to remove any splinters.
Step 2: Install the Cleats
Start with the back cleat. Align it with your level line and screw it into the studs using your 2.5-inch screws. Once the back cleat is secure, install the side cleats. Check for level across the entire span. It is worth doing right the first time—a shelf that is even slightly tilted will cause items to slide or look unprofessional.
Step 3: Cut the Shelving
Measure the distance between your side walls once more. Cut your 1x12 boards to this length. If you are using plywood, you may want to apply edge banding to the front for a more finished look. Sand the surface of the wood thoroughly, starting with 120 grit and finishing with 220 grit.
Step 4: Mount the Shelves
Place the shelf board on top of the installed cleats. It should fit snugly. To prevent the shelf from shifting, drive 1.25-inch screws through the top of the shelf into the cleats. Pre-drilling pilot holes here is essential to prevent the wood from splitting.
Step 5: Finishing Touches
Fill screw holes with wood filler, sand them smooth, and apply your choice of paint or stain. If you want an eco-friendly option, look for Low-VOC (Volatile Organic Compound) paints. These are better for your indoor air quality, especially in a confined space like a closet.
Tips for Best Results
- Maximize Vertical Space: Don't stop at eye level. Install wood shelving all the way to the ceiling for seasonal storage.
- Ventilation: Leave a small gap (about 1/4 inch) at the back of shelves if you live in a high-humidity area to promote airflow and prevent mildew.
- Consistent Spacing: Use a spacer block (a scrap piece of wood cut to the desired height between shelves) to ensure every shelf is perfectly equidistant without constant measuring.
- Lighting: Consider adding battery-operated LED motion lights. They are energy-efficient and make finding items much easier.
Troubleshooting Common Issues
The wall isn't square: If your shelf won't slide in because the side walls are tighter at the front than the back, use a hand plane or orbital sander to shave down the edges of the shelf board until it fits.
Missed a stud: If you absolutely cannot find a stud where you need one, use heavy-duty toggle bolts. However, for a custom closet shelves system intended to hold weight, always prioritize stud placement.
Wood splitting: This usually happens when you don't pre-drill. Always use a drill bit slightly smaller than your screw to create a path for the hardware.
Summary
A DIY closet organizer made of wood is a sustainable investment in your home's functionality. By following these steps and focusing on the small details, you create a system that is far superior to store-bought kits. Remember: take your time, measure twice, and enjoy the satisfaction of a beautifully organized space.