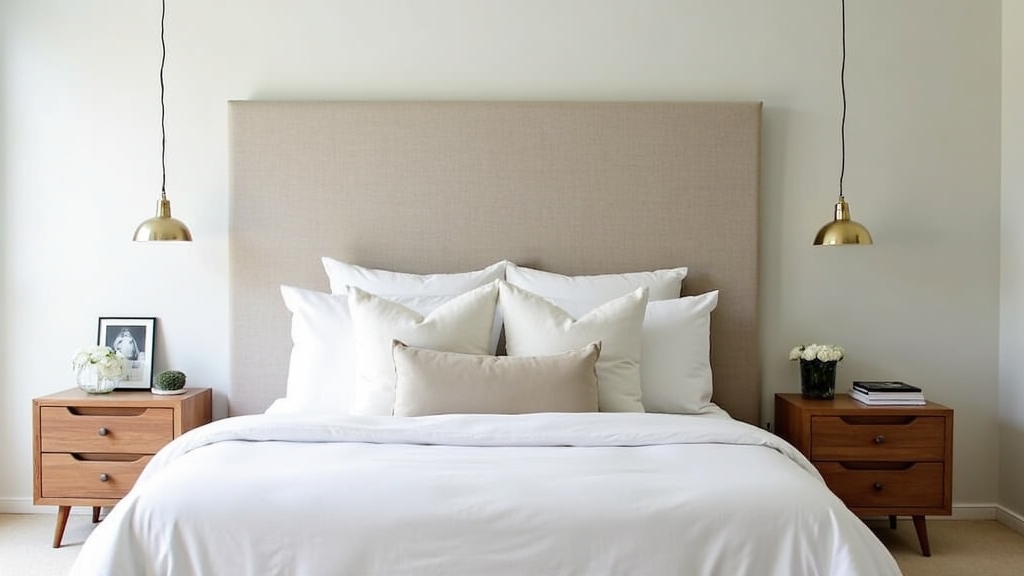
In most homes, the bedroom is the one place where we truly want to express our personal style, yet it is often the last room to get a professional makeover. From experience, the bed is the undisputed focal point of the room, and nothing elevates it quite like a headboard. However, high-end furniture stores often charge a premium for modern designs. What I have found is that you can achieve that high-end, 'floating' aesthetic for a fraction of the cost using basic tools and materials from your local hardware store.
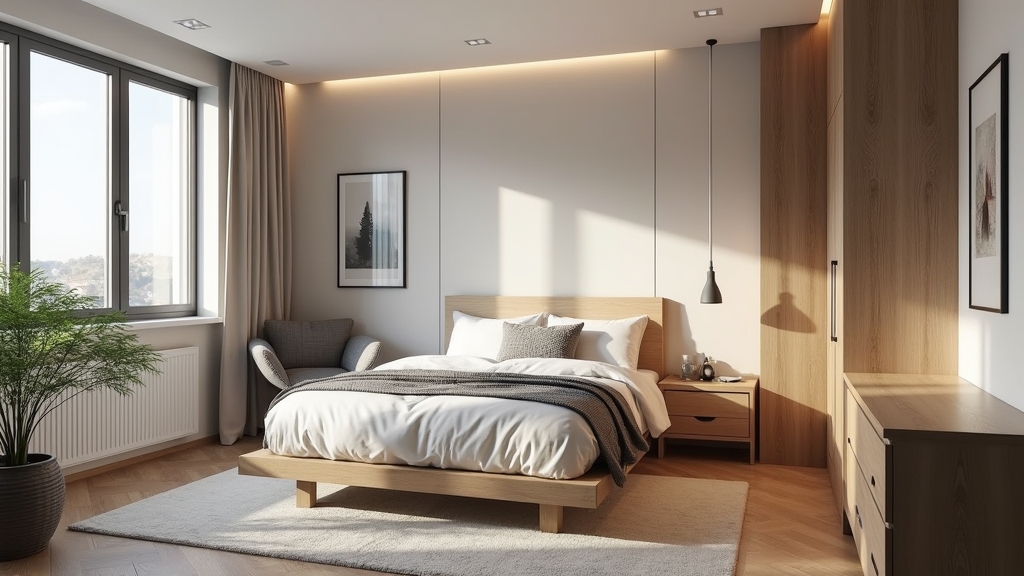
A floating headboard is a fantastic DIY headboard project because it clears up floor space, creates a sleek profile, and allows for integrated features like lighting or shelving. In my experience, what works best for a 'Quick Fix' is a wall-mounted design using a French cleat. This method is secure, professional-looking, and surprisingly easy to execute even if you aren't a master woodworker.
Essential Tools and Materials
Before you start sawdust-making, you need to gather your supplies. A common situation is starting a project only to realize you’re missing a specific drill bit or enough wood glue. To avoid that, here is your definitive list for a standard Queen-sized floating headboard (60 inches wide).
Materials
- Wood: One 4' x 8' sheet of 3/4" plywood (Oak, Birch, or Walnut veneer works best for a modern look).
- Edge Banding: To hide the raw plywood edges.
- French Cleat Kit: A heavy-duty aluminum or wooden cleat rated for at least 50 lbs.
- Wood Stain or Paint: Choose a finish that complements your existing furniture.
- Sandpaper: 120, 180, and 220 grit.
- Wood Glue: For extra durability.
- Wall Anchors/Screws: Specifically for your wall type (drywall vs. studs).
Tools
- Circular saw or table saw.
- Power drill and driver set.
- Level (at least 2 feet long).
- Measuring tape and pencil.
- Iron (for heat-activated edge banding).
- Stud finder.
Preparation and Planning
Over the years, I have learned that the key thing to remember is that preparation is 80% of the work. One thing many people overlook is the height of the mattress. You don't want your headboard to start so high that there is a gap between the mattress and the board, or so low that your pillows completely hide your hard work.
Measure the width of your bed frame. For a modern bedroom look, I usually suggest making the headboard the exact width of the mattress or extending it 2 inches on either side for a more substantial feel. Standard heights range from 24 to 36 inches. Once you have your dimensions, sketch out your cut list.
Step-by-Step Instructions
Step 1: Cutting Your Plywood
Using your circular saw and a straight edge guide, cut your plywood sheet to your desired dimensions. If you don't own a saw, many big-box hardware stores will make these cuts for you for a small fee. This is a great shortcut for a woodworking project if you're working in a small apartment or lack heavy machinery.
Step 2: Finishing the Edges
The real issue usually is the exposed 'layers' of the plywood, which scream 'DIY' in a bad way. To fix this, use iron-on edge banding. Simply line it up with the edges of your cut plywood, run a hot iron over it to melt the glue, and then trim the excess with a utility knife or an edge trimmer. This gives the illusion of a solid slab of expensive hardwood.
Step 3: Sanding and Staining
Sand the surface starting with 120 grit and working your way up to 220 grit. Wipe away all dust with a tack cloth. Apply your stain or paint in thin, even coats. In my experience, a satin polyurethane finish works best for headboards because it's easy to wipe clean and doesn't reflect too much light from bedside lamps.
Step 4: Installing the French Cleat
This is where the 'floating' magic happens. A French cleat consists of two interlocking pieces. One gets screwed into the back of the headboard, and the other gets mounted to the wall. Attach the 'board' side of the cleat about 1/3 of the way down from the top of the headboard. Ensure it is perfectly centered and level.
Step 5: Mounting to the Wall
Use your stud finder to locate the studs in your wall. This is non-negotiable; a floating headboard is heavy, and you do not want it falling on you in the middle of the night. Level the 'wall' side of the cleat and screw it directly into the studs. Once secure, simply lift the headboard and slide it onto the wall cleat.
Tips for Best Results
To take your floating headboard to the next level, consider adding integrated LED strip lighting to the back. This creates a soft glow against the wall, which is perfect for winding down at night. Another tip: if your walls are uneven, add small rubber spacers (bumpers) to the bottom corners of the headboard. This keeps it from rattling against the wall when you move in bed.
Troubleshooting Common Issues
A common situation is the headboard feeling slightly 'wobbly' even though it's on the cleat. This usually happens if the cleat isn't perfectly flat or if the wall has a slight curve. Adding a second, non-interlocking 'spacer' strip of wood at the bottom of the headboard will keep it parallel to the wall and eliminate that wobble.
If you find that your stain looks splotchy, it’s likely because the plywood absorbed it unevenly. To prevent this, always use a wood conditioner before staining softwoods or plywood veneers. It levels out the porosity of the wood for a professional finish.
Conclusion
Building a floating headboard is one of the most rewarding 'Quick Fix' projects you can undertake. It provides a massive visual impact for minimal investment. By following these steps, you’ve moved beyond basic furniture and created a custom piece that defines your space. Enjoy your new, elevated modern bedroom!