In most homes, the difference between a restless night and deep, restorative sleep often comes down to a few millimeters of light peaking through a window. As someone who spent years optimizing small urban apartments for both plant growth and human comfort, I have learned that window treatments are more than just decor; they are critical tools for environmental control. When blackout curtains fail to perform, it is rarely the fault of the fabric itself, but rather a failure in the installation strategy.
Root Causes and Contributing Factors to Light Leakage
The real issue usually is not that the curtains aren't "blackout" enough, but that the installation allows for light bypass. In my experience, even the thickest triple-weave fabric cannot compensate for a poorly positioned rod. There are three primary ways light defeats a standard curtain setup.
The Halo Effect
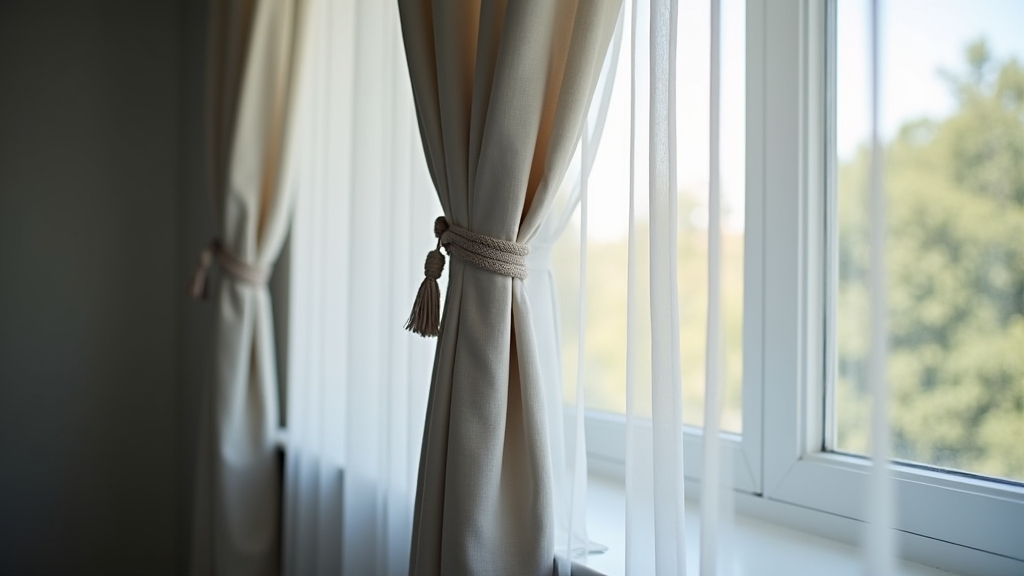
One thing many people overlook is the 'halo effect'—the glow that emanates from the top, sides, and bottom of the window frame. This happens when the curtain rod is mounted too close to the window opening. If the rod is exactly the width of the window, light will spill out the sides like a silhouette. Similarly, if the rod is mounted inside the window frame (an inside mount), you will almost always have a 1-inch gap around the perimeter.
Hardware Incompatibility
What I have found is that standard decorative curtain rods are the enemy of total darkness. Most rods use brackets that hold the pole 3 to 5 inches away from the wall. This creates a massive chimney effect where light bounces off the wall and into the room. Over the years, I have learned that the distance between the fabric and the wall is the single most important factor in sleep hygiene success.
Incorrect Fabric Weight and Width
A common situation is choosing a curtain panel that is exactly the width of the window. For blackout curtains to work, they need 'fullness.' Without extra fabric to create deep folds, the material stretches thin, and gaps open up at the edges. Additionally, if the fabric is too light, it won't hang flush against the wall, allowing air and light to circulate behind it.
Immediate Steps to Fix Your Current Setup
If you are currently struggling with light pollution, you don't necessarily need to buy new curtains. There are several tactical adjustments you can make right now to seal the perimeter.
The Wrap-Around Tweak
What works best is a simple trick using the existing end brackets. Instead of hanging the last curtain ring or grommet between the two brackets, move the final ring to the outside of the bracket, pinning the fabric directly against the wall. This 'wraps' the curtain around the corner, instantly eliminating side light bleed. If you have grommet curtains, you can even use a small piece of double-sided Command strip to stick the vertical edge of the curtain to the wall.
Raising the Bar
From experience, I recommend mounting your curtain rod at least 6 to 10 inches above the window frame, or even better, just below the ceiling. By increasing the vertical distance the light has to travel, you significantly reduce the amount of 'glow' that reaches the bed level. This also has the added benefit of making your apartment ceilings feel much higher—a gardener's trick for making small spaces feel breathable.
Long-Term Prevention Strategies
If you are starting from scratch or looking for a permanent solution, you need to think about the window as a sealed system. The goal is to create a physical barrier that light cannot navigate around.
Invest in Wraparound (French) Rods
The key thing to remember is that the shape of the rod dictates the path of the light. Wraparound rods, often called French rods, curve at the ends to meet the wall. This design eliminates the side gap entirely. In my experience, this is the single most effective hardware change you can make for bedroom window treatments.
Utilize Blackout Liners
If you have found a decorative curtain you love that isn't quite thick enough, don't discard it. Adding a separate blackout liner on a double rod system allows you to manage light and aesthetics independently. Look for liners with a high 'GMS' (grams per square meter) rating. Heavier liners hang straighter and create a tighter seal against the window casing.
Magnetic Sealing
For those in high-density city environments with bright streetlights, I recommend adding magnetic tape to the edges of the curtain and the wall. This creates a literal seal that prevents the fabric from blowing with the AC or heat, ensuring that your sleep environment remains pitch black regardless of external conditions.
When to Call a Professional
While most curtain installations are DIY-friendly, there are specific scenarios where you should call in a professional installer or a specialized contractor. One common situation is when dealing with 'plaster and lath' walls in older buildings or modern 'metal stud' construction common in high-rise apartments. Blackout curtains are significantly heavier than standard sheers; if you don't hit a stud or use the correct heavy-duty toggle bolts, the weight can rip the hardware right out of the wall.
Additionally, if you have motorized window treatments or oversized, floor-to-ceiling windows that require custom tracks (like hospital tracks or ceiling-mounted K-tracks), professional installation ensures the weight is distributed evenly so the mechanism doesn't fail prematurely. If you find yourself needing to drill into concrete or brick, and you don't own a hammer drill, save yourself the frustration and hire a pro.