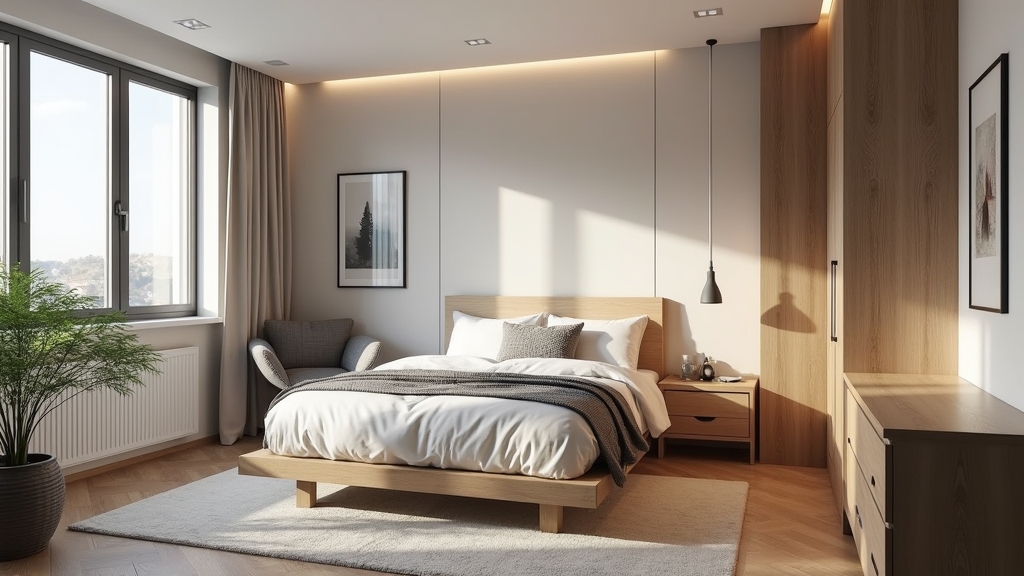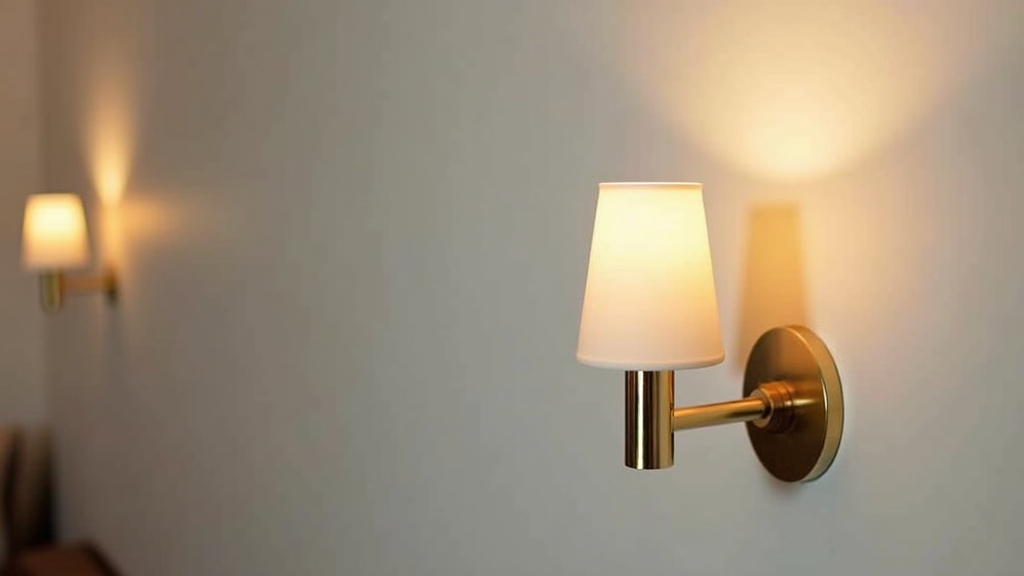
When it comes to enhancing a bedroom’s ambiance, few upgrades offer the same impact as dimmable wall-mounted sconces. From my experience managing dozens of properties, I have found that lighting is often the most underrated element of interior design. It isn't just about visibility; it is about creating a functional and relaxing environment. Bedside lighting, in particular, serves a dual purpose: providing focused light for reading and soft mood lighting for winding down at the end of the day.
The Transformation of Bedside Lighting
In most homes, the standard bedside setup consists of two table lamps sitting on nightstands. While functional, this configuration often results in cluttered surfaces and tangled cords. Transitioning to wall-mounted sconces clears up valuable real estate and provides a more intentional, high-end look. However, the path to achieving this upgrade varies significantly depending on whether you choose a DIY plug-in route or a professional hardwired installation. Over the years, I have learned that the best choice depends less on your aesthetic preference and more on your long-term plans for the property and your comfort level with electrical systems.
DIY Option: The Plug-In Sconce
The simplest way to achieve the look of wall-mounted sconces is through plug-in models. These fixtures are designed to be mounted directly to the drywall and then plugged into a standard wall outlet. They often come with a cord cover to help streamline the appearance.
The Pros of DIY Plug-In Sconces
From experience, the primary benefit of the plug-in method is accessibility. You do not need to be an electrician to install these. What works best for many people, especially renters or those on a tight timeline, is the ability to remove the fixtures without leaving behind anything more than a few small screw holes. This makes them a temporary fix that can be easily undone. Additionally, the upfront cost is significantly lower because you aren't paying for professional labor or permits.
The Cons of DIY Plug-In Sconces
One thing many people overlook is the visual clutter created by the cord. Even with a cord cover, the fixture never looks quite as integrated as a hardwired version. Furthermore, achieving true bedroom mood lighting with a plug-in can be tricky. Most plug-in sconces use an in-line switch on the cord, which may or may not be dimmable. To get dimmable functionality, you often have to purchase a separate plug-in dimmer module or use smart bulbs, which adds another layer of complexity to the setup.
Professional Option: Hardwired Installation
A hardwired installation involves running electrical wires behind the drywall to a junction box where the fixture is mounted. This setup is controlled by a wall switch, typically located near the bed or the room entrance.
The Pros of Hardwiring
What I have found is that hardwired sconces offer the most professional and permanent results. The real issue usually is that plug-in versions eventually feel like a compromise. Hardwiring allows for a completely clean wall with no visible cords. It also enables you to install a dedicated wall dimmer switch. This allows for precise control over the brightness levels, which is essential for creating effective bedroom mood lighting. In my experience, a wall-mounted dimmer is far more durable and user-friendly than the small dials found on lamp cords.
The Cons of Hardwiring
The primary drawback is the cost and the mess. Installing sconces where no electrical wiring currently exists requires cutting into the drywall. If your home has horizontal studs or fire blocks, the electrician may need to create several access holes to fish the wire through the wall. This means that in addition to the electrician’s fee, you will likely need to account for drywall repair and repainting. This is rarely a "one-day" project.
Detailed Cost Comparison
The financial difference between these two paths is substantial. For a DIY plug-in installation, your main costs are the fixtures themselves and perhaps a few basic tools like a level, a drill, and a screwdriver. You might spend anywhere from $50 to $300 total, depending on the quality of the fixtures.
For a professional installation, the costs escalate quickly. An electrician may charge between $150 and $400 per hour, and the job could take several hours if the wiring is complex. When you factor in the cost of the permit (which is often required for new electrical runs), the junction boxes, the wire, and the subsequent drywall repair, you can expect to pay between $800 and $2,000 for a pair of hardwired sconces. While this is a significant investment, it is a permanent upgrade that adds tangible value to the home.
Choosing the Right Dimming Technology
The key thing to remember when installing dimmable wall-mounted sconces is the compatibility between the bulb and the switch. A common situation is homeowners buying high-end dimmable LED bulbs only to find they flicker when used with an older dimmer switch. If you are going the professional route, ensure your electrician installs a dimmer switch rated for LEDs. If you are going the DIY route with smart bulbs, ensure your home’s Wi-Fi signal is strong enough to reach both sides of the bed, as signal drops can lead to frustrating "smart home" failures.
Best Use Cases for Each Method
In most homes, the decision comes down to the current state of the walls and the budget. Here is how I usually advise my clients:
- Choose DIY Plug-In if: You are renting your home, you have a limited budget, or you are testing out a new room layout and aren't ready to commit to a permanent fixture location.
- Choose Professional Hardwiring if: You are the homeowner, you are currently undergoing a larger renovation, or you want a seamless, high-end look without visible cords. Hardwiring is also best if you want to control both sconces from a single master switch at the door.
Installation Height: The Professional Secret
One thing many people overlook is the mounting height. Over the years, I have learned that a common mistake is mounting the sconces too high or too low. From experience, the ideal height for bedside lighting is generally 55 to 60 inches from the floor, or roughly 20 to 24 inches above the mattress. However, you should always sit in the bed as if you were reading to ensure the light doesn't shine directly into your eyes while also providing enough coverage for your book or tablet.
Final Recommendation
If you are looking for a quick fix to improve your bedroom mood lighting, the DIY plug-in route is an excellent choice. It provides immediate results with very little risk. However, if you are looking for a fix that lasts and adds value to your property, professional hardwiring is the superior option. While it involves more work upfront, the clean aesthetic and the reliability of a wall-mounted dimmer switch are worth the extra expense in the long run. The real issue usually is that people regret the cords later, so if you can afford the professional route, it is almost always the better long-term investment.