Why Vertical Gardening Matters for Modern Homes
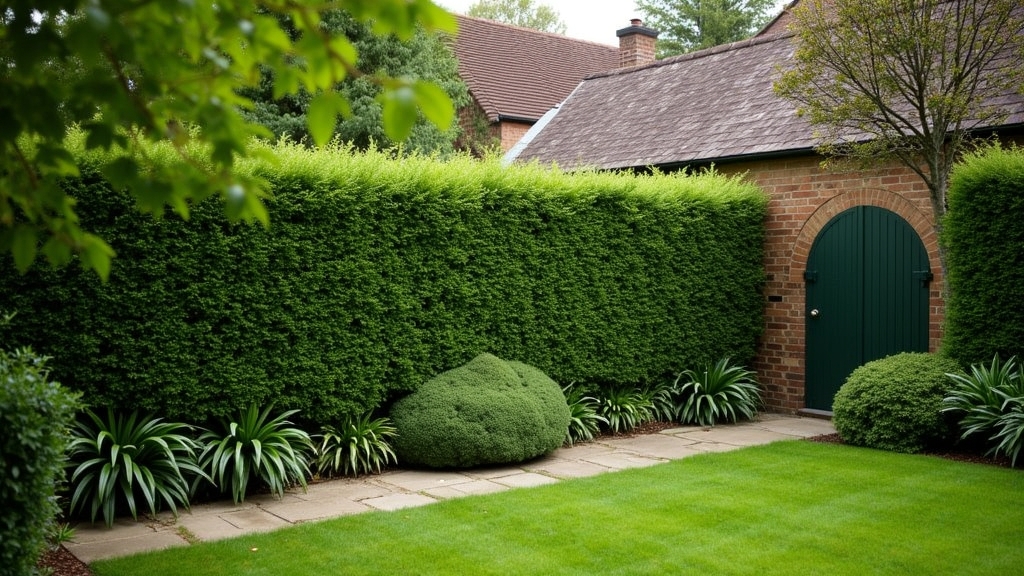
In most homes I visit, outdoor space is a premium commodity. Whether you are dealing with a compact urban patio or a suburban deck, vertical gardening allows you to maximize your square footage while adding a living privacy screen. From experience, a well-built herb wall does more than just provide fresh ingredients; it prevents soil-borne diseases and keeps pests like rabbits at bay by elevating your crop. The real issue usually isn't finding space, but utilizing the vertical planes that already exist on your property.
Choosing Your Structure: Materials and Location
Before you drive a single screw, you need to assess your mounting surface. One thing many people overlook is the weight of wet soil. A standard 2x4 foot herb wall can weigh upwards of 150 pounds after a heavy rain. What works best is mounting directly into wall studs or using heavy-duty masonry anchors if you are attaching to brick or stone. Over the years, I have learned that cedar and redwood are the gold standards for these projects because of their natural rot resistance; avoid pressure-treated lumber for edible gardens as the chemicals can leach into your soil.
The Sun Factor
In my experience, the most common reason herb walls fail is poor light assessment. Most culinary herbs require at least 6 hours of direct sunlight. A common situation is homeowners mounting a wall planter under a deep eave or porch roof, which creates a 'dead zone' for growth. Look for a south-facing wall, but be mindful of heat reflection. A white vinyl or metal siding wall can actually cook your plants in mid-July.
Step-by-Step: Building Your Vertical Herb Wall
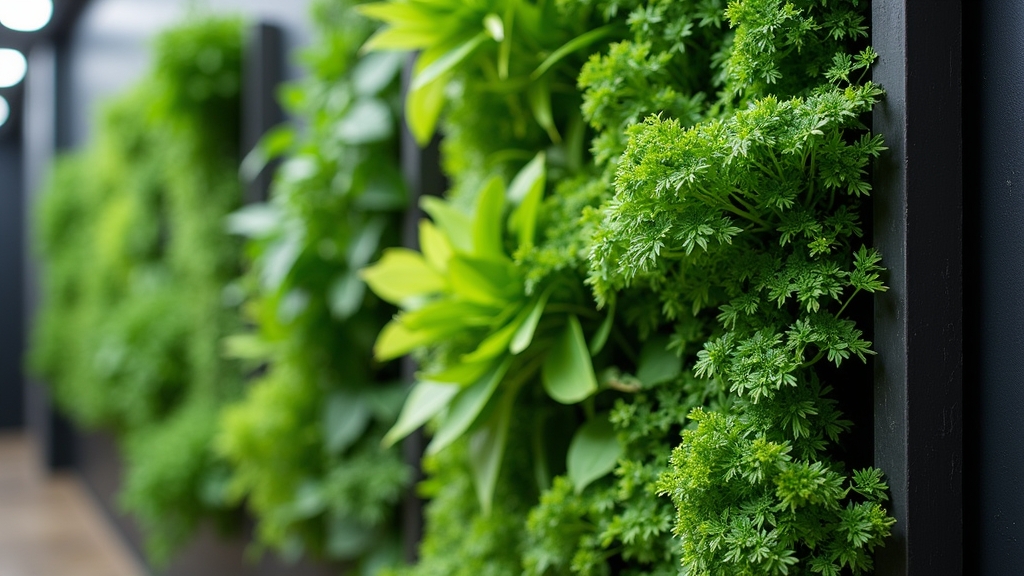
For a durable, professional-grade setup, I recommend a modular cleat system. This allows you to remove individual boxes for replanting or winterizing. Here is how to execute the build properly.
1. Fabricating the Support Frame
Start by building a frame using 2x2 cedar. What I have found is that creating a 1-inch gap between the herb wall and your house siding is crucial. This airflow prevents mold growth on your home’s exterior and allows the wood to dry out. Use stainless steel deck screws to prevent rust streaks down your wall later.
2. Constructing the Planter Boxes
Build your boxes at least 6-8 inches deep. Anything shallower dries out too quickly in the summer heat. Use a 1/2-inch drill bit to create drainage holes every 4 inches along the bottom. One pro tip: line the bottom of the boxes with a layer of landscape fabric before adding soil. This keeps the dirt in but lets the water out, preventing messy mud stains on your patio floor.
3. Installing the Cleat System
Use a French cleat system (two 45-degree interlocking boards). Attach one side to the frame and the other to the back of your planter boxes. This makes the system incredibly stable while remaining modular. The key thing to remember is to use a level; even a slight tilt will cause water to pool in one corner of your boxes, leading to root rot.
Seasonal Success: A Year-Round Management Guide
A vertical garden isn't a 'set it and forget it' project. To keep it thriving, you must adapt your care routine to the seasons. In my experience, timing is everything.
Spring: The Foundation Phase
This is the time for structural audits. Check your mounting hardware for any loosening caused by winter freeze-thaw cycles. When planting, start with hardy herbs like chives, parsley, and cilantro. From experience, I recommend refreshing at least 30% of the potting soil every spring to replenish nutrients that have washed away.
Summer: Hydration and Harvest
Vertical walls dry out much faster than ground-level gardens. The real issue usually is the 'chimney effect'—warm air rising behind the planters accelerates evaporation. I recommend installing a simple drip irrigation line on a timer. What works best is a 1/4-inch micro-dripper for each box. Harvest your herbs frequently to encourage bushier growth and prevent them from 'bolting' or going to seed.
Fall: Transition and Protection
As temperatures drop, transition out your spent annuals. Replace them with cold-hardy greens or simply prep the boxes for dormancy. In most homes, I suggest taking down the modular boxes and storing them in a garage or shed if you live in a zone with heavy snow. This prevents the wood from cracking under the weight of ice.
Winter: Indoor Options
If your herb wall is modular, you can bring the most successful plants indoors. One thing many people overlook is light intensity; an indoor herb wall usually needs supplemental LED grow lights to survive the shorter days. If you leave the structure outside, ensure it is covered to protect the wood grain from excessive moisture.
Pro Maintenance Tips from the Field
After a decade of maintaining these systems, I’ve picked up a few tricks that separate the amateurs from the pros:
- Weight Management: Use a high-quality potting mix blended with perlite or vermiculite. Avoid 'garden soil' or 'topsoil' as it is too heavy and will compact, suffocating the roots.
- Water Drainage: Always install the boxes with a slight stagger. You want the runoff from the top box to miss the box below it, or you will end up overwatering the bottom row while the top stays dry.
- Pest Control: Because the plants are at eye level, it is easy to spot aphids or spider mites. A quick spray of neem oil once a month usually keeps them in check.
Common Mistakes to Avoid
Over the years, I have seen many DIY projects fail for the same few reasons. First, don't use plastic liners without drainage. I have seen entire walls rot out because water was trapped against the wood. Second, don't ignore the 'top-heavy' rule. Always plant your heaviest, largest herbs (like rosemary or sage) in the bottom boxes to keep the center of gravity low. Finally, don't forget to treat the wood. Even cedar needs a UV-rated, food-safe sealer once every two years to maintain its integrity against the sun.