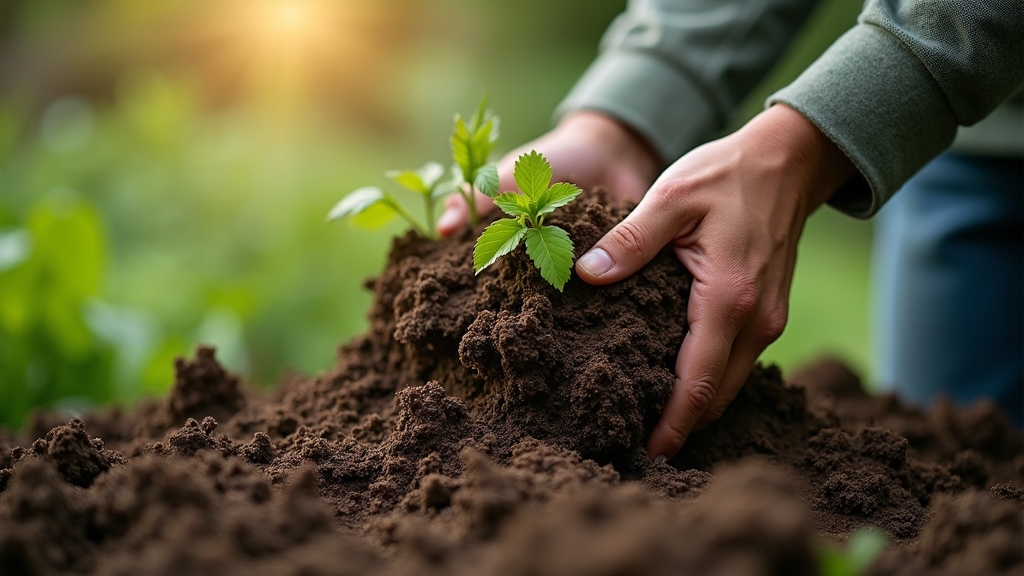
In my decade of designing landscapes, I have noticed one recurring theme: the healthiest gardens always have the best soil. Most homeowners spend hundreds of dollars on synthetic fertilizers, but the most effective solution is often sitting in their kitchen scrap bin. Composting is the process of breaking down organic waste into a nutrient-rich soil amendment. It reduces landfill waste and transforms your garden's health from the ground up.
The Basics of Organic Waste Management
Before we compare methods, we need to understand what makes composting work. Every successful compost pile requires four main ingredients: nitrogen, carbon, water, and oxygen. Here is the thing: if you don't balance these, your pile will either smell bad or simply sit there without decomposing.
Nitrogen comes from 'green' materials like vegetable scraps, grass clippings, and coffee grounds. Carbon comes from 'brown' materials such as dried leaves, cardboard, and straw. A general rule of thumb for home gardeners is to use three parts brown material for every one part green material. Now, the important part: oxygen is what keeps the beneficial bacteria alive. Without air, your compost becomes anaerobic, which leads to a foul, swampy odor.
Method 1: Traditional Stationary Bins
Stationary bins are the most common sight in suburban backyards. These are typically large plastic or wooden containers that sit directly on the soil. They are designed to hold a large volume of organic waste over a long period. This is often called 'cold composting' because you add materials as you go rather than building one large pile all at once.
This is where it gets interesting: because the bin sits on the ground, it allows earthworms and soil microbes to enter from below. This speeds up the process naturally. For example, if you have a large property with plenty of fallen leaves and grass clippings, a 3x3 foot stationary bin provides the stability needed for large-scale decomposition.
Pros of Stationary Bins
- High capacity for large yards.
- Low maintenance; you can simply 'set it and forget it.'
- Provides direct contact with soil organisms.
Cons of Stationary Bins
- Slowest decomposition rate (6 months to 2 years).
- Difficult to turn or aerate the middle of the pile.
- Can attract rodents if not properly secured.
Method 2: Compost Tumblers
A compost tumbler is a sealed drum that rotates on a stand. These are very popular in urban environments or smaller landscapes where aesthetics and pest control are priorities. The good news is that tumblers are designed to make aeration easy. Instead of using a pitchfork to turn a heavy pile, you simply spin the handle or the drum itself.
Tumblers promote 'hot composting.' Because they are sealed and easy to turn, they retain heat effectively. What most people miss is that for a tumbler to work, you must fill it mostly all at once. If you keep adding fresh scraps every day, you will never get a finished product because the new waste keeps 'contaminating' the nearly finished batch.
Pros of Compost Tumblers
- Very fast results (can produce compost in 4-8 weeks).
- Fully enclosed design keeps rodents and pets out.
- Easy to use for those with limited physical strength.
Cons of Compost Tumblers
- Limited capacity compared to bins.
- Can be difficult to maintain the correct moisture level (they dry out fast).
- More expensive than other options.
Method 3: Vermicomposting (Worm Bins)
Vermicomposting uses specific types of earthworms, usually Red Wigglers, to eat through food scraps. This is a specialized form of composting that is perfect for people without a yard. Worth mentioning is that worm castings (their waste) are significantly more nutrient-dense than standard compost. Many landscapers refer to it as 'black gold' because of its high microbial activity.
A worm bin is typically a stacked series of trays kept indoors or in a shaded garage. You feed the worms fruit and vegetable scraps, and they produce dark, crumbly castings and a liquid fertilizer often called 'compost tea.' Something to keep in mind: worms are living creatures with specific needs. They cannot survive in extreme heat or freezing cold, and they are sensitive to acidic foods like lemons or onions.
Pros of Vermicomposting
- Perfect for apartments or indoor use.
- Produces the highest quality fertilizer.
- Virtually odorless when managed correctly.
Cons of Vermicomposting
- Limited to food waste (cannot process yard debris).
- Worms require consistent temperature control.
- Requires more monitoring than a backyard pile.
Cost Comparison and Value
When choosing a method, your budget is often the deciding factor. On the other hand, DIY solutions can often outperform expensive store-bought kits if you have the time to build them. Here is a breakdown of what you can expect to spend:
- Stationary Plastic Bins: $60 - $150. Many municipalities offer these at a discount.
- DIY Pallet Bins: $0 - $20. You can often find heat-treated wood pallets for free and zip-tie them together.
- Compost Tumblers: $100 - $350 depending on the size and dual-chamber features.
- Worm Bin Kits: $50 - $120. You will also need to spend about $30 on the initial batch of worms.
Best Use Cases by Situation
Identifying your specific needs will save you a lot of frustration. Now, the important part is matching the method to your lifestyle. Here is how I advise my clients:
The Suburban Gardener: If you have a medium-sized yard with flowers and a small vegetable patch, go with a dual-chamber tumbler. This allows you to fill one side while the other finishes curing. It keeps the yard looking tidy and produces compost fast enough for seasonal planting.
The Homesteader: If you have a large property with a lot of leaves, branches, and grass, you need stationary bins. In fact, a three-bin system is best: one for fresh waste, one for decomposing material, and one for finished compost ready to use.
The Apartment Dweller: If you only have a balcony or no outdoor space at all, vermicomposting is your only viable option. It fits under a kitchen sink or in a closet and handles daily coffee grounds and veggie peels perfectly.
Final Recommendation
If you are just starting out and have the space, I recommend a stationary plastic compost bin. It is the most forgiving method for beginners. You don't have to worry about the 'batch' issues of a tumbler or the biological sensitivity of worms. Just throw in your kitchen scraps, cover them with some dried leaves, and let nature do the work. Over time, you can upgrade to more specialized methods once you understand how organic waste breaks down in your specific climate.
The key to success is consistency. No matter which compost bin you choose, keep it moist like a wrung-out sponge and ensure it has plenty of air. Your garden will thank you with more vibrant blooms and more productive harvests.