Optimizing Your Small Kitchen Layout
In most homes I have visited, the kitchen is the heart of the daily routine, yet it is often the most cramped and disorganized room in the house. If you are living in a city apartment or a smaller cottage, you know the frustration of bumping into counters or running out of prep space. What I have found is that the problem usually isn't the square footage itself, but how that space is utilized. By applying a few foundational principles of interior design, you can turn a claustrophobic kitchen into a highly functional workspace.
In this guide, we will explore how to reconfigure small kitchen floor plans to improve flow and storage. We will dive deep into the classic galley kitchen design, the versatile L-shaped kitchen layout, and the essential kitchen work triangle. My goal is to help you see your kitchen not as a series of constraints, but as a puzzle waiting for the right solution.
Essential Tools and Materials for Planning
Before you start moving appliances or ordering new cabinets, you need to map out your current space accurately. You don’t need expensive software to do this; the traditional methods often work best for visualizing physical constraints.
- Steel Measuring Tape: Accuracy is vital when you are dealing with inches.
- Graph Paper and Pencil: This allows you to draw your layout to scale (e.g., one square equals six inches).
- Painter’s Tape: This is a secret weapon for testing layouts. Tape out the footprint of new islands or appliances on your floor to see how they affect movement.
- Flashlight: Essential for checking behind existing cabinets for plumbing lines or electrical outlets.
- Level: To check if your current floors and counters are even, which impacts how new elements will sit.
Preparation Steps for a Layout Redesign
From experience, the biggest mistake people make is rushing into the design phase without understanding the underlying infrastructure. Before choosing a layout, you must perform a thorough audit of your space.
Identify Load-Bearing Walls
If you are considering knocking down a wall to create an open-concept feel, you must determine if it is structural. In many older buildings, walls between the kitchen and living area are carrying the weight of the floor above. Always consult a professional before removing any vertical surface.
Locate Fixed Points
The real issue usually is the plumbing. Moving a sink or a dishwasher more than a few inches can be prohibitively expensive because it involves rerouting drain lines through the floor. Identify your 'fixed points'—the sink, the gas line, and the heavy-duty electrical outlet for the stove. Your layout should ideally work around these anchors to keep costs down.
Measure Every Dimension
One thing many people overlook is the 'swing' space. Measure not just the walls, but how far the refrigerator door opens, the depth of the dishwasher when the tray is pulled out, and the clearance needed for oven doors. If these overlap awkwardly, your layout will fail during peak cooking times.
Detailed Step-by-Step Instructions for Small Kitchen Layouts
Once you have your measurements, it is time to choose the specific configuration that fits your room's shape.
1. Implementing the Kitchen Work Triangle
The key thing to remember in any small kitchen is the work triangle. This is the imaginary line connecting the center of the sink, the cooktop, and the refrigerator. In a small space, the sum of these three sides should be between 10 and 26 feet. If they are too close, you will feel cramped; too far apart, and cooking becomes an exhausting marathon. Start your layout by placing these three elements first, ensuring no major traffic path crosses through the triangle.
2. Mastering the Galley Kitchen Design
What works best for long, narrow spaces is the galley layout. This consists of two parallel runs of cabinetry facing each other. From my experience, this is the most efficient layout for a solo cook. To make this work in a small kitchen, keep the sink and stove on the same wall to minimize pivoting with hot pans. Use the opposite wall for the refrigerator and pantry storage. Ensure there is at least 4 to 5 feet of walking space between the two rows so you can open cabinets on both sides simultaneously.
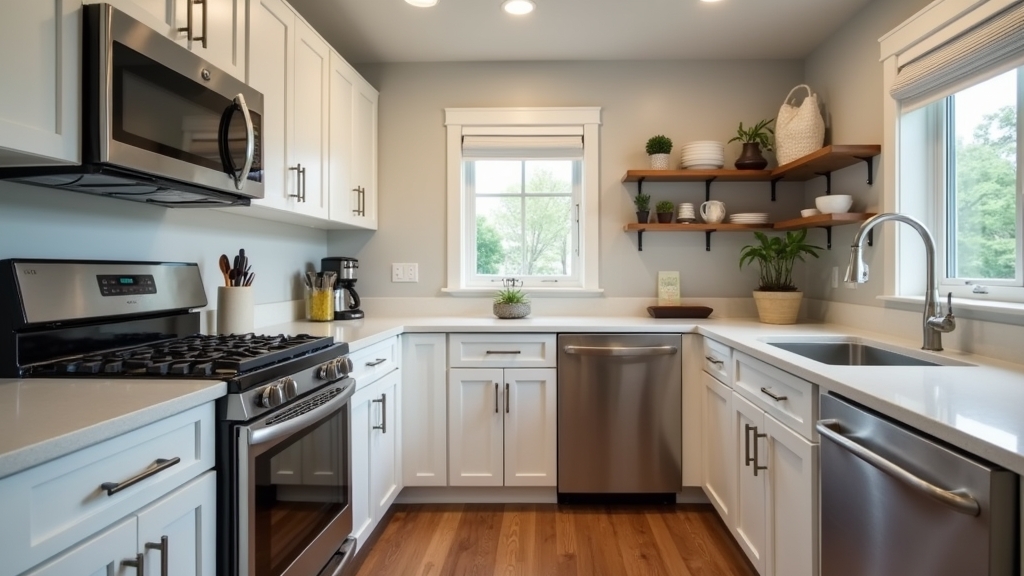
3. The Versatile L-Shaped Kitchen Layout
An L-shaped kitchen layout is ideal for small kitchens that share space with a dining or living area. It uses two adjacent walls, leaving the rest of the room open. This layout naturally solves the 'too many cooks' problem by keeping the work zone tucked into a corner. To maximize an L-shape, focus on the corner cabinet. Use rotating carousels or pull-out trays to ensure that deep corner space doesn't become a 'dead zone' where Tupperware goes to disappear.
4. Maximizing the Single-Wall Layout
In many studio apartments, you only have one wall to work with. Over the years, I have learned that the secret to a single-wall layout is verticality. Since you cannot spread out, you must go up. Install cabinets that reach all the way to the ceiling. Place the sink in the center of the run, with the fridge on one end and the stove on the other. This creates a linear work zone that keeps everything within arm's reach.
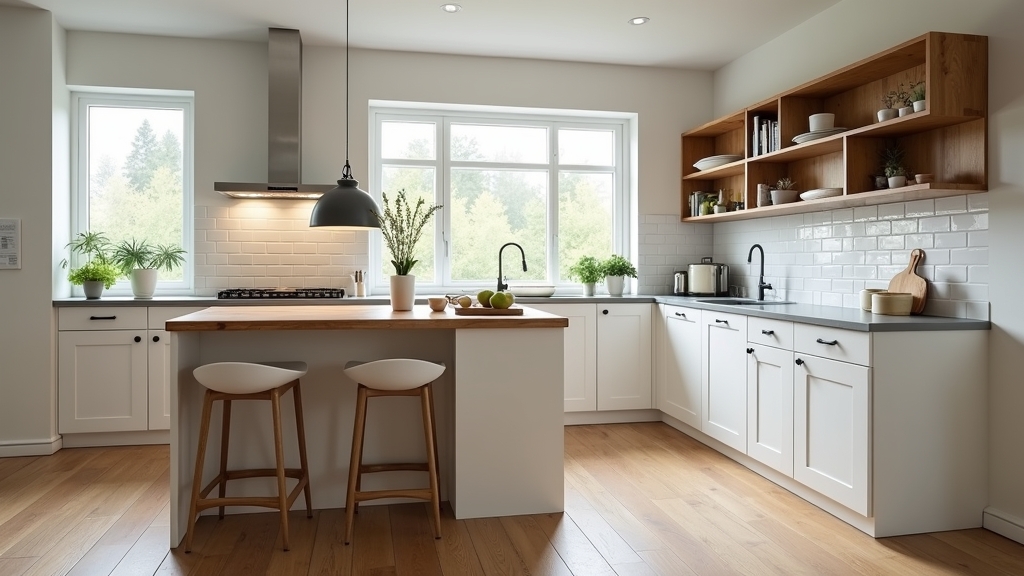
5. Utilizing a Peninsular or Small Island
If you have an L-shaped or single-wall layout, you might have room for a small peninsula. This is essentially a connected island. It provides extra counter space for prep and can serve as a casual dining spot. In a very small kitchen, consider a rolling butcher block island that can be tucked into a closet or against a wall when not in use.
Tips for Best Results in Small Spaces
Over the years, I have learned that the visual feel of a kitchen is just as important as the physical dimensions. Here are a few tricks to make a small layout feel expansive.
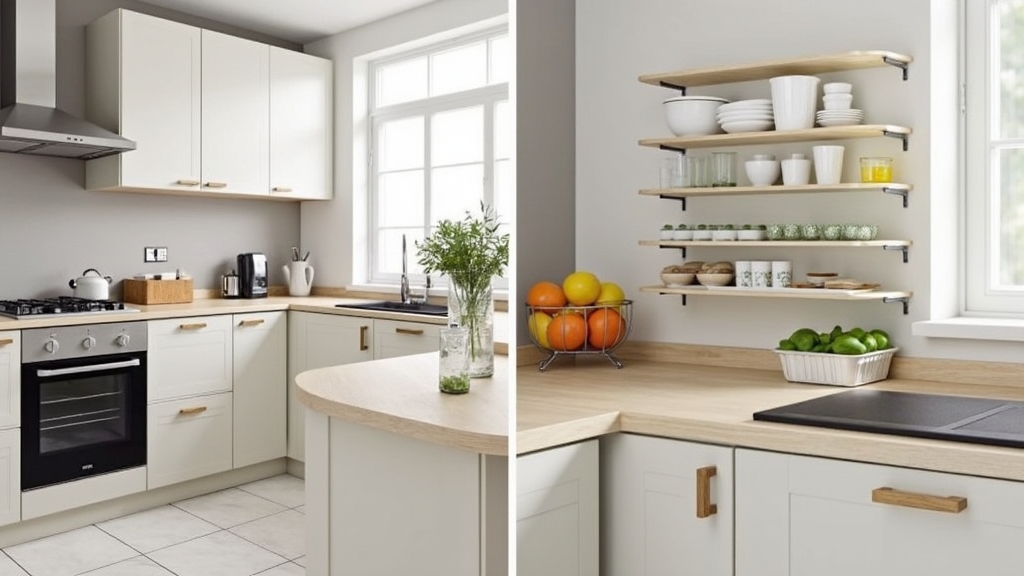
- Use Light Colors: White or light grey cabinets reflect light, making the walls feel further away. Dark cabinets tend to 'close in' a small room.
- Open Shelving: Replacing upper cabinets with open shelves can make a narrow galley kitchen feel much wider. However, only do this if you are disciplined about organization.
- Consistent Flooring: If your kitchen is open to the living room, use the same flooring for both. This prevents a visual break that makes the kitchen look like a tiny box.
- Integrated Appliances: Choose a counter-depth refrigerator. Standard fridges stick out several inches past the cabinets, which ruins the 'flow' of a small kitchen floor plan and creates a physical bottleneck.
Troubleshooting Common Small Kitchen Issues
Even with the best planning, you may encounter obstacles. Here is how to handle the most common frustrations.
The Refrigerator Blocks the Path
In many older galley kitchen designs, the fridge is the largest obstacle. If yours blocks the entry or a cabinet, consider switching to a French-door model. These doors have a smaller swing radius than a single large door, allowing you to access the fridge even in a tight hallway.
Lack of Prep Space
If your sink and stove take up all your counter real estate, look to your sink. You can find 'workstation' sinks that come with integrated cutting boards that sit over the basin. This effectively adds two square feet of prep space without changing your layout.
Poor Lighting
A common situation is having one central light fixture that casts a shadow over your workspace when you stand at the counter. The fix is under-cabinet LED strips. These illuminate the 'dead zones' and make the entire layout feel more functional and inviting.
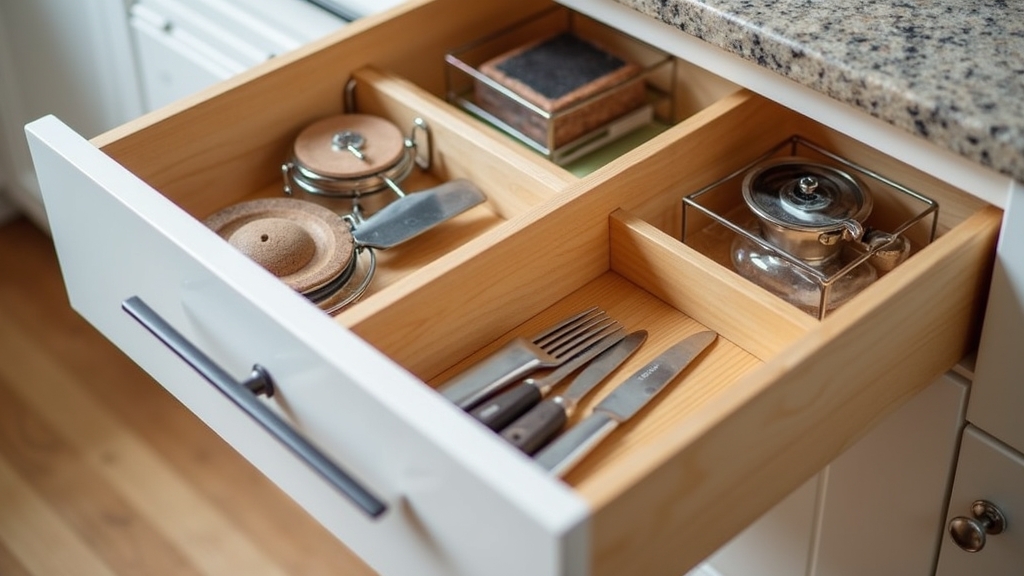
Not Enough Storage for Small Appliances
If your toaster, blender, and coffee maker are cluttering the counters, your layout is failing you. The real issue usually is a lack of specialized storage. Look for 'appliance garages'—small cabinets that sit on the counter with a roll-up door—or designate one lower cabinet with a pull-out shelf specifically for these items.