Taking Control of Your Basement Air Quality
Over the last 15 years, I’ve spent more time in my basement than I care to admit. From plumbing leaks to building a home theater, I’ve seen it all. But there is one thing in the basement you can’t see, smell, or taste, and that is radon. Radon is a naturally occurring radioactive gas that seeps up through the soil and gets trapped in our homes, particularly in the lower levels. Here is the thing: because radon is the second leading cause of lung cancer, testing isn't just a 'nice to do' DIY project—it is a safety essential.
When I first started looking into radon testing, I was overwhelmed by the options. Do I need a quick charcoal canister? Should I commit to a year-long study? What most people miss is that radon levels fluctuate wildly based on the weather, the season, and even how often you open your windows. Choosing the right DIY kit depends entirely on whether you need a quick snapshot or a comprehensive health assessment. In this guide, we will break down the three primary DIY methods to help you secure your home safety.
Short-Term Radon Test Kits: The Quick Snapshot
Short-term kits are the most common DIY entry point. These typically involve a small container filled with activated charcoal or a liquid scintillation vial. You open the kit, place it in the lowest livable area of your home (usually the basement), and leave it there for two to seven days. After the exposure period, you seal the container and mail it to a lab for analysis.
Now, the important part: short-term tests require 'closed-house conditions.' This means you need to keep windows and outside doors shut for at least 12 hours before the test and throughout the entire duration. This is because short-term kits are extremely sensitive to air exchange. If you’re running a window fan or leaving the bulkhead open while moving boxes, your results will be useless. This method is perfect for a 'worst-case scenario' check, especially during the winter when the house is naturally sealed up.
Long-Term Alpha Track Testing: The Full Picture
If you want to know what your actual health risk looks like over a lifetime, a long-term test is the gold standard. These kits use a small piece of plastic film that is physically etched by alpha particles as radon decays. These tests stay in your home for anywhere from 90 days to a full year. This is where it gets interesting: because they stay in place through changing seasons, they account for the 'stack effect'—the way warm air rising through your house in the winter pulls more radon out of the ground.
Long-term testing doesn't require you to change your lifestyle. You don't have to worry about keeping windows shut or avoiding the basement. You just set it on a shelf and forget about it. When the time is up, the lab calculates the average concentration over that period, giving you a much more reliable number than a three-day charcoal test ever could.
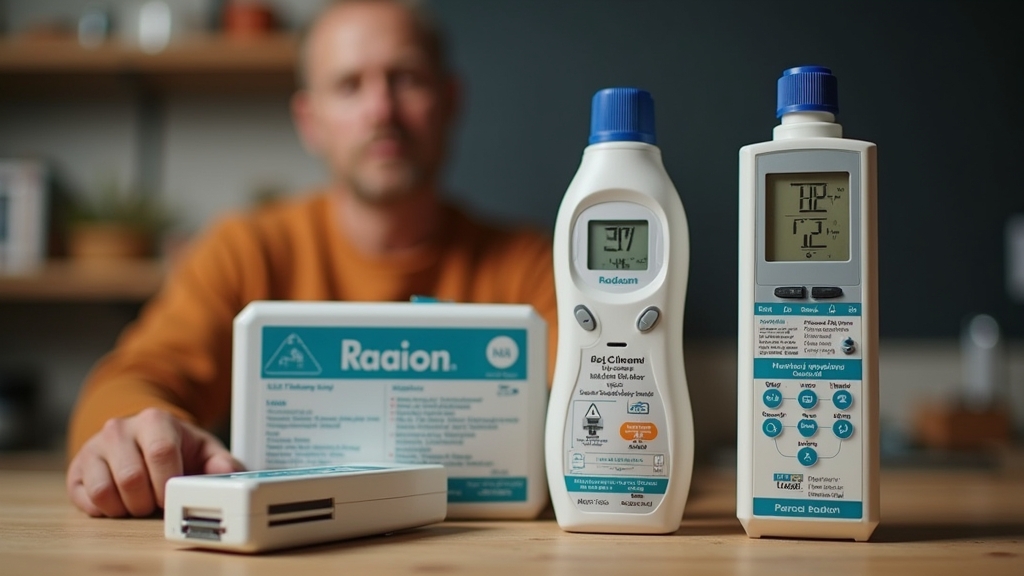
Digital Continuous Monitors: The Modern DIY Edge
In recent years, digital monitors have become a favorite for homeowners who want ongoing peace of mind. Instead of mailing a kit to a lab, these plug-in or battery-operated devices display your radon levels on a screen in real-time. The good news is that these devices allow you to see how your basement air changes based on rainstorms or running the HVAC system. While they carry a higher upfront cost, they are reusable and provide both short-term and long-term averages simultaneously.
Detailed Pros and Cons of Each Method
Short-Term Charcoal Kits
- Pros: Very inexpensive, fast results (usually within a week), easy to find at hardware stores.
- Cons: Highly sensitive to humidity and temperature; only provides a 'snapshot' that might not reflect your average exposure.
Long-Term Alpha Track Kits
- Pros: The most accurate representation of long-term health risk; less susceptible to temporary environmental spikes.
- Cons: Requires patience (minimum 3 months); if you lose the kit or forget to mail it, you've wasted a lot of time.
Digital Continuous Monitors
- Pros: Reusable; no lab fees; allows for immediate feedback if you install a mitigation system.
- Cons: Higher initial investment; requires occasional recalibration (depending on the model).
Cost Comparison: Initial Spend vs. Lab Fees
When you are at the store, the price tag on a DIY radon test kit can be deceiving. Worth mentioning is that many charcoal and alpha track kits are sold 'naked,' meaning the price you pay at the register does not include the lab analysis fee. You might pay $15 for the kit and then another $25 to $40 to get your results. Always read the packaging to see if 'Lab Fees Included' is printed on the box.
- Short-Term Kits: $15–$50 (including lab fees).
- Long-Term Kits: $30–$60 (including lab fees).
- Digital Monitors: $130–$250 (one-time purchase, no lab fees).
Best Use Cases: Which One Fits Your Situation?
Choosing the right kit isn't just about price; it’s about your specific goal. On the other hand, if you choose the wrong tool for the job, you might end up with a false sense of security or unnecessary panic.
- Real Estate Transactions: Use a short-term kit. Buyers and sellers don't have 90 days to wait. Just ensure the 'closed-house' rules are strictly followed.
- Post-Mitigation Check: If you just had a radon fan installed, a short-term kit or a digital monitor is best to verify the system is working immediately.
- General Home Safety: If you have lived in your home for years and just want to know if your family is safe, go with a long-term alpha track test. It’s the most 'set it and forget it' way to get an honest answer.
- The Data Enthusiast: If you like tracking home metrics like humidity and VOCs, a digital monitor is the way to go.
Final Recommendation Based on Situation
After a decade and a half of home maintenance, I’ve learned that the best approach is often a two-step process. Something to keep in mind: I always suggest starting with a short-term kit. It’s cheap and fast. If that result comes back near or above the EPA action level (4.0 pCi/L), don't panic immediately. Instead, follow up with a long-term test to see if that was just a seasonal spike or a consistent problem. If you have the budget, a digital monitor is a fantastic investment for anyone with a finished basement where kids spend a lot of time. Ultimately, any testing is better than no testing—knowing your numbers is the only way to ensure your basement air is safe.