{ "title": "Fixing Basement Wall Condensation: DIY vs. Professional Guide", "slug": "fixing-basement-wall-condensation", "excerpt": "Learn how to stop basement wall condensation with our guide. Compare DIY fixes versus professional waterproofing to keep your home dry and healthy.", "content": "
Understanding the Root Cause of Basement Wall Condensation
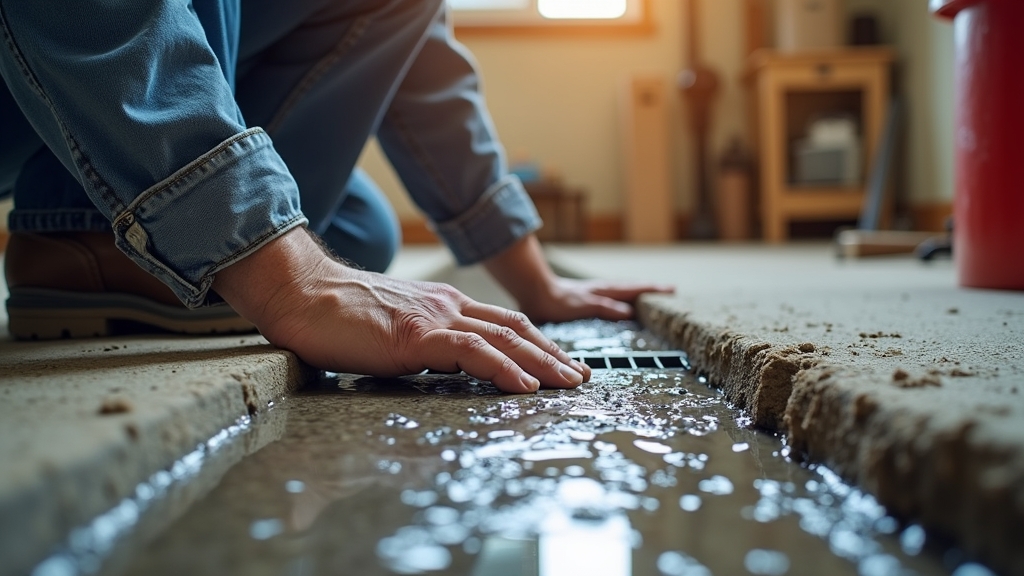
In most homes, a basement that feels damp or smells musty is often dismissed as a natural consequence of being underground. However, when you see moisture beaded on the surface of your concrete or masonry, you are dealing with sweating walls. From experience, I can tell what many homeowners mistake for a plumbing leak or ground seepage is actually a simple thermodynamic reaction. The real issue usually is the temperature differential between the warm, humid air inside the basement and the cool surface of the foundation walls, which are chilled by the surrounding earth.
As a landscaping specialist who has spent over a decade observing how soil moisture and exterior grading affect structural integrity, I have learned that condensation is a symptom of poor climate control or inadequate thermal barriers. If left unaddressed, this constant moisture can lead to mold growth, damaged studs, and a decline in air quality throughout the entire house. Before deciding how to fix it, you must determine if the water is coming from the outside in (seepage) or the inside out (condensation).
The Foil Test: A Critical First Step
What I have found is that the simplest diagnostic tool is a piece of aluminum foil. To determine the source of your basement humidity, tape a square of foil tightly to a damp area of the wall and leave it for 48 hours. If the outside of the foil is wet, you have condensation. If the underside (the side against the wall) is wet, you have water seeping through the foundation from the exterior. This guide focuses on the former: fixing condensation issues.
The DIY Approach: Managing Air and Temperature
For many homeowners, the initial instinct is to handle the problem themselves. This is often viable when the sweating is seasonal or localized to specific areas. The goal of DIY remediation is to either reduce the humidity in the air or prevent that air from touching the cold wall.
Effective DIY Strategies
One thing many people overlook is the role of appliances. If your dryer is not vented correctly or if you are hang-drying clothes in the basement, you are pumping gallons of moisture into the air. What works best is ensuring all exhaust fans in basement bathrooms or laundry areas are functional and vented directly to the exterior, not into a crawlspace or floor joist.
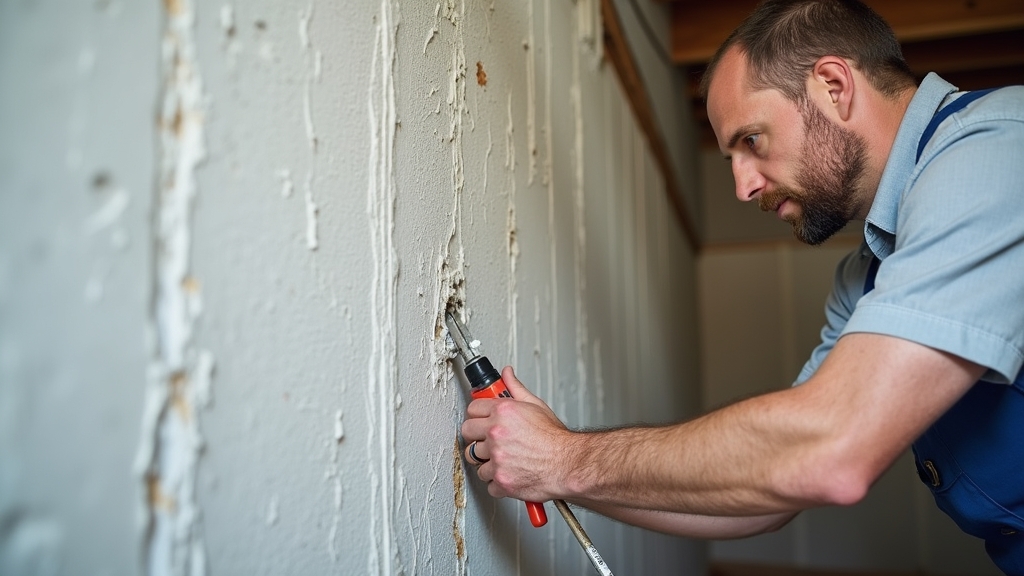
Dehumidification is the most common DIY fix. By maintaining a relative humidity level below 50%, you significantly reduce the dew point, making it harder for water to form on surfaces. Additionally, applying specialized masonry paint or sealants can create a vapor barrier, though these are often temporary fixes if the wall remains cold. Insulation is another DIY path; installing rigid foam board directly against the concrete prevents warm air from reaching the cold surface, effectively stopping the condensation cycle.
Pros and Cons of DIY Fixes
- Pros: Low upfront cost, immediate implementation, and provides a good learning experience regarding your home's ecosystem.
- Cons: Often addresses symptoms rather than the root cause, requires ongoing maintenance (like emptying dehumidifier buckets), and may fail in extreme weather conditions.
The Professional Approach: Structural and Exterior Solutions
There comes a point where DIY methods are simply outmatched by the volume of moisture or the structural configuration of the home. Professional basement waterproofing and climate control specialists look at the house as a complete system. In my experience, professionals are necessary when the condensation is accompanied by structural cracks or when interior humidity is driven by massive exterior water pressure.
Professional Remediation Techniques
A common situation is that the basement is sweating because the earth outside is saturated. Professionals might suggest an interior perimeter drain and sump pump system. While this sounds like it's for leaks, it also lowers the overall humidity by managing the water table beneath the slab. Another professional route is the installation of high-capacity, energy-efficient air exchange systems that provide constant ventilation without the energy loss associated with opening windows.
From a landscaping perspective, a professional might also address the exterior. This includes excavating the foundation to apply a waterproof membrane and rigid exterior insulation. This keeps the concrete wall at a temperature closer to the interior of the home, which eliminates the cold surface necessary for condensation to occur.
Pros and Cons of Professional Hiring
- Pros: Long-term warranties, comprehensive solutions, increased home resale value, and access to commercial-grade equipment.
- Cons: Significant financial investment, potential for major disruption to the yard or basement living space during installation.
Cost Comparison: Short-term vs. Long-term Investment
The key thing to remember is that cost isn't just the price of the materials; it's the cost of failure. A DIY setup involving a dehumidifier and some insulation might cost between $500 and $1,500. This is manageable for most budgets but carries the ongoing cost of electricity and the risk that mold may still grow behind poorly installed insulation.
Professional interventions typically start at $3,000 and can exceed $15,000 depending on the scope. While this is a steep entry point, it often solves the problem for the life of the structure. Over the years, I have learned that homeowners who spend a little more on professional grading and foundation protection often save thousands in avoided mold remediation and structural repairs later on.
When to DIY and When to Hire
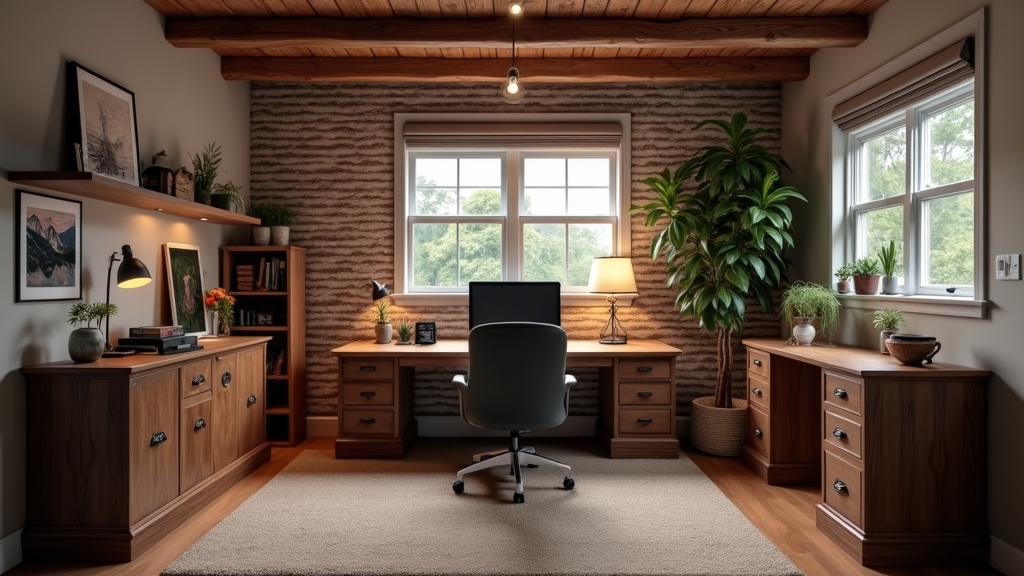
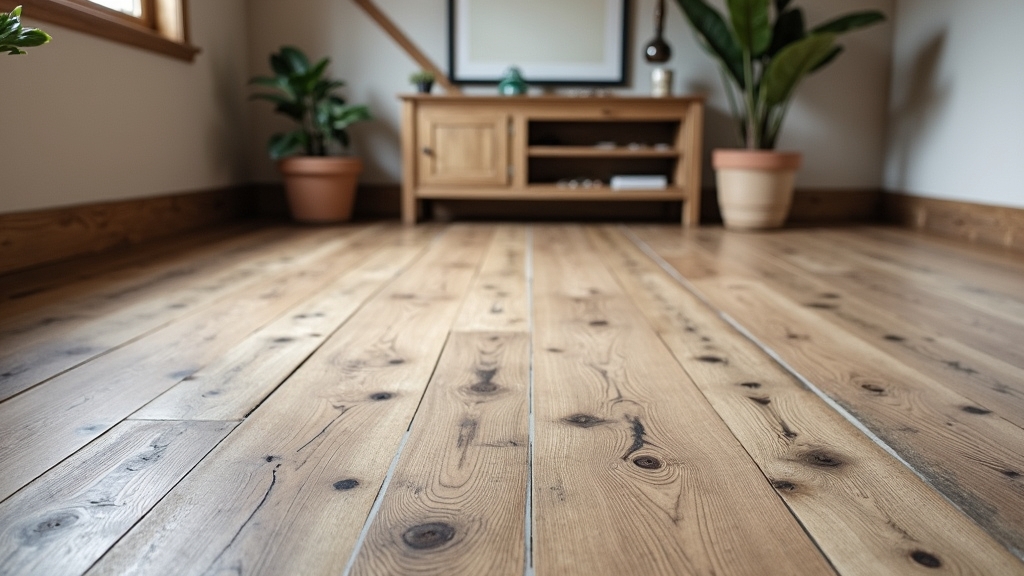
Choosing the right path depends on the severity of the sweating walls and your long-term plans for the space. If you are just using the basement for storage and the condensation only appears during humid summer months, DIY dehumidification is likely sufficient. However, if you plan to finish the basement with drywall and flooring, a professional evaluation is mandatory. You do not want to trap moisture behind finished walls where it can rot studs and grow mold unseen.
Best Use Cases for DIY
- Mild, seasonal condensation.
- Basements with existing, functional drainage.
- Homeowners on a strict budget who can monitor the area daily.
Best Use Cases for Professionals
- Persistent moisture regardless of the season.
- Visible mold growth or wood rot.
- Preparation for a full basement finishing project.
- History of foundation cracks or efflorescence (white powdery salt deposits).
Final Recommendation Based on Experience
In my experience, the best approach is often a hybrid. Start with the foil test to confirm you are dealing with condensation. If the issue is minor, implement DIY humidity controls like a dehumidifier and better ventilation. However, if you see that your foundation walls are consistently cold and wet even with a dehumidifier running, it is time to call a professional. What I have found is that "sweating" is often the first warning sign of a larger moisture management issue. Don't wait for the water to start pooling before you take the integrity of your foundation seriously. A dry basement is the foundation of a healthy home.
", "tags": ["basement moisture", "condensation", "home maintenance", "waterproofing"], "readTime": 8, "metaTitle": "How to Fix Basement Wall Condensation | DIY vs Professional", "metaDescription": "Stop basement wall condensation and sweating walls. Learn the causes, DIY fixes, and when to hire a professional to manage basement humidity effectively.", "focusKeyword": "basement wall condensation", "faqs": [ { "question": "Does painting basement walls stop condensation?", "answer": "Masonry paint acts as a vapor barrier and can help reduce the amount of moisture the wall releases into the air, but it does not fix the underlying temperature difference. If the wall is still cold, moisture may still condense on the surface of the paint or, worse, get trapped behind it, causing the paint to bubble and peel over time." }, { "question": "Is basement condensation a sign of a bigger problem?", "answer": "It can be. While it often just means the air is too humid, it can also indicate that the soil outside is poorly drained, keeping the walls excessively cold. Over time, persistent condensation leads to mold, which can compromise the health of everyone in the home and damage the building's structure." }, { "question": "How do I lower basement humidity without a dehumidifier?", "answer": "You can improve airflow by using fans, ensuring all vents are clear, and opening windows when the outside air is dry. Additionally, ensure your gutters are clean and downspouts are carrying water at least 10 feet away from the foundation to keep the surrounding soil as dry as possible." }, { "question": "Should I insulate basement walls to stop sweating?", "answer": "Yes, but you must use the right materials. Rigid foam insulation installed directly against the concrete is effective because it prevents the warm air from touching the cold wall. However, avoid fiberglass batt insulation in a damp basement, as it can soak up moisture and become a breeding ground for mold." } ], "tableOfContents": [ { "id": "understanding-the-root-cause-of-basement-wall-condensation", "title": "Understanding the Root Cause of Basement Wall Condensation", "level": 2 }, { "id": "the-foil-test-a-critical-first-step", "title": "The Foil Test: A Critical First Step", "level": 3 }, { "id": "the-diy-approach-managing-air-and-temperature", "title": "The DIY Approach: Managing Air and Temperature", "level": 2 }, { "id": "effective-diy-strategies", "title": "Effective DIY Strategies", "level": 3 }, { "id": "pros-and-cons-of-diy-fixes", "title": "Pros and Cons of DIY Fixes", "level": 3 }, { "id": "the-professional-approach-structural-and-exterior-solutions", "title": "The Professional Approach: Structural and Exterior Solutions", "level": 2 }, { "id": "professional-remediation-techniques", "title": "Professional Remediation Techniques", "level": 3 }, { "id": "pros-and-cons-of-professional-hiring", "title": "Pros and Cons of Professional Hiring", "level": 3 }, { "id": "cost-comparison-short-term-vs-long-term-investment", "title": "Cost Comparison: Short-term vs. Long-term Investment", "level": 2 }, { "id": "when-to-diy-and-when-to-hire", "title": "When to DIY and When to Hire", "level": 2 }, { "id": "best-use-cases-for-diy", "title": "Best Use Cases for DIY", "level": 3 }, { "id": "best-use-cases-for-professionals", "title": "Best Use Cases for Professionals", "level": 3 }, { "id": "final-recommendation-based-on-experience", "title": "Final Recommendation Based on Experience", "level": 2 } ] }