The Hidden Reality of Basement Mold
In most homes, the basement is the primary battleground for moisture and air quality. As a property manager who has overseen dozens of renovations and maintenance cycles, I can tell you that a 'musty smell' is rarely just a basement quirk—it is a red flag. When tenants or homeowners ask me about basement mildew, the real issue usually is an underlying moisture problem that has been ignored for too long.
Properly conducting a mold inspection is about more than just looking for dark spots. It is about understanding the ecosystem of your home. Over the years, I have learned that a temporary band-aid, like spraying bleach on a surface, does nothing if the root cause remains. This guide will walk you through the nuances of identifying black mold, using the right tools, and making the critical decision: can you handle this yourself, or do you need to call in the experts for mold remediation?
The DIY Mold Inspection: What You Can Do
From experience, most homeowners are capable of performing an initial sweep that catches 80% of visible issues. A DIY inspection is your first line of defense. It involves a systematic check of every corner, pipe, and floor joist.
Essential Tools for the Homeowner
What works best is having the right gear before you head downstairs. You don't need industrial equipment, but you do need precision. One thing many people overlook is a high-lumen LED flashlight. Standard overhead basement lighting is often too dim to catch the subtle texture of early-stage mold growth.
- High-powered LED flashlight
- Moisture meter (available at most hardware stores)
- Hygrometer (to check humidity levels)
- N95 mask and nitrile gloves (safety first!)
- A screwdriver (to poke at potentially rotted wood)
Where to Look and What to Look For
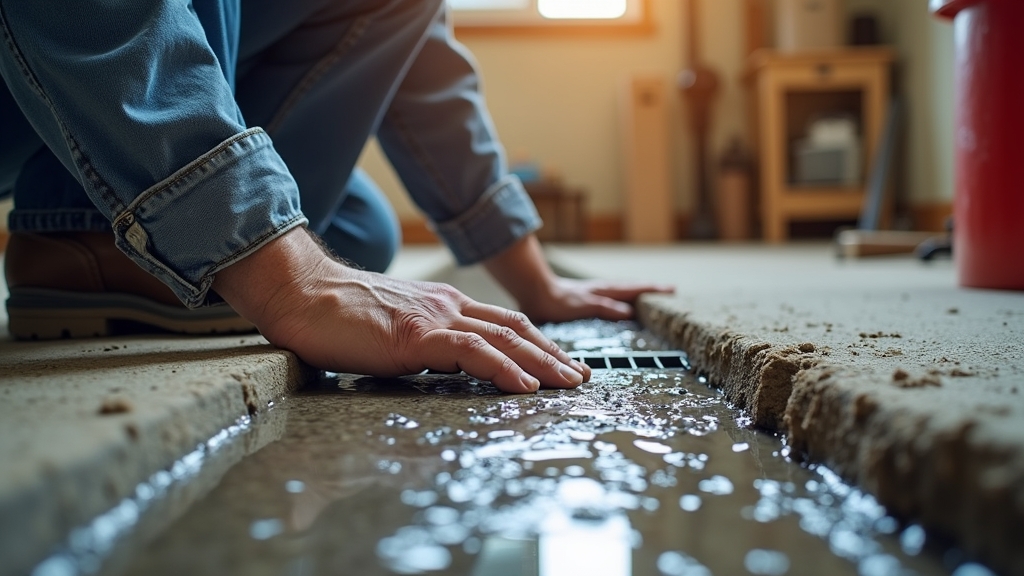
In my experience, mold doesn't just appear in the middle of the floor; it hides where air stagnates. Start by checking the 'splash zones'—areas near the sump pump, water heater, and washer/dryer hookups. A common situation is finding basement mildew on cardboard boxes stored directly on concrete floors. Concrete is porous and 'breathes' moisture, which trapped organic material loves.
Look for 'efflorescence'—that white, powdery substance on brick or concrete. While not mold itself, it is a sign of water intrusion. If you see dark, fuzzy, or slimy patches, you might be dealing with black mold (Stachybotrys chartarum), which requires immediate attention.
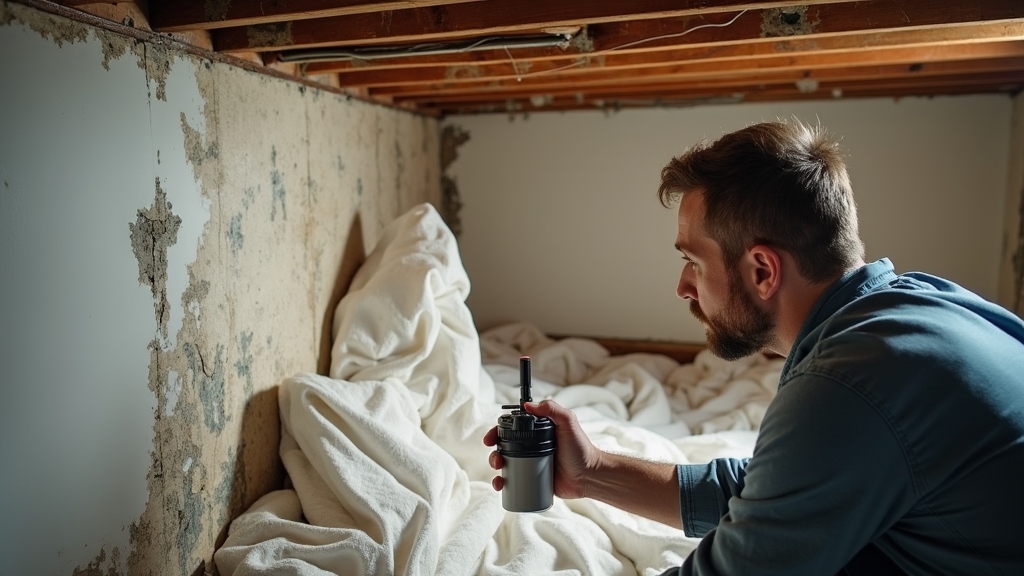
The Professional Mold Inspection: The Deep Dive
When you hire a pro, you aren't just paying for a pair of eyes; you are paying for data. A professional mold inspection goes beyond what is visible to the naked eye. They use thermal imaging cameras to find cold spots in walls where condensation is occurring and air sampling pumps to count spores per cubic meter.
Advanced Diagnostic Methods
Professionals will often take 'lift' samples (using tape or swabs) and 'air' samples. What I have found is that these reports are essential if you are dealing with insurance claims or real estate transactions. They provide a baseline of air quality compared to the outdoor air, which tells you if the mold is actively spreading through your HVAC system.
Pros and Cons: DIY vs. Professional
DIY Inspection
Pros:
- Cost-effective (almost free if you have a flashlight).
- Immediate results; no waiting for an appointment.
- Helps you learn the 'quirks' of your own home.
Cons:
- High risk of missing hidden mold behind drywall or under flooring.
- No official documentation for legal or insurance purposes.
- Potential health exposure if proper PPE isn't used.
Professional Inspection
Pros:
- Comprehensive detection using infrared and air sampling.
- Identifies the specific species of mold.
- Provides a roadmap for mold remediation.
Cons:
- Can be expensive ($300 - $1,000+).
- Some companies have a conflict of interest if they also perform the remediation (always ask about this!).
Cost Comparison
The cost difference is significant, but it must be weighed against the value of your property. Over the years, I have learned that spending $500 now can save $5,000 in structural repairs later.
- DIY Cost: $20–$100 for basic tools like a moisture meter and protective gear.
- Professional Inspection: $300–$600 for a standard residential basement.
- Professional Testing with Lab Results: $600–$1,200 depending on the number of air samples taken.
Best Use Cases: When to Choose Which
The key thing to remember is the scale of the problem. If you had a small pipe leak under a sink and you caught it immediately, a DIY inspection and cleanup are usually sufficient. However, if you walk into your basement and the air feels 'heavy' or you have unexplained respiratory issues, you need a professional.
Choose DIY When:
- The affected area is less than 10 square feet.
- You know exactly where the water came from (e.g., a one-time spill).
- You are doing routine seasonal maintenance.
Choose a Professional When:
- The mold covers more than 10-30 square feet.
- You suspect mold in the HVAC ducts.
- There is hidden water damage from a foundation crack.
- You are buying or selling the home.
Final Recommendation: The Property Manager's Strategy
In my experience, the best approach is a hybrid one. Conduct your own monthly DIY walkthroughs to catch moisture early. If you find a spot of basement mildew, clean it and monitor the humidity. But, if you find evidence of black mold or if the 'musty' smell persists despite your cleaning efforts, do not wait. The real issue usually is that mold spores are like icebergs—what you see on the surface is only 10% of the colony. Hire a professional inspector to map the moisture, and then follow their lead for mold remediation to ensure the fix lasts for years, not just weeks.
3 Keys to Long-Term Success:
- Keep basement humidity below 50% using a dedicated dehumidifier.
- Ensure all downspouts discharge at least 6 feet away from the foundation.
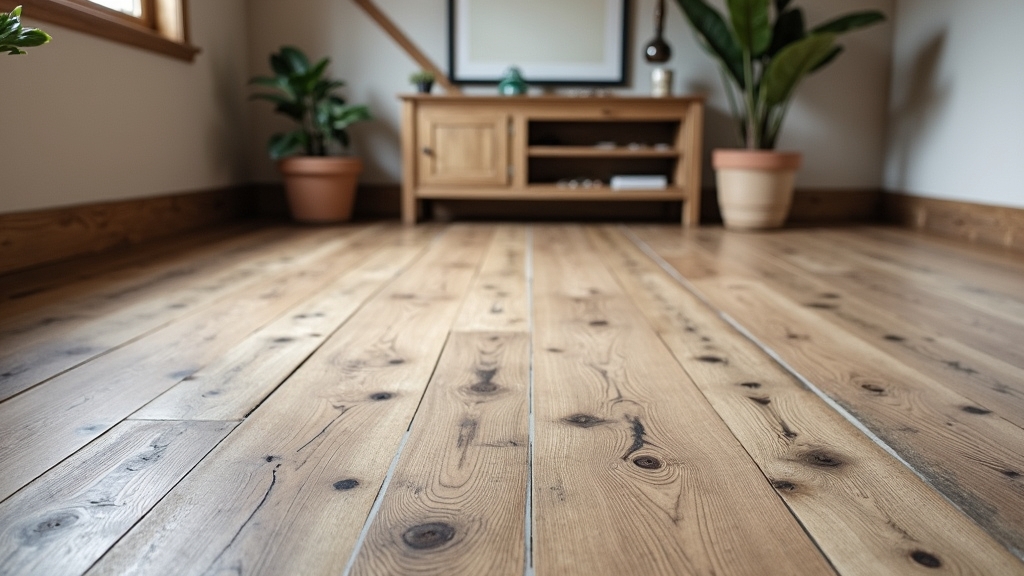
- Never install carpet directly over a concrete basement floor; use a vapor barrier subfloor first.