Understanding the Root of Basement Wall Sweat
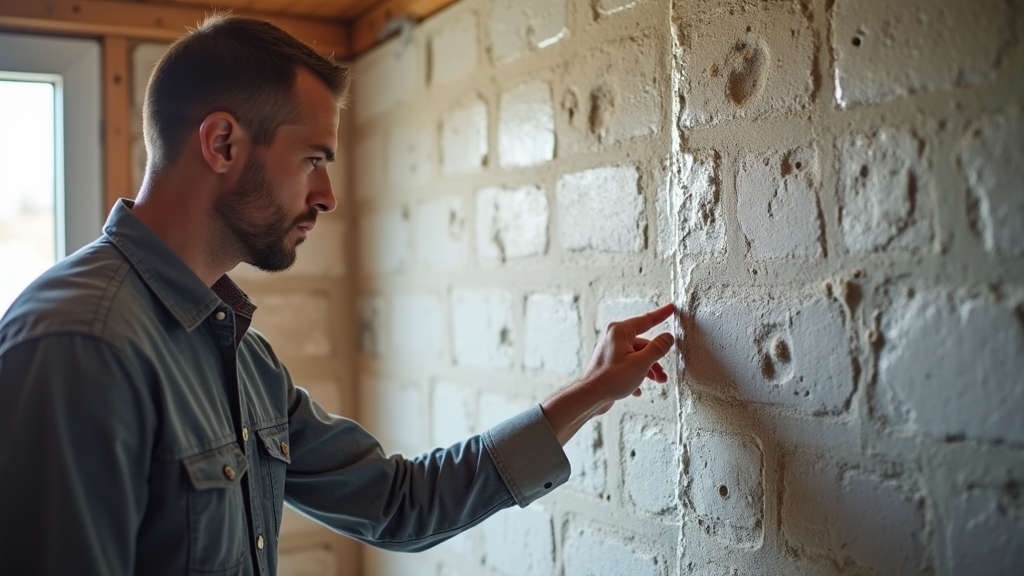
After managing dozens of properties, I’ve seen homeowners waste thousands on waterproofing paint when their real enemy was simple physics. Basement wall sweat isn’t usually a leak; it’s condensation. When warm, humid air hits a cold concrete surface—which stays at the earth's temperature of about 55°F—it reaches its dew point and turns into liquid water. Here is the thing: if you don’t distinguish between seepage from the outside and condensation from the inside, you will never fix the problem.
To test this, tape a 12-inch square of plastic wrap to your basement wall, sealing all edges. Wait 48 hours. If the top of the plastic is wet, you have condensation. If the underside (against the wall) is wet, you have a seepage issue. This guide focuses on the former: stopping the air from liquefying on your walls.
Method 1: High-Capacity Dehumidification
What most people miss is that a cheap, big-box store dehumidifier isn't designed for the unique environment of a basement. These units often freeze up or lack the pump power to move water to a floor drain or utility sink. For a real solution, you need a commercial-grade, high-capacity unit.
Pros and Cons
- Pros: Immediate results; lowers relative humidity (RH) throughout the entire basement; prevents mold growth on organic materials like furniture.
- Cons: Ongoing electricity costs; requires regular filter cleaning; does not address the underlying thermal bridge of the cold wall.
Now, the important part: Set your dehumidifier to 45% or 50% RH. Anything lower is a waste of energy, and anything higher risks mold germination. I always recommend a unit with an internal condensate pump so you don't have to empty buckets daily—a task most tenants (and homeowners) eventually neglect.
Method 2: Rigid Foam Insulation (The Thermal Break)
If you want a permanent fix that doesn't rely on a machine running 24/7, you need to change the temperature of the wall surface. This is where concrete condensation is truly defeated. By installing 2-inch extruded polystyrene (XPS) rigid foam boards directly against the concrete, you create a thermal break.
Pros and Cons
- Pros: Eliminates the cold surface where condensation forms; adds R-value to the home; long-term energy savings.
- Cons: High upfront labor and material costs; requires finishing with drywall for fire safety; reduces usable square footage by a few inches.
This is where it gets interesting: You must glue the foam directly to the concrete with specialized adhesive and tape the seams. If you leave a gap between the foam and the wall, you risk trapping moist air in a dark, cool space—the perfect recipe for hidden mold. When done correctly, the air in the room never "sees" the cold concrete, so condensation becomes physically impossible.
Method 3: Mechanical Ventilation (HRV and ERV)
In tightly sealed modern homes, basement air becomes stagnant. Basement moisture solutions often overlook Heat Recovery Ventilators (HRV) or Energy Recovery Ventilators (ERV). These systems exchange stale, humid indoor air with fresh outdoor air while pre-conditioning it.
Pros and Cons
- Pros: Improves overall indoor air quality; removes VOCs and radon; works automatically.
- Cons: Expensive installation; requires ductwork; may not be sufficient in extremely humid climates without a dehumidifier.
Worth mentioning: An ERV is generally better for humid summers because it helps manage the moisture content of the incoming air, whereas an HRV is strictly for heat exchange. If your basement feels like a cave, ventilation is your best friend.
Cost Comparison: Which Fix Fits Your Budget?
Choosing a method often comes down to the bottom line. The good news is that you can start small and scale up. Here is a breakdown of what to expect:
- Dehumidifying Basement (Commercial Grade): $800 - $1,500. Low installation, moderate operating cost.
- Rigid Foam Insulation: $4.00 - $7.00 per square foot (installed). High upfront, zero operating cost.
- Mechanical Ventilation: $1,500 - $3,500. Moderate upfront, low operating cost.
- Basic Airflow Improvements (Fans/Vent Cleaning): $50 - $200. Temporary band-aid only.
Best Use Cases for Each Situation
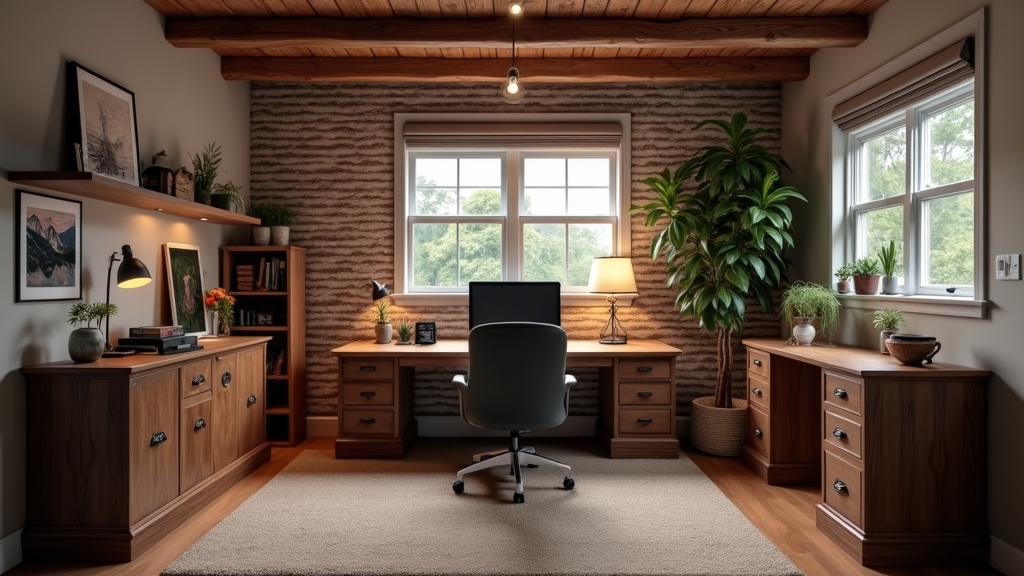
On the other hand, the "best" solution depends on how you use the space. If the basement is a finished living area, rigid foam is the gold standard. It provides comfort and permanent protection. For an unfinished storage area or a workshop, a high-quality dehumidifier is often the most practical choice because it protects your tools and stored goods from rust and mildew.
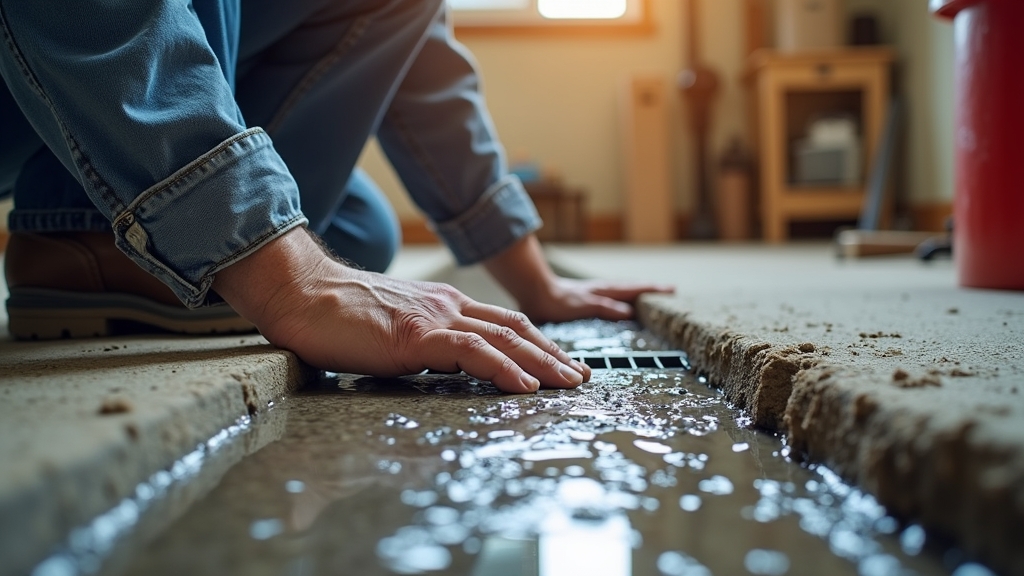
Something to keep in mind: If you see water trickling down the walls during a rainstorm, none of these methods will work. You are dealing with hydrostatic pressure, and you need to look at your gutters, downspouts, and exterior grading first.
The Manager’s Final Recommendation
After years of trial and error, my "perfect" basement setup involves a two-pronged approach. First, ensure your gutters are clear and discharging 10 feet away from the foundation. Second, if the basement is unfinished, install a 70-pint commercial dehumidifier with a dedicated drain line. If you are finishing the basement, never—and I mean never—use fiberglass batts against concrete. Use rigid foam boards, seal the seams, and then build your stud wall in front of it. It is the only way to sleep soundly knowing your walls aren't rotting from the inside out.