Understanding Hairline Basement Floor Cracks
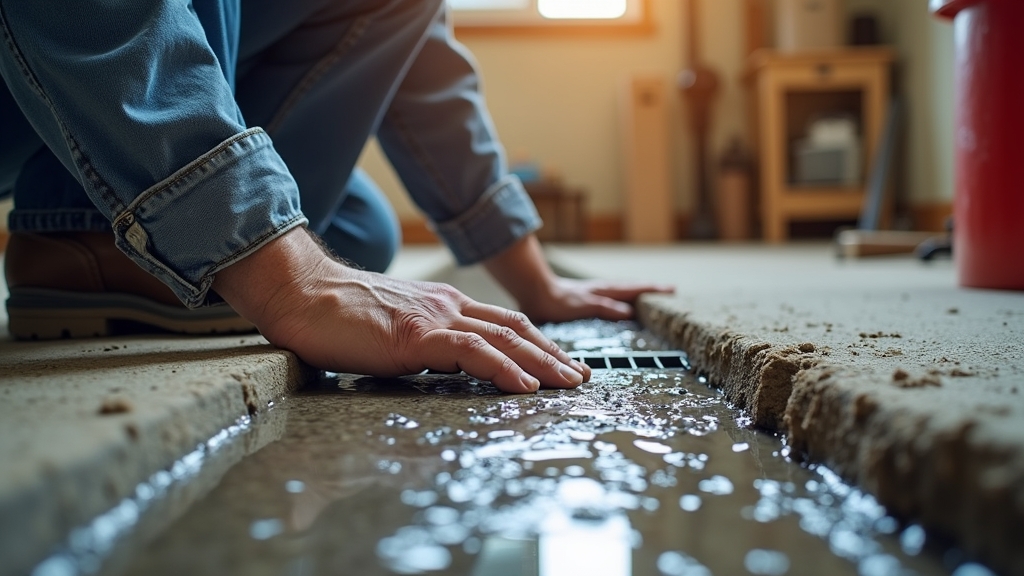
Finding a thin, wandering line across your basement floor can be unsettling. You start wondering if the house is sinking or if you are about to deal with a major flood. Here is the thing: almost every concrete basement floor will develop some form of cracking over time. Concrete shrinks as it cures, and the ground beneath your home shifts with the seasons. Most hairline cracks—those less than 1/16th of an inch wide—are aesthetic or minor moisture issues rather than structural emergencies.
However, ignoring them isn’t the answer either. Even a tiny gap can act as a highway for radon gas, soil moisture, and insects. In this guide, we will break down the realistic costs of floor repair, from simple DIY fixes to professional epoxy injection systems, so you can decide which path fits your budget and your home’s needs.
The DIY Approach: Liquid Fillers and Sealants
For most homeowners, the first instinct is to head to the local hardware store. This is the most budget-friendly route, focusing on topical sealants or gravity-fed fillers. These products are usually acrylic or polyurethane-based and are designed to flow into the crack and harden.
The Pros and Cons of DIY Fillers
The good news is that these products are incredibly accessible and require very little specialized equipment. You generally just need a vacuum to clean the crack, a wire brush, and the filler itself. On the other hand, these are often considered temporary fixes. Because they don't penetrate deep into the slab under pressure, they might pull away if the concrete continues to expand and contract with temperature changes.
Estimated DIY Costs
If you choose to tackle this yourself, your costs are almost entirely material-based. A high-quality concrete crack filler typically costs between $15 and $40 per bottle/tube. For a standard 20-foot crack, you might spend $50 to $100 on materials including cleaning supplies. Your time investment is usually 2 to 4 hours, depending on how much prep work is required.
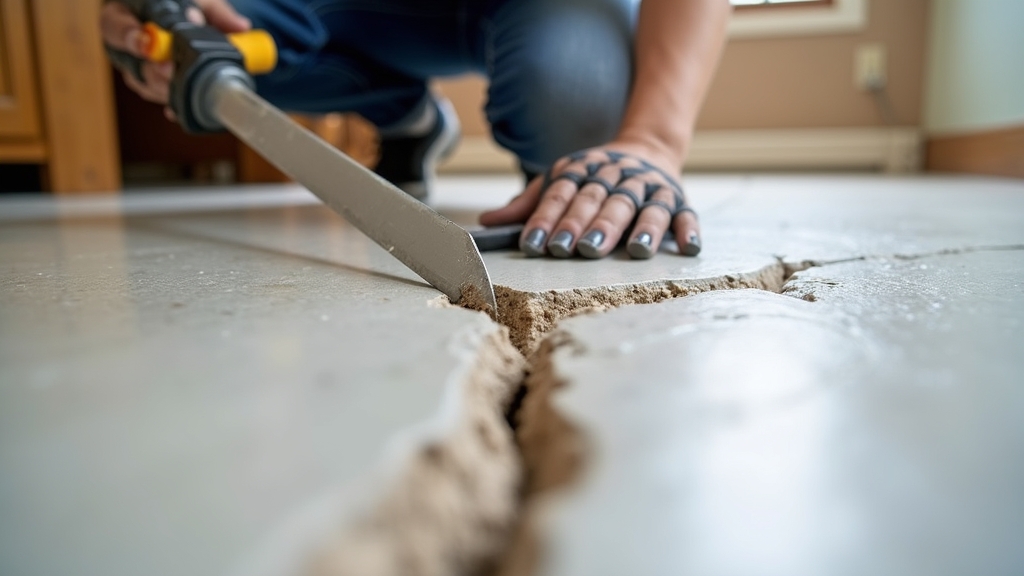
Professional Epoxy Injection: Structural Bonding
Now, the important part: if the crack is more than just a surface blemish, you might need epoxy injection. This process involves installing "ports" along the crack and injecting a high-strength epoxy resin under pressure. This doesn't just fill the gap; it welds the concrete back together, often making the repaired area stronger than the surrounding floor.
When to Choose Epoxy Injection
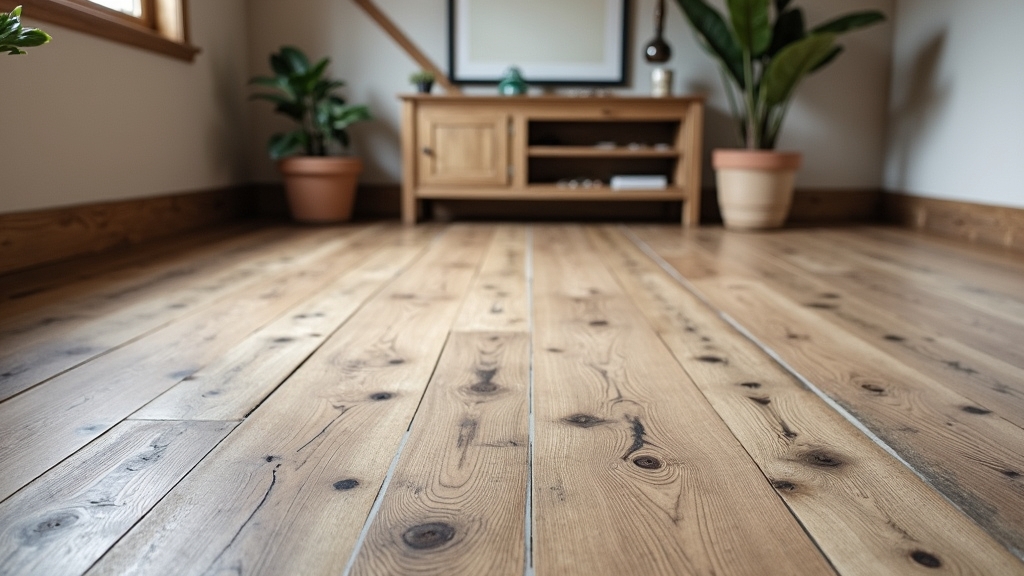
This is where it gets interesting. While many people think epoxy is only for walls, it is highly effective for floor repair when you want to ensure a permanent, structural bond. If you plan on installing high-end flooring like hardwood or tile over the concrete, this is the gold standard. It prevents the crack from telegraphing through your expensive new floor later on.
Detailed Cost Breakdown for Epoxy
A professional epoxy injection job is a significant jump in price. Contractors typically charge a base mobilization fee plus a linear foot rate. Expect to pay between $350 and $600 for the first 8 to 10 feet of cracking, with additional costs of $30 to $60 per linear foot after that. For a single long crack across a basement, a professional bill of $800 to $1,200 is very common.
Moisture Barrier Integration and Resurfacing
What most people miss is that a crack is often a symptom of a larger moisture problem. If your basement feels damp or smells musty, simply plugging a crack won't solve the issue. This is where a comprehensive moisture barrier or a full floor coating comes into play.
The Role of a Moisture Barrier
Worth mentioning is that concrete is naturally porous. Even without cracks, moisture vapor travels through it. When you have hairline cracks, that vapor transmission increases significantly. A moisture barrier coating is a thick, specialized epoxy or urethane layer applied to the entire floor surface after the cracks have been filled.
The Cost of Full Floor Protection
This is the most expensive tier of repair. Professional application of a moisture-mitigating floor system typically ranges from $5 to $12 per square foot. For a 500-square-foot basement area, you are looking at an investment of $2,500 to $6,000. While steep, this replaces the need for separate crack repairs and prepares the space for finishing.
Cost Comparison Summary
To help visualize the difference, here is a quick look at the typical investment levels for a single 15-foot hairline crack:
- DIY Liquid Filler: $60 - $120 (Materials only)
- Professional Polyurethane Foam: $400 - $700 (Focus on water-stopping)
- Professional Epoxy Injection: $600 - $1,000 (Focus on structural strength)
- Full Floor Resurfacing: $2,500+ (Comprehensive moisture and crack protection)
Best Use Cases for Each Solution
Choosing the right method depends on your long-term plans for the basement. Something to keep in mind is that the cheapest fix today might be the most expensive one five years from now if you have to tear up finished flooring to fix a recurring leak.
- Use DIY Fillers if: The basement is unfinished, the crack is strictly cosmetic, and there are no signs of water seepage or radon concerns.
- Use Epoxy Injection if: You are planning to install permanent flooring (tile, wood, laminate) or if the crack is showing signs of widening over time.
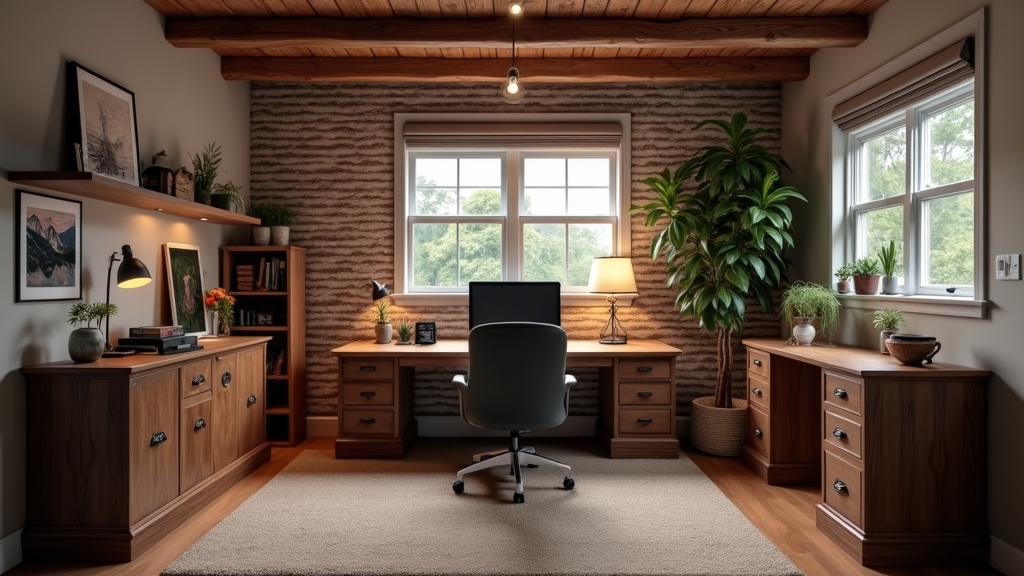
- Use Moisture Barrier Systems if: The basement has a history of dampness, you live in an area with high radon levels, or you are creating a high-end living space like a home theater or bedroom.
Final Recommendation Based on Situation
If you are looking at a single hairline crack and the basement stays dry during heavy rain, start with a high-quality DIY polyurethane sealant. It is a low-risk way to monitor the crack. If the sealant peels or the crack grows within six months, then it’s time to call in the pros for an epoxy injection.
However, if you see white powdery residue (efflorescence) near the crack or notice a damp smell, don't waste money on surface fillers. In those cases, the crack is already acting as a conduit for moisture. Investing in a professional moisture barrier or a pressure-injected solution will save you the headache of replacing moldy carpets or warped flooring down the road.