Why Your Basement Sounds Like a Drum Set
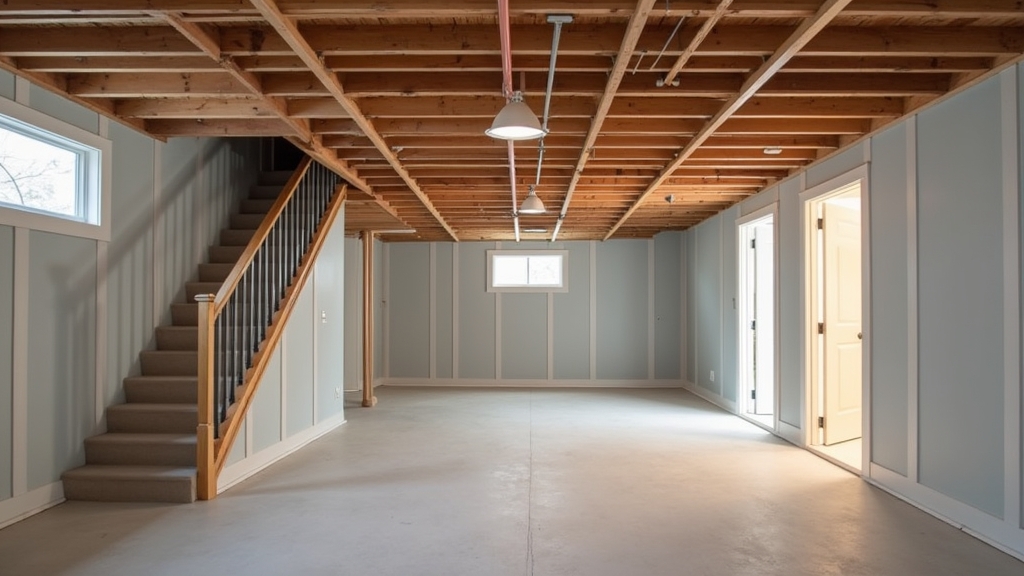
In my 15 years of restoring old homes, I have learned that the basement is often the loudest room in the house, even when it is empty. The problem stems from the way modern homes are constructed. Most basement ceilings are essentially a giant wooden diaphragm. When someone walks across the kitchen floor upstairs, the impact vibrates through the subfloor and the floor joists, projecting that noise directly into your basement living space. This is known as impact noise. On the other hand, you have airborne noise—voices, television, or music—that travels through the gaps around pipes and electrical wires.
Understanding this distinction is vital. If you only tackle one type of noise, you will still hear the other. To truly find peace, we have to look at the ceiling as a system rather than just a surface. This guide will walk you through a seasonal approach to soundproofing, ensuring you use the right materials at the right time of year for the best results.
Seasonal Planning for Soundproofing
Soundproofing is not a weekend project you should rush into during a heatwave or a blizzard. Timing your installation can actually affect the quality of the seal you achieve. Here is the thing: materials like acoustic sealants and certain types of insulation behave differently depending on the temperature and humidity levels in your home.
Spring: The Inspection Phase
Spring is the ideal time to strip back any existing drop ceilings or old tiles to see what you are working with. Check for air leaks. This is where it gets interesting: sound behaves a lot like water. If there is a hole big enough for air to pass through, sound will find it. Look for gaps where plumbing stacks or electrical conduits move from the basement into the floor above. Use this time to seal those gaps with fire-rated expanding foam or acoustic caulk before you even think about insulation.
Summer: Moisture Management
Before you pack your ceiling with insulation, you need to ensure your basement’s humidity is under control. Adding insulation to a damp basement ceiling can trap moisture against your floor joists, leading to mold issues later on. Run a dehumidifier during the summer months to stabilize the environment. Now, the important part: if you are installing mass-loaded vinyl (MLV) or heavy rubber mats, doing it in the summer makes the material more pliable and easier to handle compared to the stiff, unyielding rolls you'll deal with in January.
Fall: The Heavy Lifting
Fall is the sweet spot for the actual installation. The moderate temperatures make working in tight joist spaces more comfortable, and the lower humidity ensures your materials are dry. This is when you should be installing your acoustic batts and resilient channels. You want to finish the heavy structural work before the heating season kicks in, as dry winter air can cause wood to shrink slightly, potentially affecting how your acoustic sealant cures.
The Step-by-Step Solution to a Silent Ceiling
To achieve professional-grade results, we need to follow a multi-layered approach: Mass, Damping, Decoupling, and Absorption.
Step 1: Sealing the Leaks
Start by addressing the airborne noise. What most people miss is the small gap between the top of the wall and the floor joists. Use a high-quality acoustic sealant to plug every visible crack. Even a one-percent gap in your ceiling coverage can let in up to fifty percent of the noise. This is tedious work, but it is the foundation of a quiet room.
Step 2: Adding Absorptive Insulation
Once the gaps are sealed, fill the cavities between the joists with mineral wool insulation. Unlike standard fiberglass, mineral wool is much denser and specifically designed for sound attenuation. Do not pack it too tightly; you want it to fit snugly but still retain some air pockets to trap sound waves. Worth mentioning: mineral wool is also fire-resistant, which provides an extra layer of safety for your family.
Step 3: Decoupling with Resilient Channels
This is where we address impact noise. If you screw drywall directly to the joists, the vibration from footsteps upstairs will pass right through. To stop this, install resilient channels—thin metal rails that act like a shock absorber. You screw the channels to the joists, and then screw the drywall to the channels. This creates a mechanical break that prevents vibration from traveling through the structure.
Step 4: The Double Drywall Sandwich
The good news is that adding mass is one of the most effective ways to stop sound. Instead of one layer of 5/8-inch drywall, use two. Between these layers, apply a damping compound. This compound never fully hardens; it stays flexible, converting sound energy into trace amounts of heat. It is a game-changer for blocking low-frequency thuds and bass from music.
Practical Tips from 15 Years in the Trenches
I have made plenty of mistakes so you don't have to. Something to keep in mind: never let your drywall touch the side walls. Leave a 1/4-inch gap around the entire perimeter of the ceiling and fill that gap with acoustic caulk. If the ceiling touches the walls, the vibration will just bypass your fancy resilient channels and head straight down the wall studs. This is called flanking noise.
On the other hand, if you have recessed "can" lights, you have a massive sound leak. Either swap them for surface-mounted fixtures or build insulated “back boxes” around them in the joist space. A ceiling full of holes for lights will never be truly soundproof, no matter how much insulation you use.
Common Mistakes to Avoid
- Using standard fiberglass: It’s great for heat, but terrible for blocking sound. Always opt for stone wool or specialized acoustic batts.
- Short-circuiting the channels: If you use a screw that is too long and it goes through the drywall, through the channel, and into the joist, you have "short-circuited" the system. The vibration will travel right down that screw.
- Ignoring the door: If your basement has a door leading upstairs, a soundproof ceiling won't help if the door is a hollow-core piece of wood with a half-inch gap at the bottom. Switch to a solid-core door and add a weatherstripping kit.
- Over-compressing insulation: Squeezing two layers of insulation into a space meant for one actually reduces its effectiveness. It needs to stay somewhat lofty to work.