Conquering the Damp: A Practical Guide to Basement Seepage
Here is the thing: a damp basement isn't just a laundry room nuisance; it is a direct threat to your home’s structural integrity and indoor air quality. Most homeowners see a wet spot and immediately reach for a bucket of concrete masonry paint, thinking a thick coat will solve the problem. Unfortunately, that is one of the most common mistakes in home maintenance. To truly stop basement leaks, you have to understand hydrostatic pressure—the force of water in the soil pushing against your foundation. This guide focuses on internal solutions that work, provided you do the prep work correctly.
Why Most DIY Waterproofing Fails
What most people miss is that waterproofing is a systemic issue. If you apply a basement wall sealant over active seepage or failing paint, the water pressure will simply bubble the new coating off within months. This is where it gets interesting: the success of your project is 90% preparation and 10% application. We aren't just 'painting' the walls; we are creating a chemical or mechanical bond that can withstand several pounds of pressure per square inch.
Essential Tools and Materials
Before you head to the hardware store, you need a specific kit. Don't substitute general-purpose products for masonry-specific ones.
- Hydraulic Cement: Unlike standard mortar, this expands as it sets, literally wedging itself into cracks to stop active leaks.
- Masonry Sealant: Look for a high-quality, oil or latex-based waterproofer rated for at least 10-12 PSI.
- Wire Brush and Scraper: For removing efflorescence (white salty deposits) and old, flaking paint.
- Trisodium Phosphate (TSP) or Etching Solution: To clean the concrete pores.
- Stiff-Bristle Nylon Brush: For 'scrubbing' the sealant into the masonry.
- Angle Grinder (Optional): For widening thin cracks to allow the cement to penetrate.
The Preparation: The Step Most People Skip
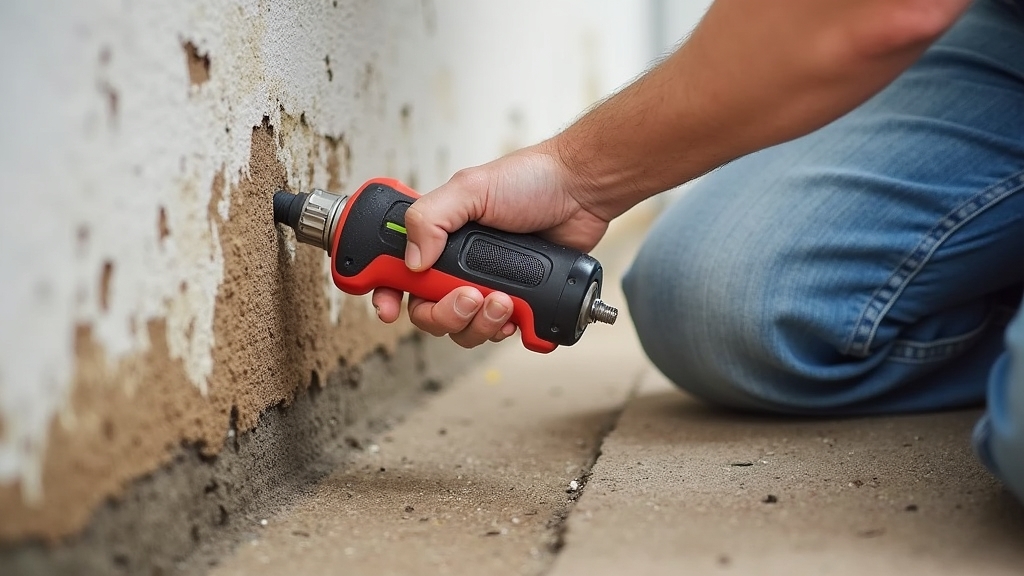
Now, the important part: you cannot seal a wall that isn't surgically clean. Concrete is porous, and over time, minerals called efflorescence build up on the surface. If you seal over these salts, the sealant will fail. Starting with a wire brush, remove every bit of loose debris. Worth mentioning is that if your walls have been previously painted, you must remove any peeling sections. If the existing paint is chalky, the new sealant won't bond.
The Etching Process
Once the wall is physically clean, it needs to be chemically prepared. Using a solution of TSP or a mild muriatic acid wash (follow safety protocols strictly) helps open the 'pores' of the concrete. This allows the basement wall sealant to penetrate deeply rather than sitting on the surface like a film. Rinse thoroughly and allow the walls to dry until they are slightly damp but not dripping.
Step-by-Step Instructions to Stop Seepage
Step 1: Identify and Prep Cracks
Inspect the walls for 'weeping' cracks. Use a hammer and chisel or an angle grinder to undercut the crack into a 'V' or 'U' shape. This creates a mechanical lock for the repair material. If the crack is narrower at the surface than it is inside, the patch will eventually pop out.
Step 2: Apply Hydraulic Cement
Mix only as much hydraulic cement as you can use in three minutes; it sets incredibly fast. Force it into the undercut cracks using a putty knife. The good news is that this material works even if water is currently trickling out, as the expansion stops the flow instantly.
Step 3: The First Coat of Sealant
Do not use a roller for the first coat. Use a heavy-duty masonry brush. Load the brush and use a circular motion to work the sealant into every pinhole and crevice. Something to keep in mind: you are trying to fill the texture of the block or concrete, not just cover it. Start from the bottom and work your way up to catch any drips.
Step 4: The Second Coat
Wait the manufacturer's recommended time (usually 12-24 hours). The second coat can be applied with a heavy-nap roller for a smoother finish. This layer reinforces the first and ensures no 'holidays' or missed spots remain.
Tips for Best Results and Longevity
On the other hand, internal sealing is only half the battle. If your gutters are clogged or your downspouts discharge next to the foundation, no amount of sealant will hold forever. Ensure your soil grades away from the house at a slope of at least 6 inches over the first 10 feet. Also, avoid applying sealants during a heavy rainstorm when the walls are saturated; the internal moisture can prevent the sealant from curing properly.
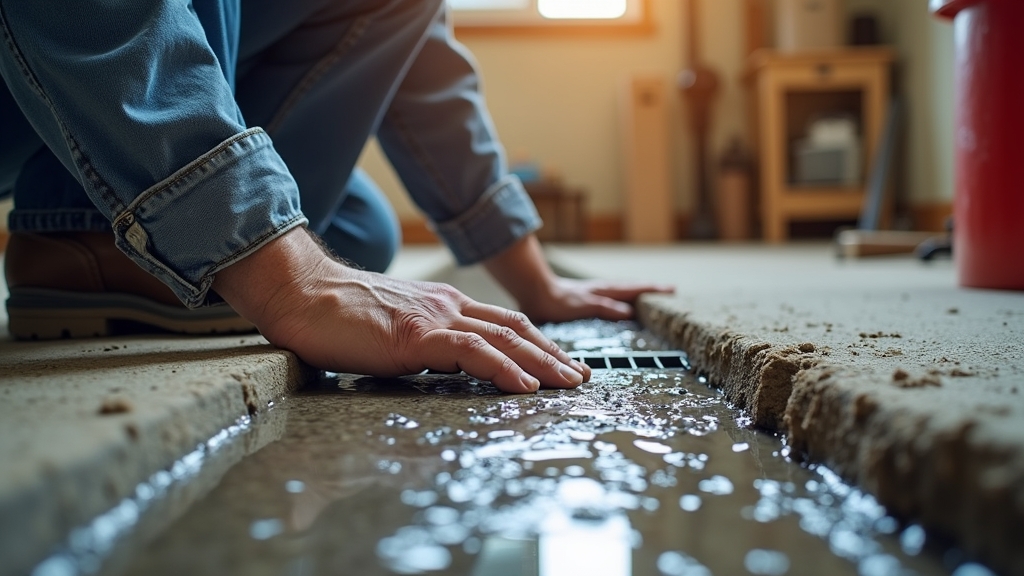
Troubleshooting Common Issues
If you see bubbles forming in your new sealant, it’s likely due to trapped moisture or efflorescence that wasn't fully removed. If the leak persists at the 'cove joint' (where the wall meets the floor), you may need to install an interior perimeter drain or sump pump, as this indicates high water table pressure that a topical sealant cannot handle. Finally, if the sealant turns yellow, it may be reacting to an old oil-based coating underneath that wasn't properly primed or removed.