Understanding the Battle Against Basement Moisture
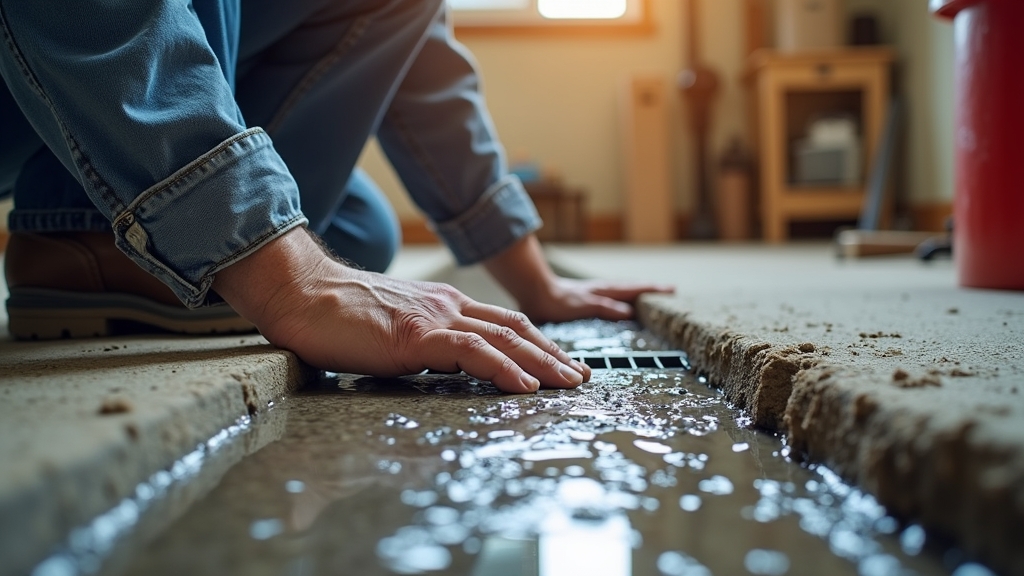
In most homes with a below-grade foundation, moisture is an ever-present adversary. From experience, there is nothing quite as disheartening for a homeowner as walking downstairs to find a puddle on the floor or a damp, musty smell clinging to the air. Over the years, I have learned that while many people immediately look for a quick fix in a bucket of sealant, the real issue usually involves a combination of physics and environmental factors. Waterproofing basement walls from the inside is a valid and often necessary project, but it requires a deep understanding of why the water is there in the first place.
What I have found is that interior waterproofing is a two-part process: managing the moisture that is already pushing through the masonry and, more importantly, reducing the pressure from the outside. If you simply slap a coating on a wall without addressing the root cause, the water will eventually find a way to push that coating right off the surface. My goal is to walk you through the mechanics of water seepage and show you how to build a defense that actually lasts.
The Root Causes of Water Seepage
The key thing to remember is that soil is like a giant sponge. When it rains, the ground around your foundation becomes saturated. This leads to several specific phenomena that contribute to basement dampness.
Hydrostatic Pressure
A common situation is the buildup of hydrostatic pressure. This occurs when the water table rises or the soil around your foundation becomes waterlogged. Water is heavy—about 62.4 pounds per cubic foot. When you have several feet of saturated soil pressing against your basement walls, that weight exerts tremendous pressure. This pressure forces water through the microscopic pores of concrete, the mortar joints in cinder block walls, and any small cracks that may have developed over time. In my experience, if you see water 'weeping' through the middle of a solid concrete wall, hydrostatic pressure is the primary culprit.
Capillary Action
One thing many people overlook is capillary action, also known as 'wicking.' Concrete is naturally porous. Even if there isn't standing water outside, the moisture in the soil can be drawn upward and inward through the wall, much like water traveling up a paper towel. This often manifests as a damp feeling to the touch or the appearance of efflorescence—that white, powdery salt deposit you often see on masonry walls. Over the years, I've seen homeowners mistake this for mold, but it's actually just mineral salts left behind as the moisture evaporates.
Soil Expansion and Contraction
In areas with heavy clay soil, the earth expands significantly when wet and shrinks when dry. This constant movement puts physical stress on the foundation. Over 15 years of DIY projects, I've noticed that this cycle often leads to hairline fractures in the mortar. These tiny gaps become the path of least resistance for water during the next big storm.
Immediate Steps to Take for Internal Sealing
When you decide to tackle the walls from the inside, the preparation is actually more important than the application of the sealant itself. If the surface isn't prepared correctly, any waterproofing product will fail within a year or two.
Surface Preparation and Cleaning
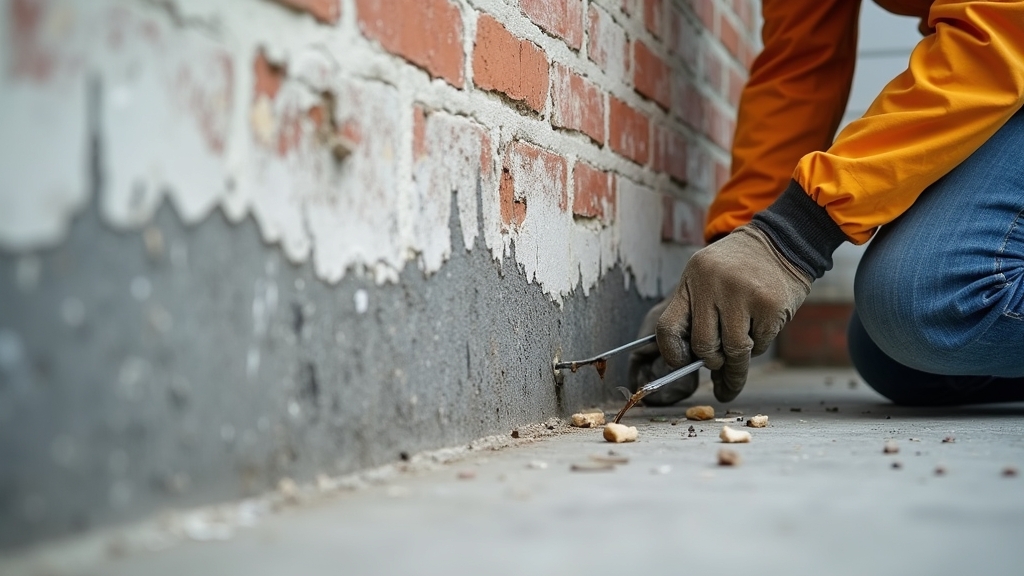
What works best is starting with a clean, 'open' surface. If your walls have been painted before, that paint usually has to go. Most interior masonry sealers need to penetrate the pores of the concrete to form a bond. If they are sitting on top of old, flaking latex paint, they won't work. I have found that a wire brush or a stiff-bristled drill attachment is essential for removing loose debris, efflorescence, and old coatings. In some cases, a mild acid etch solution is necessary to open up the pores of the concrete, though this requires careful handling and excellent ventilation.
Patching Cracks and Holes
Before applying a general sealer, you must address the visible entry points. For active leaks or visible cracks, what I've found works best is hydraulic cement. This is a specialized product that expands as it sets, effectively wedging itself into the crack to stop flowing water. It sets very quickly—usually in three to five minutes—so you have to work in small batches. I always tell people to undercut the crack into a 'V' or 'U' shape so the cement has a mechanical 'key' to lock into.
Applying Masonry Sealant
Once the wall is clean and the cracks are patched, it’s time for the sealer. This isn't like painting a bedroom. You need to use a heavy-duty masonry brush and literally work the product into the pores of the stone or block. A common mistake is using a roller; while faster, it tends to bridge over the tiny holes rather than filling them. In my experience, two thick coats are the absolute minimum. You want to create a continuous, pinhole-free membrane that can withstand the pressure of the water trying to get in.
Long-Term Prevention Strategies
Internal waterproofing is often just one half of the solution. If you don't address the water outside, you are fighting a losing battle. The real issue usually is that there is too much water collecting right next to the foundation.
Managing Roof Runoff
The first thing I check on any house with a wet basement is the gutter system. If your gutters are clogged or the downspouts discharge right at the base of the wall, you are dumping hundreds of gallons of water into your foundation's 'backfill' zone. Extending downspouts at least six to ten feet away from the house is one of the cheapest and most effective ways to dry out a basement. I’ve seen cases where this single change reduced basement humidity by 50%.
Regrading the Perimeter
The ground around your home should slope away from the foundation. Over time, the soil right next to the house often settles, creating a 'bowl' that traps water. From experience, you want a slope of about six inches of drop over the first ten feet of distance from the wall. This ensures that surface water moves away from the house rather than soaking down into the basement walls.
When to Call a Professional
As much as I love a DIY project, there are moments when you have to step back. If you notice horizontal cracks in your basement walls, or if the walls appear to be bowing inward, these are signs of structural failure. No amount of interior sealant will fix a foundation that is moving. Additionally, if you have a 'natural spring' or water constantly bubbling up through the floor, you likely need a professional to install an interior perimeter drain and a sump pump system. These involve jackhammering the floor and are generally beyond the scope of a standard DIY weekend project.
Summary of Best Practices
- Identify whether the moisture is coming through the wall or condensing from the air (the plastic sheet test is great for this).
- Clean the walls thoroughly, removing all efflorescence and old paint.
- Use hydraulic cement for active leaks and large cracks.
- Apply at least two coats of a high-quality masonry sealer using a brush, not a roller.
- Ensure your gutters and grading are diverting water far away from the foundation.