I have managed dozens of properties over the last fifteen years, and if there is one thing I have learned, it is that a basement is only as good as its seals. When winter hits, those large egress windows—required by law for safety—suddenly become the primary suspects for rising energy bills and shivering tenants. Here is the thing: many homeowners treat winterizing as a one-time chore, but failing to distinguish between a temporary band-aid and a permanent fix can lead to frozen pipes and mold growth.
Winterizing basement windows isn't just about stopping a breeze; it is about moisture control and structural integrity. In this guide, we will break down the battle between DIY methods and calling in the pros so you can decide which path keeps your basement warm and your wallet full.
The DIY Approach: Stopping Drafts on a Dime
For most homeowners, the first line of defense is a trip to the local hardware store. DIY winterization focuses on topical fixes that prevent air infiltration. The good news is that you can significantly improve your basement's comfort level for less than fifty dollars if you know what you are looking for.
Caulking and Weatherstripping
This is the bread and butter of basement window insulation. Over time, the house settles and the seal between the window frame and the foundation cracks. Using a high-quality silicone caulk on the exterior and interior seams can block the majority of drafts. Now, the important part: always clean the surface thoroughly before applying new caulk. If you layer new silicone over old, peeling gunk, it will fail before the first snowfall.
Window Insulation Film
Shrink-wrap kits are a classic DIY move. You apply double-sided tape to the frame, stick on the plastic, and use a hair dryer to shrink it taut. While it looks a bit "college dorm," it creates a dead-air space that acts as an extra pane of glass. Something to keep in mind: this prevents you from opening the window in an emergency unless you are prepared to rip it down instantly, so ensure your egress path remains accessible.
The Professional Approach: Long-Term Investments
Sometimes, a tube of caulk just won't cut it. If you have standing water in your window well or a frame that is visibly rotting, this is where it gets interesting. Professional winterization often involves structural changes or high-performance hardware replacements.
Custom Window Well Covers
Generic plastic bubbles from big-box stores often crack under heavy snow loads. Professionals can install custom-fitted, sloped polycarbonate covers that are bolted to the foundation. These keep snow, ice, and debris out of the well while still allowing light in. What most people miss is that a clear cover also creates a greenhouse effect, slightly warming the air immediately outside your window.
Glass Replacement and Encapsulation
If your egress window is an old single-pane slider, no amount of plastic wrap will make it efficient. Professionals can retro-fit double or triple-pane units with Low-E coatings specifically designed for below-grade use. On the other hand, they might suggest full basement encapsulation, which involves sealing the entire perimeter, including the windows, with heavy-duty vapor barriers.
Pros and Cons Comparison
DIY Winterization
- Pros: Extremely cost-effective; can be done in an afternoon; immediate results in draft reduction.
- Cons: Often temporary; needs to be redone annually; does not address underlying moisture or structural issues.
Professional Winterization
- Pros: Permanent solution; increases property value; addresses drainage and foundation health; superior energy savings.
- Cons: High upfront cost; requires scheduling and potential permits; can be intrusive during installation.
Cost Comparison Breakdown
Let's talk numbers. Worth mentioning is that these prices vary by region, but as a property manager, these are the averages I see on my balance sheets.
| Method | Estimated Cost | Lifespan |
|---|---|---|
| Caulk & Weatherstrip (DIY) | $20 - $50 | 1-3 Seasons |
| Insulation Film (DIY) | $15 - $30 | 1 Season |
| Professional Well Cover | $300 - $700 | 10+ Years |
| Window Replacement (Pro) | $800 - $2,500 | 25+ Years |
Best Use Cases: When to DIY vs. Hire
Choosing the right path depends on the state of your basement. This is where it gets interesting: sometimes the DIY fix is actually better if you plan on a major renovation in two years. However, if you are living in your "forever home," the calculus changes.
Go DIY If:
- The window frame is in good structural condition.
- You are dealing with minor air leaks rather than water intrusion.
- You are on a tight budget or renting the property.
- The window is only used for emergency exit and rarely opened otherwise.
Hire a Pro If:
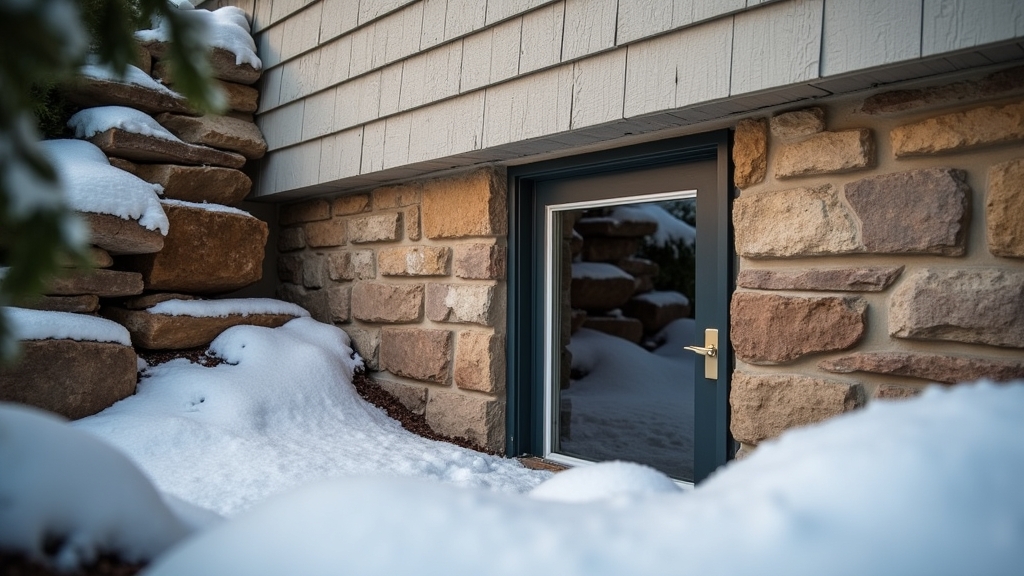
- You see water pooling in the window well after rain or snowmelt.
- The window frame is bowed, cracked, or showing signs of wood rot.
- You can feel a significant wind blowing through the frame even when closed.
- The egress window does not meet current local building codes for safety.
Final Recommendation
If you have the means, I always recommend a hybrid approach. Start by hiring a professional to install a high-quality, sloped window well cover. This protects the window from the elements entirely. Once the exterior is shielded, you can use DIY methods like interior caulking and cellular shades to manage the thermal transfer. The important part is never to compromise the "egress" function of the window. Any winterization method that prevents a human from escaping in a fire is a liability, not an improvement.