Why Bathroom Ventilation Is More Than Just a Noise Maker
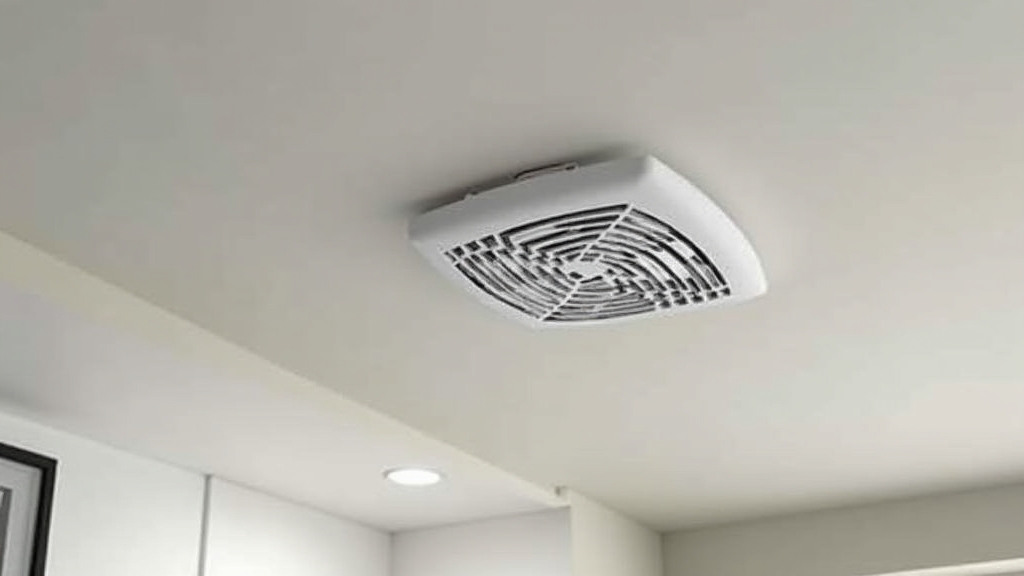
In my 30 years of crawling through attics and framing out custom homes, I’ve seen more mold damage caused by poor ventilation than by actual pipe leaks. Most homeowners view a bathroom fan as a luxury or a way to clear out steam after a shower, but here is the thing: it is actually a critical piece of your home’s structural health. When a fan becomes a noisy bathroom fan fix or stops working altogether, moisture sits on your walls, seeps into your drywall, and invites wood rot into your floor joists.
Replacing a fan isn't always about ripping a hole in the ceiling. Sometimes it’s a twenty-minute fix, and other times it’s a full-day project involving ductwork and electrical runs. This is where it gets interesting—most people assume they need a brand-new unit when they might just need a five-dollar cleaning or a simple motor swap. However, if your fan sounds like a jet engine taking off, it’s likely time for a bathroom fan replacement. Let’s look at your options from the perspective of someone who has installed hundreds of them.
Option 1: The Motor and Fan Assembly Replacement
If your fan housing—the metal box tucked into the ceiling—is in good shape and you can find a compatible motor, this is the path of least resistance. You don’t have to cut drywall, and you don’t have to mess with the roof venting.
The Pros and Cons of a Motor Swap
The good news is that many older, common builder-grade models have "plug-and-play" motor assemblies. You simply pull down the cover, unplug the motor from the internal outlet, and snap the new one in. It’s a clean job that requires zero carpentry skills. On the other hand, finding the exact match for a 20-year-old fan can be a wild goose chase. If you can't find a direct replacement, forcing a motor that doesn't fit can lead to vibrations that make the noise even worse.
Option 2: The Full Unit Retrofit
Now, the important part: most modern fans are much more efficient and quieter than the ones installed in the 90s or early 2000s. A retrofit involves removing the old housing and installing a new one in the same spot. This often requires widening the hole in your ceiling slightly.
The Pros and Cons of Retrofitting
What most people miss is that new fans often have a larger footprint. While this means you’ll be doing a bit of drywall cutting, it also means you get a fan with a higher CFM (Cubic Feet per Minute) rating. Higher CFM means more air is moved, which is essential for bathroom mold prevention. The downside? You’ll be working over your head, likely getting a face full of insulation and dust. It’s a messy job, but it’s the best way to get a modern, whisper-quiet experience.
Option 3: Complete Ventilation System Overhaul
This is where we go beyond just the fan. If your current fan vents directly into the attic—a huge no-no that I still see in older homes—you need a full system overhaul. This involves installing a new fan and running a dedicated insulated duct to a wall or roof cap.
Worth mentioning is the duct size. Old fans often used 3-inch ducts, while modern high-efficiency fans require 4-inch or even 6-inch ducts to work correctly. If you hook a powerful new fan to a tiny old duct, the backpressure will make it loud and shorten its lifespan. This is the most expensive route, but it’s the only way to guarantee your home stays dry and rot-free.
The Real Cost Breakdown: DIY vs. Pro
Let's talk numbers. I’ve always been honest with my clients: you pay for my time and my insurance, not just the fan. Here is how the costs usually shake out.
Material Costs
- Motor Only: $50 – $100. Best for those on a tight budget with a common fan model.
- Standard Retrofit Fan: $80 – $180. These are mid-range units that move enough air for a typical 50-100 sq. ft. bathroom.
- High-End Quiet Fans: $200 – $400. These often include features like humidity sensors or LED lighting.
- Ducting and Vent Caps: $40 – $100. Essential if you are fixing a poor original installation.
Labor Costs and Hidden Expenses
If you hire a contractor like me, you’re looking at a service call fee plus hourly labor. A simple replacement usually takes 2 to 4 hours. In most US markets, expect to pay between $250 and $600 for professional installation, not including the fan itself. If we find that your roof vent is leaking or your electrical isn't up to code, that price can climb. Something to keep in mind is that an electrician might charge more for the wiring, while a general handyman might be cheaper but may not understand the nuances of attic insulation and vapor barriers.
What Most People Miss: The Ductwork and Discharge
In all my years, the most common mistake I’ve seen isn't the fan installation itself—it’s the ductwork. If your duct has a "belly" in it (a low spot where it sags), moisture will collect there, eventually rusting the duct or leaking through your ceiling. Always use insulated flexible ducting or rigid pipe. Also, never, ever vent a fan into the soffit or just under the attic insulation. The moist air will just get sucked back into the attic by the roof vents, leading to a forest of mold on your rafters.
Recommendation: Which Path Should You Choose?
If your budget is tight and the fan is just noisy, try a motor swap first. It’s the best value for your dollar. However, if you are planning on staying in your home for more than five years, I always recommend a full retrofit with a high-CFM, low-sone (quiet) unit. It increases your home's value and significantly reduces the risk of moisture damage. If you find that your bathroom walls are always damp after a shower, you likely need to move up to a higher-rated fan and ensure the ductwork is a straight, short run to the outside.