Overview of Upgrading to a Curved Shower Rod
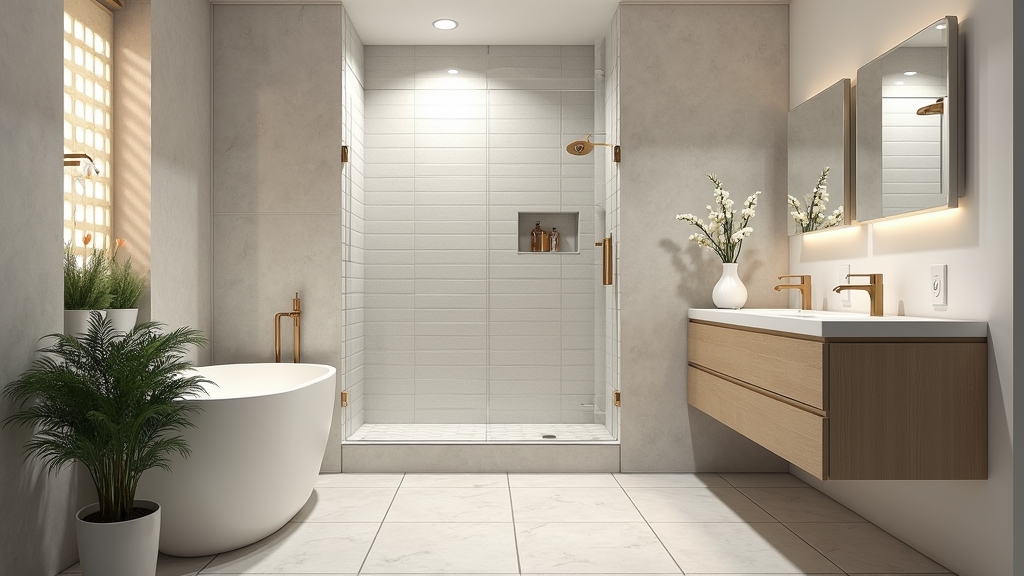
In most homes, the standard straight shower rod is a missed opportunity for comfort. As someone who specializes in small-space living, I have found that a curved shower rod is one of the most effective ways to make a tiny bathroom feel significantly larger. By bowing outward, these rods provide up to six inches of extra elbow room without requiring a full bathroom remodel.
The goal of this project is to securely mount a curved rod that adds more shower space while remaining level and sturdy. Whether you choose a permanent screw-mounted version or a tool-free tension rod, the installation process requires precision. Over the years, I have learned that the difference between a professional-looking upgrade and a sagging mess comes down to how you handle the measurements and wall prep.
Tools and Materials Needed
Before you start, gather your supplies. Having everything on hand prevents mid-project frustration. What works best is to lay everything out on a towel to protect your bathroom floor.
- Curved shower rod kit (ensure it matches your tub width)
- Power drill and drill bits (for permanent mounts)
- Level (a 2-foot level is ideal)
- Measuring tape
- Pencil for marking holes
- Wall anchors (if not included or if mounting to drywall)
- Philips head screwdriver
- Safety glasses
- Shower curtain and rings
Choosing the Right Rod Type
A common situation is choosing between a tension rod and a permanent mount. If you are a renter, a tension rod is usually the best choice because it requires no drilling. However, if you own your home, a permanent screw-mounted rod is much more stable. In my experience, tension rods can eventually slip if they are bumped frequently, especially if you use heavy fabric curtains.
Preparation Steps: Measuring for Success
The real issue usually is rushing the measuring phase. One thing many people overlook is that a curved rod extends further out than a straight one. You must ensure you have enough clearance so the curve doesn't hit a vanity or a toilet once installed.
- Measure the opening: Measure the distance between the two walls where the rod will sit. Most rods are adjustable, but they come in specific ranges (e.g., 60 inches or 72 inches).
- Check for studs: Use a stud finder if possible. Mounting into a stud provides the most security. If you are drilling into tile, you will need a diamond-tipped or carbide-tipped masonry bit.
- Determine the height: Measure your shower curtain. You want the curtain to hang low enough to keep water inside the tub but high enough that it doesn't drag on the floor. Generally, mounting the rod 72 to 75 inches from the floor is standard.
Step-by-Step Installation Instructions
Step 1: Mark Your Mounting Points
Hold one of the mounting brackets against the wall at your desired height. Use your pencil to mark the screw holes. What I have found is that it helps to have a second person hold the other end of the rod to ensure the placement looks balanced from a distance. Repeat this on the opposite wall, using your level to make sure both sides are perfectly aligned.
Step 2: Drill the Pilot Holes
If you are using a permanent mount, drill your holes. If you are working with tile, apply a piece of masking tape over your pencil mark first. This prevents the drill bit from sliding around and scratching the surface. From experience, starting with a smaller bit and working your way up to the required size makes for a cleaner hole.
Step 3: Insert Anchors and Secure Brackets
Push your wall anchors into the holes until they are flush with the wall. Place the mounting brackets over the anchors and drive the screws in. Do not tighten them fully until you have double-checked the alignment with your level. Once everything is straight, finish tightening the screws.
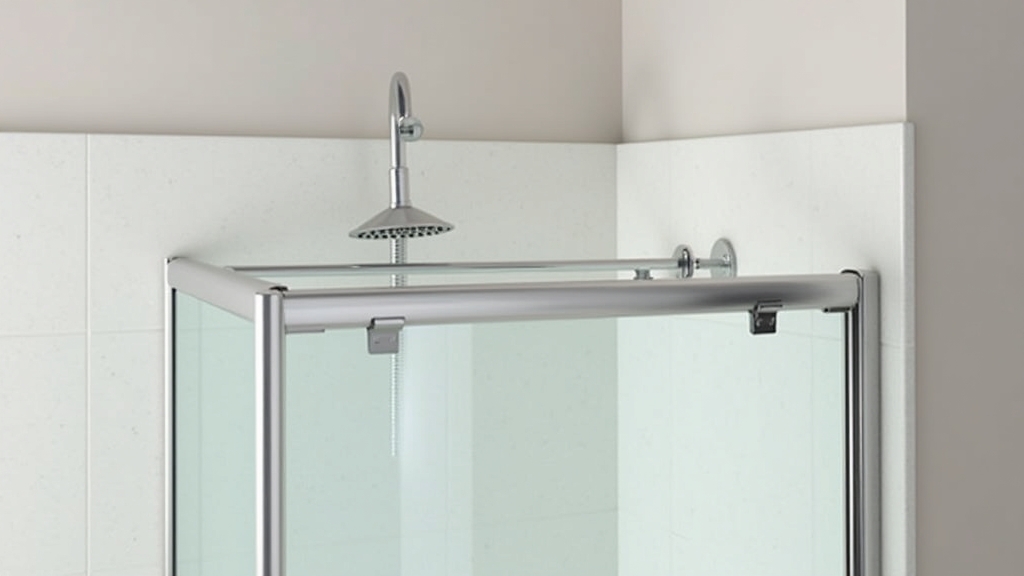
Step 4: Attach the Curved Rod
Most curved rods slide into the brackets or click into place with a spring-loaded pin. If your rod is adjustable, extend it until it meets both brackets. Secure the rod according to the manufacturer's instructions. Often, this involves a small set screw on the underside of the bracket to prevent the rod from rotating.
Common Mistakes to Avoid
Over the years, I have seen the same errors repeated. Avoiding these will save you time and money. The key thing to remember is that a curved rod carries weight differently than a straight one.
- Ignoring the Weight of the Curtain: A curved rod naturally wants to pull away from the wall. If you use a heavy liner and a heavy decorative curtain without using proper wall anchors, the rod will eventually sag.
- Incorrect Leveling: Many people assume the ceiling is level and measure down from it. In older homes, ceilings are often slanted. Always use a spirit level rather than measuring from the ceiling.
- Forgetting the Clearance: Ensure the "peak" of the curve doesn't obstruct a medicine cabinet door or hit your bathroom light fixture.
- Over-tightening Tension Rods: If you use a tension-style curved rod, over-tightening can actually crack the fiberglass of a shower surround or damage drywall. Tighten until snug, but don't force it.
Troubleshooting Common Issues
If your rod feels loose, the first thing to check is the mounting screws. In my experience, if the screws are tight but the rod still wobbles, the issue is likely the wall anchors. Plastic expansion anchors can fail in drywall if the hole was drilled too large. Consider upgrading to toggle bolts for a more secure grip.
If the shower curtain keeps sliding toward the center of the curve, check your level. If the rod is tilted downward toward the middle, gravity will pull the rings. A slight upward tilt at the ends can sometimes help keep the curtain in place near the walls, which prevents water from leaking out.
Tips for the Best Results
To truly elevate your shower curtain upgrade, consider the hardware. Using roller-ball rings allows the curtain to glide smoothly over the joints of an adjustable rod. What works best is matching the finish of your rod to your faucet and towel bars for a cohesive look. Additionally, if you are mounting on tile, take your time. Rushing through tile drilling is the fastest way to crack a wall and turn a simple DIY project into an expensive repair.