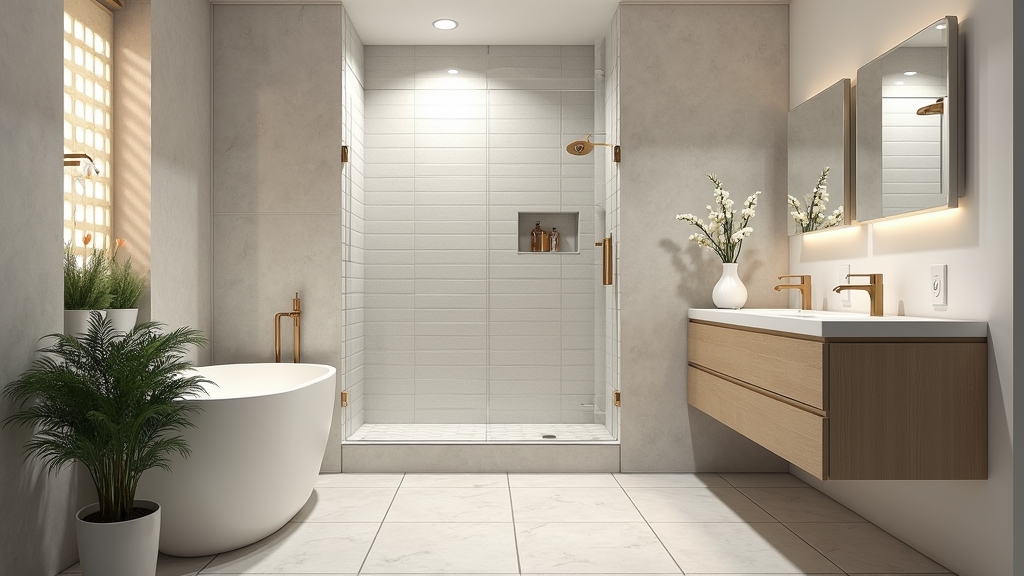
Why Bidet Installations Often Lead to Water Damage
In most homes, the toilet is a fixture people rarely think about until it starts leaking. Over the years, I have learned that while a bidet attachment is one of the most practical upgrades for bathroom hygiene, it is also a frequent source of insurance claims. The problem isn't usually the device itself, but rather the stress it puts on aging plumbing components that were never designed to be disturbed.
From experience, I can tell you that most homeowners approach a bidet installation as a simple five-minute swap. They don't realize that the thin plastic threads of an attachment are competing against heavy brass or chrome fittings. When you introduce a new T-valve into a system that has been sitting untouched for a decade, you are inviting trouble if you don't understand the mechanics of the seal.
Root Causes and Contributing Factors
The real issue usually is the mismatch between materials and the degradation of existing rubber seals. Here is what I have found to be the primary culprits behind failed bidet installations.
Cross-Threading Plastic on Metal
Most bidet attachments come with plastic T-valves or connectors. Your toilet tank’s fill valve shank is also often plastic. However, the water supply line is usually metal. One thing many people overlook is how easy it is to cross-thread these pieces. If the threads aren't perfectly aligned, you will create a microscopic gap. Under 60 PSI of house water pressure, that gap becomes a fountain.
Over-Tightening and Cracked Nuts
In my experience, the 'more is better' philosophy kills plumbing. People think that if a connection leaks, they should just grab a bigger wrench and crank it down. This actually deforms the rubber washer inside the hose or cracks the plastic nut on the bidet attachment. Once that plastic hairline fracture occurs, it might hold for an hour, but it will eventually fail when you aren't home.
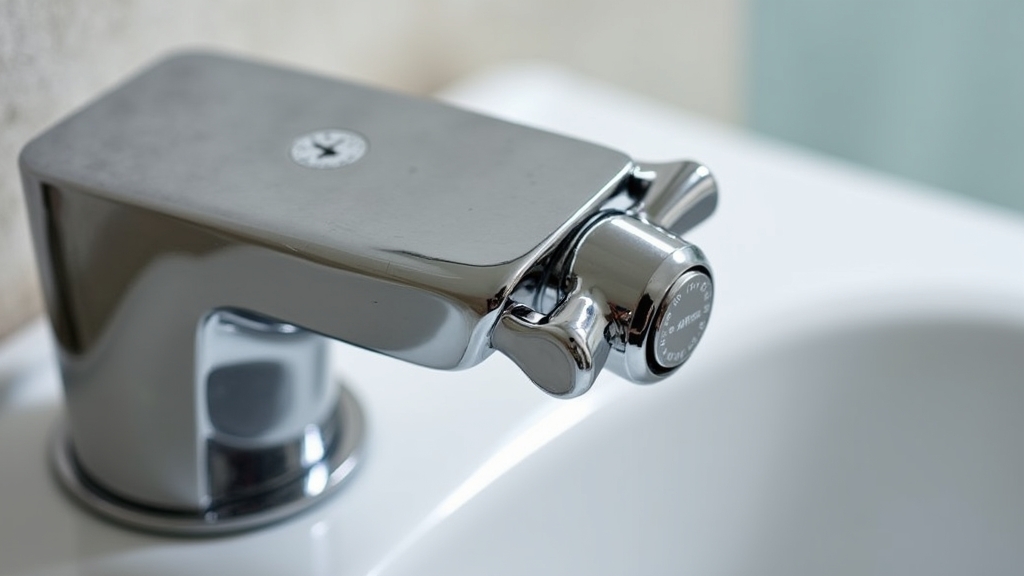
The Brittle Shut-off Valve
What works best is a valve that actually turns. However, in many older homes, the angle stop (the shut-off valve at the wall) hasn't been moved in twenty years. The internal compression washer becomes brittle. When you force it closed to install your bidet, the washer can crumble, meaning the valve will no longer shut off completely or will start leaking from the stem as soon as you turn it back on.
Immediate Steps for a Successful Installation
If you are ready to add a bidet toilet seat or attachment, you need a strategy that prioritizes the integrity of your pipes over the speed of the project. Here is the process I have used for thirty years to ensure a leak-free connection.
Step 1: Inspect and Prepare
Before you even open the bidet box, look at your current supply line. If you have a rigid chrome pipe connecting the wall to the toilet, you cannot simply 'bend' it to accommodate the bidet T-valve. You must replace it with a flexible braided stainless steel hose. Trying to force a rigid line to fit a new attachment is a guaranteed recipe for a flood.
Step 2: Clean the Threads
A common situation is finding old pipe dope or hard water scale on the toilet tank threads. Use a stiff toothbrush to clean those threads until they are pristine. A clean surface allows the new T-valve to spin on by hand without resistance. If you can't thread it on with your fingers, something is wrong.
Step 3: Hand-Tighten Plus a Quarter Turn
The key thing to remember is that the seal in a bidet installation is created by a rubber washer, not the threads themselves. You do not need massive amounts of Teflon tape on these connections; in fact, too much tape can prevent the washer from seating properly. Tighten everything by hand until it is snug, then use a wrench for only a quarter-turn more. That is all it takes to compress the rubber for a watertight seal.
Long-Term Prevention Strategies
Once the bidet is in, the job isn't over. You need to ensure that the new weight and vibration of the bidet don't cause issues down the road.
Monitor for Slow Leaks
After the installation, place a dry paper towel under the connections. Check it after an hour, then again after 24 hours. Even a single damp spot on that towel indicates a slow leak that will eventually rot your subfloor. Small leaks often evaporate before they pool, making them hard to see but easy to detect with a paper towel.
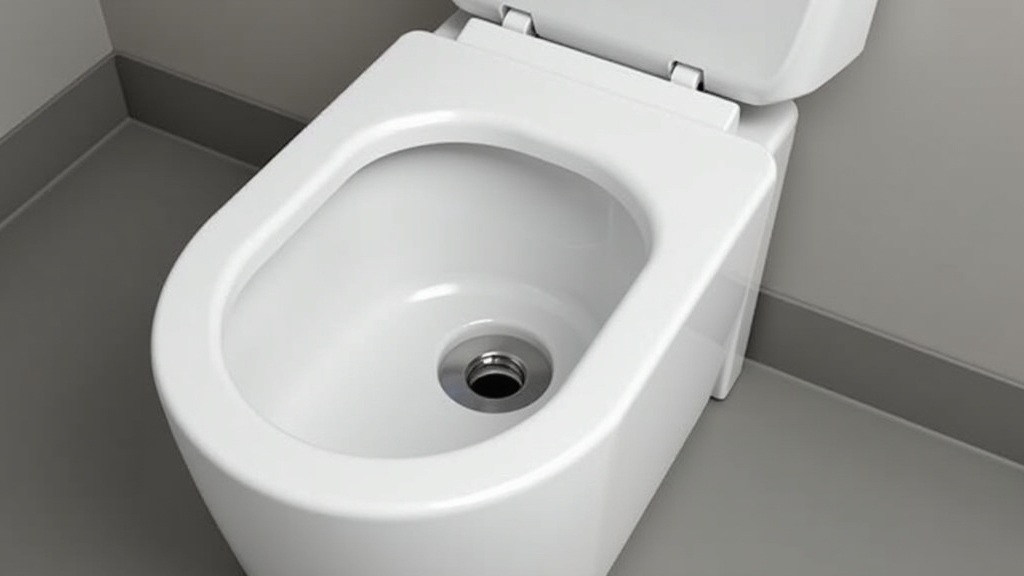
Check Seat Alignment
A bidet attachment sits under the existing toilet seat, which often creates a gap at the front. If the seat isn't level, your body weight will exert leverage on the bidet attachment every time you sit down. This constant flexing can stress the plastic T-valve and the toilet tank itself. Use seat bumpers to ensure the seat is level and supported across the entire rim of the bowl.
Water Pressure Regulation
In some regions, residential water pressure can spike at night. If your home's pressure is above 80 PSI, it can blow out the internal seals of a cheap bidet attachment. If you notice your faucets 'thumping' or the bidet spray seems excessively powerful, consider having a pressure-reducing valve installed at your main water line.
When to Call a Professional
While most bidet attachments are DIY-friendly, there are certain scenarios where you should put down the wrench and call a licensed plumber. Over the years, I've seen many 'simple' jobs turn into expensive floor replacements because a homeowner tackled something beyond the scope of a basic attachment.
- Soldered Connections: If your toilet supply line is soldered directly into the shut-off valve without a threaded nut, you will need to cut copper and install a new valve. This requires specialized tools and skills.
- In-Wall Tank Systems: If your toilet tank is hidden behind the drywall, the plumbing is significantly more complex and often requires proprietary connectors that standard bidet kits don't include.
- Electrical Requirements: If you are upgrading to a high-end bidet toilet seat with a heater, you cannot simply run an extension cord across the bathroom floor. You need a dedicated GFCI outlet installed by an electrician to prevent fire and shock hazards in a wet environment.
- Corroded Main Valves: If your home's main water shut-off is stuck or leaking, don't touch the toilet. If something breaks during the bidet install, you won't be able to stop the water flow to the house.