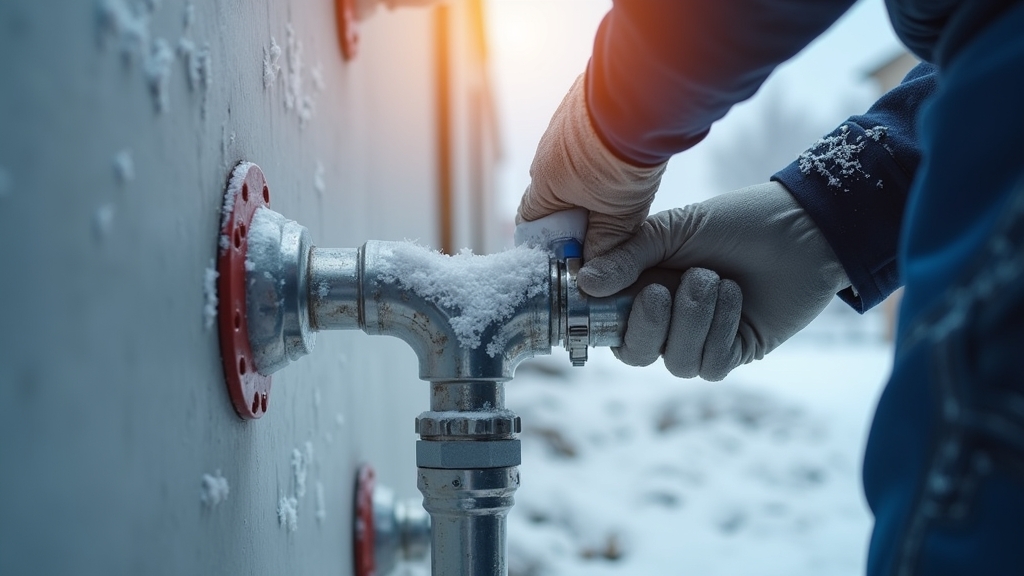
Why Bathroom Pipe Insulation is Essential for Winter
In most homes, the plumbing system is something we rarely think about until a crisis occurs. When the temperature drops, the vulnerability of cold water pipes becomes a major concern for homeowners and apartment dwellers alike. From experience, I have found that bathrooms are particularly susceptible to plumbing issues because they are often located against exterior walls or have plumbing tucked into unheated cabinets. The goal of insulating cold water pipes isn't just about preventing a catastrophic freeze; it is also about managing condensation and improving the efficiency of your home.
What works best is a proactive approach. One thing many people overlook is that 'sweating' pipes in the summer can be just as damaging as frozen pipes in the winter. Condensation on cold water pipes can drip onto bathroom flooring or inside walls, leading to mold growth and structural rot. By choosing the right pipe sleeves or wrap, you address both thermal protection and moisture control in one go.
Overview of Pipe Insulation Methods
When you start looking at ways to protect your bathroom plumbing, you will encounter several different materials. A common situation is finding a massive variety of options at the local hardware store and feeling overwhelmed. The real issue usually is not finding a product that works, but finding the one that fits your specific space and budget. Over the years, I have learned that four main methods dominate the market: foam sleeves, rubber insulation, fiberglass wrap, and insulation tape. Each has its own set of characteristics that make it suitable for different parts of the bathroom.
Foam Pipe Sleeves (Polyethylene)
Foam pipe sleeves are perhaps the most recognizable form of pipe insulation. These are long, hollow tubes with a slit down the side, allowing them to be popped directly over the pipe. They are typically made from polyethylene foam and come in various diameters to match standard plumbing sizes. In my experience, these are the 'gold standard' for DIYers because they require no specialized tools and are incredibly lightweight.
Rubber Pipe Insulation (Elastomeric)
Rubber insulation, often referred to as elastomeric foam, is a more robust, flexible option. It is much denser than standard polyethylene foam and offers superior resistance to moisture. This material is frequently used in professional HVAC and plumbing applications because it doesn't degrade as easily when exposed to fluctuating temperatures. What I have found is that rubber is much better at absorbing sound, which is a nice secondary benefit if you have noisy pipes in your bathroom walls.
Fiberglass Pipe Wrap
Fiberglass wrap consists of long strips of fiberglass insulation that you wind around the pipe. This method is often used for pipes that are oddly shaped or have many valves and elbows where a rigid sleeve won't fit. While it offers excellent thermal resistance, it can be messy to install and requires protective gear to prevent skin irritation. In most homes, this is reserved for basement areas rather than exposed bathroom plumbing.
Insulation Tape and Foil Wraps
For the tightest spaces, such as the thin supply lines behind a pedestal sink or a toilet, insulation tape is often the only viable choice. This is usually a foam-backed adhesive tape or a foil-faced bubble wrap. It doesn't provide the same R-value as thick sleeves, but it creates a necessary barrier against cold drafts and prevents surface condensation.
Detailed Pros and Cons Comparison
Choosing the right method requires weighing the benefits against the drawbacks of each material. The key thing to remember is that the 'best' material is the one you can actually install correctly in your specific space.
Polyethylene Foam Sleeves
- Pros: Very inexpensive, easy to cut with household scissors, available with self-sealing adhesive strips, and provides good thermal protection for most temperate climates.
- Cons: Can be bulky in tight bathroom cabinets, the adhesive can fail over time in humid environments, and it is less flexible than rubber around tight bends.
Elastomeric Rubber Insulation
- Pros: Exceptional moisture resistance, highly flexible for wrapping around corners, long-lasting durability, and better at preventing condensation in high-humidity bathrooms.
- Cons: More expensive than polyethylene, can be harder to find in some hardware stores, and often requires specialized glue for the seams rather than simple tape.
Fiberglass Wrap
- Pros: High temperature resistance, fits any pipe diameter or configuration, and is very effective for long straight runs in unheated crawlspaces.
- Cons: Requires gloves and a mask for installation, must be wrapped with an additional plastic or foil layer to prevent moisture absorption, and looks unappealing if left exposed.
Cost Comparison and Efficiency
When comparing the costs of these methods, you have to look at both the initial purchase price and the long-term savings. Foam sleeves are the most budget-friendly, often costing only a few dollars for a six-foot section. Rubber insulation typically costs two to three times as much as foam but lasts significantly longer without shrinking or becoming brittle. Fiberglass wrap is inexpensive per square foot but requires additional supplies like tape or plastic sheeting to finish the job. If you are dealing with a small bathroom, the total cost difference between the cheapest and most expensive option is usually less than fifty dollars, making it worth it to invest in higher-quality rubber if you live in a very cold climate.
Best Use Cases for Each Method
From experience, I recommend matching the material to the specific location of the pipe. A common situation is using a mix of materials throughout the bathroom plumbing system.
- Inside the Vanity Cabinet: Use foam pipe sleeves. They are easy to install around the straight runs of the supply lines and provide a clean look.
- Behind the Toilet: Use insulation tape or foil wrap. The space between the wall and the toilet is often too narrow for a thick foam sleeve, but a tape wrap will stop the 'sweating' that leads to floor damage.
- Exterior Walls or Crawlspaces: Use elastomeric rubber. This provides the highest level of protection against frozen pipes in areas where the temperature regularly drops below freezing.
- Irregular Valves and Joints: Use a combination of fiberglass wrap and specialized 'tees' made from foam to ensure there are no gaps in the insulation.
Step-by-Step Tips for Successful Installation
One thing many people overlook is the preparation of the pipe itself. Before applying any insulation, you must clean the pipe thoroughly to remove dust, grease, and existing moisture. If you trap moisture under the insulation, it can lead to corrosion over time. What works best is a simple wipe-down with a mild degreaser and letting the pipe dry completely.
When installing sleeves, ensure that the joints are tight. Any gap in the insulation acts like a thermal bridge, allowing cold air to reach the pipe and potentially causing a freeze at that specific point. Use high-quality waterproof tape to secure all seams and butt joints. If you are using self-sealing sleeves, I still recommend adding a few wraps of tape every foot or so for extra security.
Final Recommendation: Which Should You Choose?
If you are looking for the most reliable, long-term solution for a bathroom prone to cold drafts, **elastomeric rubber insulation** is my top choice. It handles the humidity of a bathroom better than any other material and provides the flexibility needed for tight plumbing layouts. However, if you are on a tight budget or just need a quick fix before a winter storm, **polyethylene foam sleeves** are perfectly adequate for most indoor scenarios. The key is to act before the first hard frost hits; preventing frozen pipes is significantly cheaper and less stressful than dealing with a burst pipe in the middle of the night.