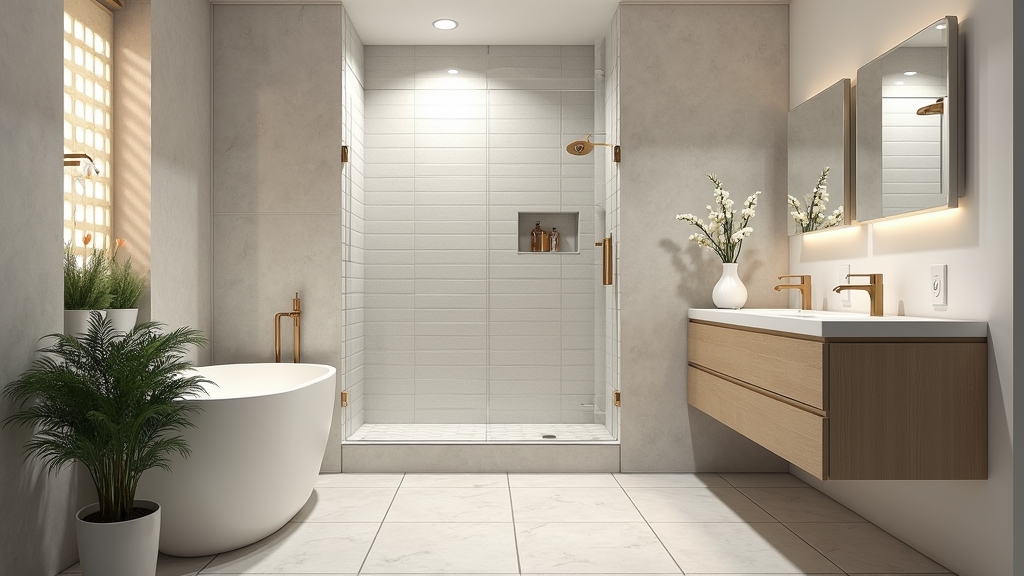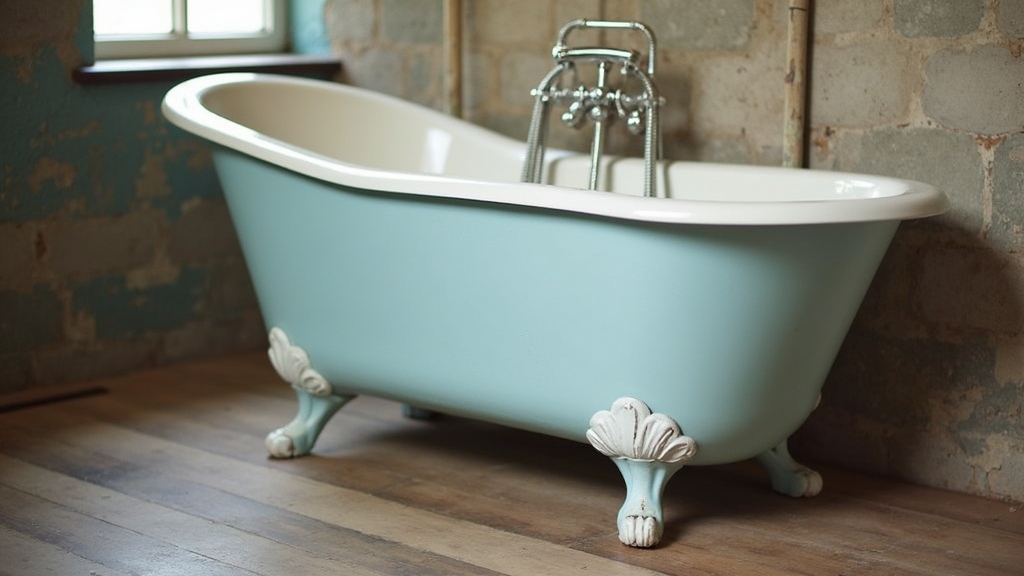
In most homes built before the 1970s, you will likely find a heavy cast iron bathtub. These fixtures are legendary for their durability and heat retention, but over decades, the original porcelain enamel wears down. When the surface becomes porous, it traps dirt, oils, and hard water minerals, leading to those stubborn brown or grey stains that no amount of scrubbing can fix. In this guide, you will learn how to use a tub refinishing kit to restore your bathtub to its original luster while navigating the challenges of different seasons.
Why Cast Iron Tub Repair Matters
The real issue usually isn't just the appearance. When the enamel thins out, the iron underneath is no longer protected from moisture. From experience, I have seen that ignoring small chips or deep staining leads to structural rust. Once rust starts eating into the iron, the repair becomes much more complex and expensive. Most homeowners choose bathtub reglazing because it costs a fraction of a full bathroom remodel. Replacing a cast iron tub often involves tearing out tile and widening doorways, so refinishing is a practical, budget-friendly solution.
The Best Time of Year for Tub Refinishing
What I have found is that the success of a tub refinishing project depends heavily on the weather. Because the epoxy and coatings used in a tub refinishing kit are sensitive to temperature and humidity, timing your project is essential.
Spring and Fall: The Ideal Windows
In my experience, spring and fall are the best times for this project. The moderate temperatures (between 65°F and 75°F) allow the coating to flow smoothly and level out without drying too fast. Additionally, you can keep the windows open for ventilation without worrying about extreme heat or cold affecting the cure time.
Summer Challenges: Managing Humidity
Summer can be tricky. High humidity prevents the bonding agents from drying correctly, which often leads to a sticky finish or 'orange peel' texture. If you must work in the summer, run your air conditioner or a dehumidifier for at least 24 hours before starting. One thing many people overlook is that sweat dripping into the wet coating will ruin the finish instantly.
Winter Considerations: Cure Times
In winter, the air is dry, which is good, but the cold can make the epoxy too thick to spread. Over the years, I have learned that if the tub surface is too cold, the finish won't bond properly. You will need to keep the bathroom heated to at least 70°F for the entire 48-hour curing process. Be careful with space heaters, as they can kick up dust that settles into your wet paint.
Step-by-Step Guide to Restore Your Bathtub
To get a professional-grade result, you must follow a strict process. Bathtub reglazing is 90% preparation and 10% application.
1. Deep Cleaning and Stripping
Start by removing all hardware, including the drain and overflow plate. Use a heavy-duty abrasive cleaner to remove soap scum. If the tub was previously refinished, you must use a chemical stripper to remove the old failing paint. A common situation is finding layers of old DIY kits that are peeling; these must be completely gone before you start.
2. Acid Etching the Surface
Modern refinishing kits usually include an etching powder or liquid. This is a mild acid that creates microscopic pores in the porcelain. In most homes, the porcelain is too smooth for new paint to stick. What works best is scrubbing the etchant in with a green scouring pad until the surface feels dull, like fine-grit sandpaper.
3. Repairing Chips and Scratches
Once the tub is dry, look for chips. Use a two-part polyester filler (similar to auto body filler) to plug these holes. Over the years, I have learned that skipping this step results in visible 'craters' in your final finish. Sand the filler flush with the surrounding surface using 220-grit sandpaper.
4. Masking and Ventilation
Use high-quality painter's tape and plastic sheeting to cover everything: the walls, the floor, and the vanity. The key thing to remember is that the spray or roll-on coating travels. Set up a box fan in the window blowing *out* to create negative pressure. This pulls the fumes out of the house instead of letting them drift into the hallway.
5. Applying the Coating
Whether you use a spray or a roller, apply thin, even coats. If you are using a kit from a big-box store, you will likely need 2 to 3 coats. Wait the exact amount of time recommended between coats. If you go too fast, the solvent gets trapped and causes bubbles. From experience, I suggest using a high-quality foam roller if you aren't comfortable with a spray gun; it leaves a smoother finish than a brush.
Practical Tips from the Field
- Lighting is everything: Use a work light to check for 'holidays' (missed spots) while the paint is still wet. It is much easier to fix a thin spot now than it is two days later.
- Tack cloth is your friend: Just before you apply the first coat, wipe the entire tub with a tack cloth to remove every single speck of dust.
- Check your plumbing: A common mistake is ignoring a leaky faucet. A single drop of water hitting the wet epoxy will create a permanent blemish. Tie a plastic bag around the faucet to be safe.
Common Mistakes to Avoid
The most common error I see is rushing the cleaning phase. If there is even a trace of body oil or soap scum left, the new finish will peel off in sheets within six months. Another mistake is using the tub too soon. Even if the surface feels dry to the touch after 4 hours, it takes 48 to 72 hours for the chemical bond to fully harden. Lastly, avoid using harsh chemicals like bleach or abrasive scouring powders on your newly refinished tub. Stick to mild dish soap and a soft cloth to preserve the shine.