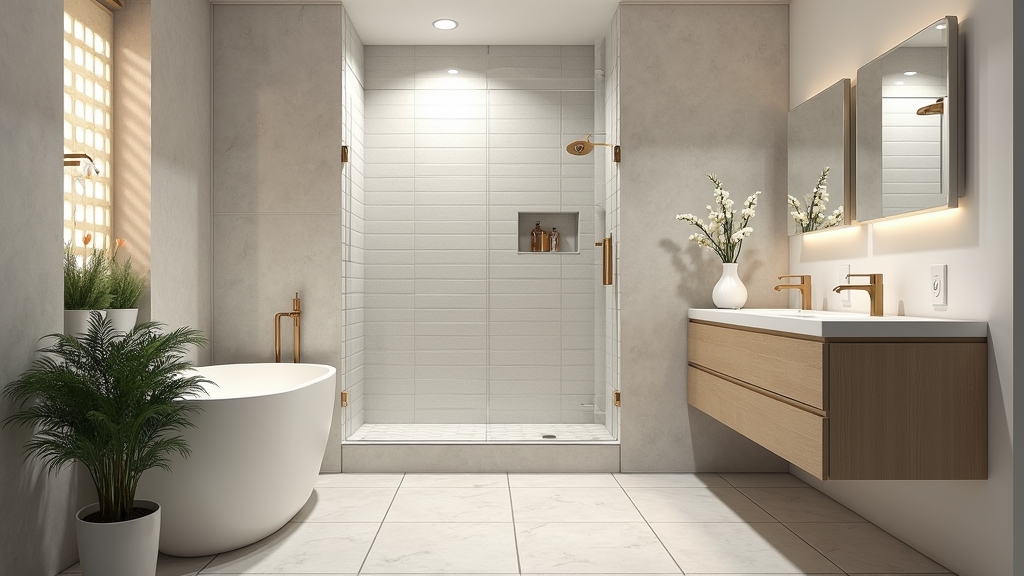
Overview of Replacing Your Sink P-Trap
If you have noticed a puddle forming inside your vanity or a persistent drip coming from the curved pipe under your sink, you are likely dealing with a p-trap leak. The good news is that replacing a p-trap is one of the most approachable plumbing tasks for a homeowner. This project involves removing the curved section of pipe that holds water—designed to prevent sewer gases from entering your home—and installing a fresh assembly.
By the end of this guide, you will have a bone-dry cabinet and the confidence to handle basic under sink plumbing. Whether you are dealing with a corroded metal trap or a cracked plastic p-trap, the logic remains the same. It is a quick fix that saves you the cost of a professional service call while ensuring your bathroom remains functional and odor-free.
Tools and Materials Needed
Before you dive in, you need to gather a few basics. Here is the thing: having the right tools within arm's reach prevents that frustrated mid-project sprint to the hardware store. For most modern sinks, you will be working with plastic components, which are much easier to handle than the old chrome-plated brass versions.
- New P-trap kit: Usually includes the U-bend and the J-shaped arm (wall tube).
- Slip-joint pliers: Often called tongue-and-groove pliers (Channel-locks).
- A bucket: To catch the standing water.
- Rags or towels: For cleaning up spills and wiping down old pipes.
- Plumber's tape (optional): Occasionally used on threaded joints, though usually not necessary for plastic slip-joints.
- Small hacksaw: In case the new pipe is slightly too long and needs a trim.
Preparation Steps
Now, the important part: preparation. You do not want to start unscrewing pipes until you have cleared out the cabinet. Remove all cleaning supplies, extra toilet paper, and spare towels. This gives you room to move and ensures your belongings stay dry.
Place your bucket directly under the lowest point of the p-trap. This is where most people miss a crucial step: even if the sink has been off for hours, that trap is full of water. If you don't have a bucket ready, you'll have a mess on your hands instantly. Also, check the condition of the pipe coming out of the wall (the drain stub-out). If that pipe is crumbling or severely corroded, the job might get a bit more complex, but for most standard replacements, we are just swapping the visible plastic or metal components.
Step-by-Step Instructions
Step 1: Remove the Old Trap
Start by loosening the slip nuts on both ends of the curved U-shaped pipe. There is a nut connecting the trap to the vertical tailpiece (coming down from the sink drain) and another connecting it to the waste arm (the pipe going into the wall). If you have a plastic p-trap, you might be able to unscrew these by hand. If they are stuck, use your pliers, but be gentle so you don't crack any remaining salvageable parts.
Once the nuts are loose, pull the U-bend straight down. The water inside will pour into your bucket. Worth mentioning: this water can be quite smelly because it acts as a filter for hair and soap scum, so don't be surprised by the odor.
Step 2: Remove the Trap Arm
Slide the slip nut back from the wall connection and pull the horizontal trap arm out of the wall stub-out. This is where it gets interesting... sometimes the old arm is stuck due to mineral buildup. A little wiggle and a firm tug usually do the trick. Inspect the interior of the wall pipe for any clogs and clear them out while you have the access.
Step 3: Dry Fit the New Pieces
Take your new p-trap arm and slide it into the wall opening. Then, hold the new U-bend up to see if it aligns with the vertical tailpiece and the arm. Something to keep in mind is that p-trap kits are often "universal," but sink depths and wall heights vary. If the horizontal arm is too long, you may need to use your hacksaw to trim the end that goes into the wall. Make sure to file off any burrs or rough edges after cutting.
Step 4: Installing the Washers and Nuts
This is where the magic happens. On each connection, you need a slip nut and a beveled (tapered) washer. Slide the nut onto the pipe first, then the washer. The good news is that there is a simple rule for the washer: the thicker, tapered end should face the joint or the opening it is sealing. If you put it on backward, it will leak every time.
Step 5: Tightening the Connections
Align all the components and hand-tighten the nuts. Once everything is positioned correctly and the pipes are straight, give the nuts an extra quarter-turn with your pliers. On the other hand, do not over-tighten plastic threads. Over-tightening can warp the plastic or crack the nut, leading to more leaks.
Tips for Best Results
To ensure a professional-grade finish, always clean the ends of the existing pipes before installing new components. Grit or old plumber's putty can prevent the washers from seating properly. If you are working with metal pipes but replacing them with plastic, you can use a transition coupling, but usually, a standard plastic kit fits just fine if the diameters match (typically 1-1/4 inches for bathrooms).
Another tip: keep the pipes as vertical and horizontal as possible. If the trap is tilted at an awkward angle, the seals won't be even, and you'll be chasing leaks for an hour. If the sink tailpiece is too short to reach your new trap, you can buy a tailpiece extension to bridge the gap.
Troubleshooting Common Issues
If you finish the installation and see a drip, don't panic. First, check if the nut is cross-threaded. This happens when the nut isn't perfectly level as you start turning it. Unscrew it and try again. If the leak persists, check the washer. It might be pinched or facing the wrong direction.
Sometimes the wall stub-out is the culprit. If the pipe coming out of the wall is old galvanized steel, the threads might be too rusted to create a seal. In this case, a flexible rubber coupling with hose clamps can be a lifesaver for connecting new plastic to old metal. What most people miss is that the trap must always sit lower than the drain exit in the wall to maintain the water seal; if the wall exit is too high, you have a larger plumbing issue that might require moving the wall drain.