Mastering the Bathroom Sink Drain Assembly
In most homes, the bathroom sink is the most used plumbing fixture, and over time, the mechanical parts of the pop-up stopper eventually wear out. Whether it’s a corroded finish, a persistent leak under the basin, or a mechanism that no longer holds water, replacing the entire sink drain assembly is often more effective than trying to patch a failing unit. From experience, homeowners often feel intimidated by the maze of pipes under the sink, but this is one of the most rewarding 'quick fix' projects you can tackle yourself.
What works best is approaching this task with a clear plan. You aren’t just swapping a stopper; you are ensuring a watertight seal between a metal flange and a porcelain or stone basin. This guide will walk you through the process I have used on hundreds of renovations to get professional results without the professional price tag.
Tools and Materials Needed
Before you start, gather everything you need. There is nothing worse than being halfway through a plumbing job and realizing you don't have the right wrench. One thing many people overlook is having a bucket that actually fits under their specific p-trap; measure the clearance before you begin.
- New pop-up drain assembly: Ensure it matches your sink type (with or without an overflow hole).
- Plumber's putty: Essential for a waterproof seal at the flange.
- Channel locks or a pipe wrench: For loosening large nuts.
- Small bucket and old towels: To catch 'gray water' trapped in the pipes.
- Non-serrated screwdriver: For adjusting the pivot rod.
- Silicone sealant: (Optional) Some modern assemblies prefer this over putty.
Preparation Steps
Preparation is the difference between a 30-minute job and a three-hour ordeal. In my experience, the real issue usually isn't the new part, but the gunk and corrosion on the old one. Clear out everything from under the sink. You need room to move your arms and place your bucket.
Clearing the Workspace
Remove all cleaning supplies and toiletries. Lay down a dry towel across the bottom of the cabinet. This not only protects the wood from water but also prevents small screws or clips from rolling away into dark corners.
Shutting Off Water (Optional but Recommended)
While you aren't working on the supply lines, it’s a good habit to turn off the shut-off valves. This prevents any accidents if you accidentally bump a handle while working in the cramped space.
Detailed Step-by-Step Instructions
Follow these steps in order. Over the years, I have learned that skipping the cleaning phase or rushing the putty application leads to leaks that show up a week later.
Step 1: P-Trap Removal
Place your bucket under the large U-shaped pipe known as the p-trap. This pipe always holds water to block sewer gases. Loosen the slip nuts at both ends of the 'U' by hand or with channel locks. Carefully pull the trap down and empty the water into the bucket. Set the p-trap and its washers aside.
Step 2: Disconnect the Old Linkage
Under the sink, you will see a horizontal rod connected to a vertical metal strap with holes (the clevis). Remove the metal spring clip and pull the horizontal rod out from the clevis. Then, unscrew the large nut holding the rod into the drain tailpiece and pull the rod out. The stopper inside the sink should now be loose.
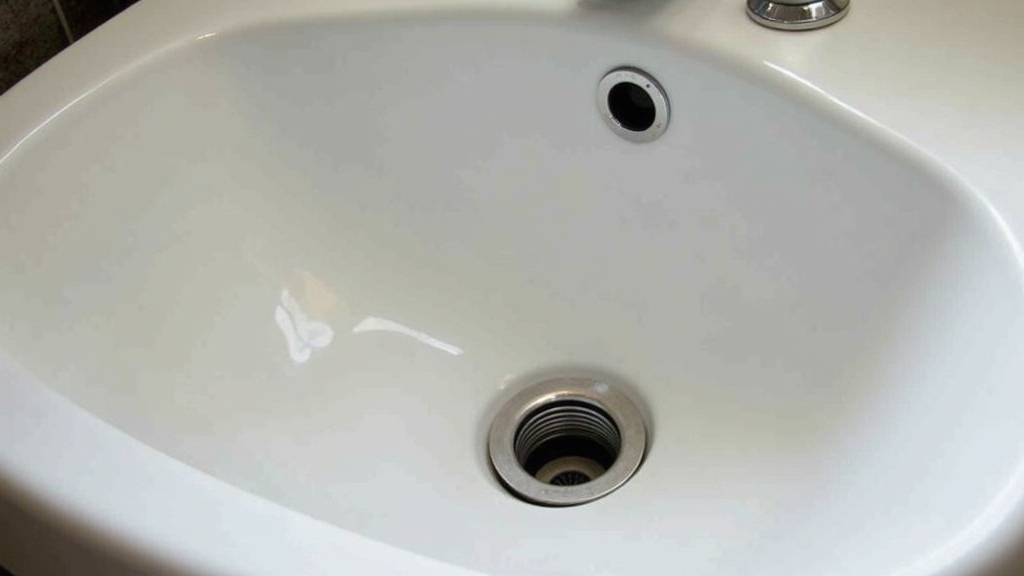
Step 3: Remove the Old Drain Assembly
Use your wrench to loosen the large mounting nut located directly under the sink basin. Once loose, push the entire assembly upward so the flange rises out of the sink hole. From the top side, pull the flange out. If it’s stuck, a gentle tap from below with a rubber mallet usually does the trick. Clean the sink hole thoroughly; removing old putty and mineral deposits is the key thing to remember for a leak-free seal.
Step 4: Prepare the New Flange
Take a golf-ball-sized piece of plumber's putty and roll it between your palms to create a 'snake' about the thickness of a pencil. Wrap this ring around the underside of the new drain flange. If your sink is made of a porous material like marble, check if you need 'stain-free' putty or silicone instead.
Step 5: Install the New Assembly
Drop the flange through the sink hole from above. From underneath, slide the rubber gasket, friction washer, and mounting nut onto the tailpiece. Screw the nut up until it’s hand-tight. As you tighten it with a wrench, you will see the putty squeeze out around the flange inside the sink. This is a good sign. Don't over-tighten, especially on ceramic sinks, as they can crack.
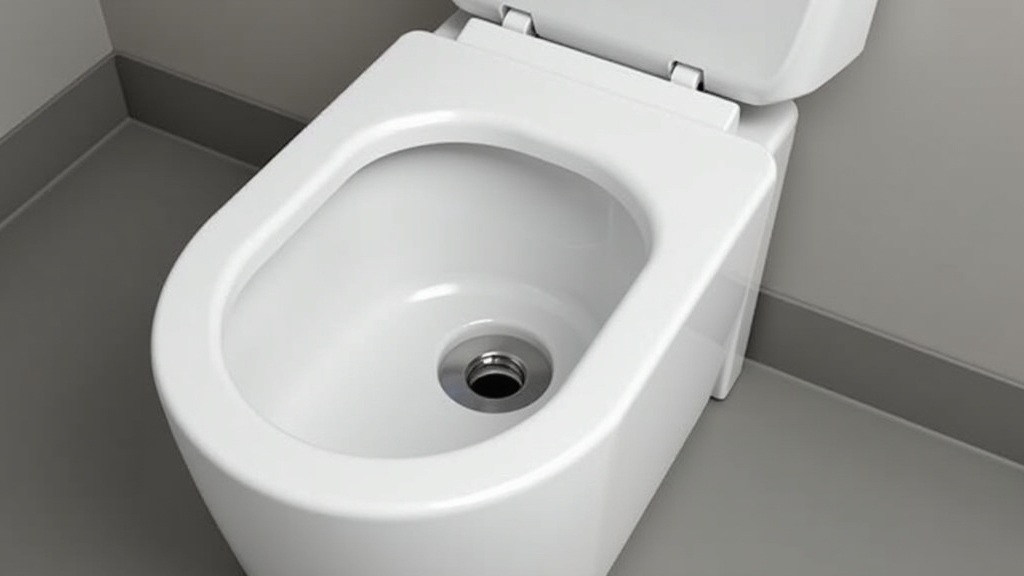
Step 6: Align and Connect the Pivot Rod
Ensure the opening for the pivot rod on the tailpiece is facing the wall (toward the lift rod). Insert the stopper into the sink. Insert the pivot rod into the tailpiece so it catches the loop at the bottom of the stopper. Tighten the nut that holds the rod in place. Finally, connect the horizontal rod to the vertical clevis using the spring clip, adjusting the height until the stopper opens and closes fully.
Step 7: Reinstall the P-Trap
Slide the p-trap back into position. Ensure the washers are seated correctly in the joints. Tighten the slip nuts by hand, then give them another quarter-turn with the wrench. Over-tightening plastic nuts often causes them to cross-thread or crack.
Tips for Best Results
What I have found is that most DIY leaks happen because of 'debris interference.' Before you consider the job finished, wipe away the excess putty from the sink basin immediately. If left to dry, it becomes much harder to remove without scratching the finish. Additionally, always test the overflow. Fill the sink until water goes into the overflow hole to ensure that the internal path of the new assembly is also sealed correctly.
Troubleshooting Common Issues
If you notice water dripping from the large nut under the sink, the rubber gasket might be seated unevenly. Back the nut off, reposition the gasket, and retighten. If water is leaking from the pivot rod nut, tighten that nut slightly—it houses a small ball-joint that needs a firm seal to stay dry. A common situation is the stopper not lifting high enough; simply move the clip on the clevis down one or two holes to increase the leverage.