The Problem with Outdated Hardware
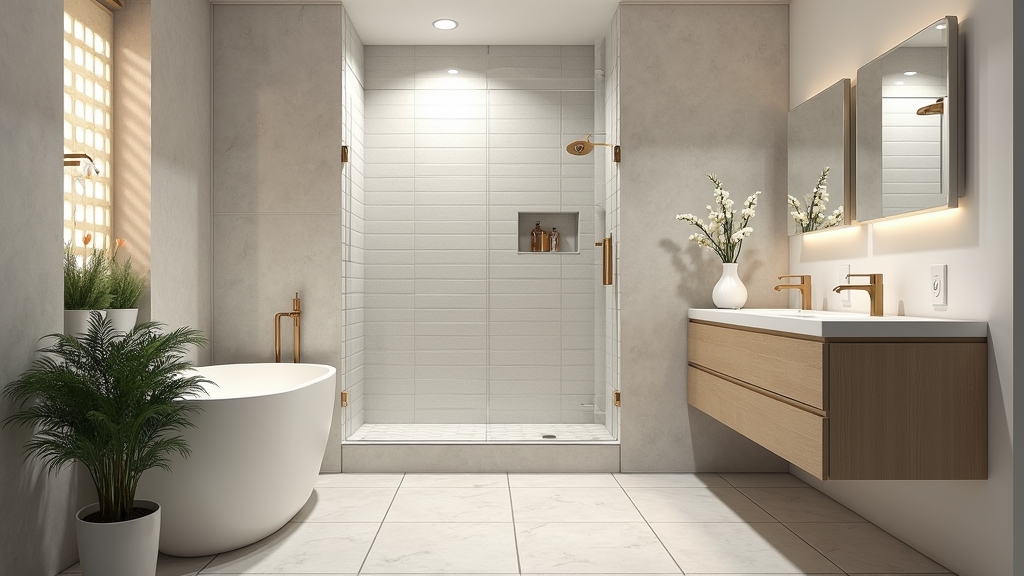
As a gardener who spends hours tending to vertical herbs in tiny apartment balconies, I’ve learned that the smallest details—like the gauge of a trellis wire—can make or break a space. The same principle applies to your bathroom. Your cabinet hardware is the 'jewelry' of the vanity, yet it is often the first thing to degrade. Many homeowners find themselves staring at tarnished vanity pulls or loose cabinet knobs and wondering why such small components fail so quickly. Here is the thing: the bathroom is the harshest environment in your home, subjected to constant humidity, chemical cleaners, and physical wear.
Root Causes and Contributing Factors
Before we jump into the replacement process, we need to understand why hardware fails. Most issues stem from three specific areas: material degradation, mechanical fatigue, and the 'mismatch' phenomenon.
Moisture and Corrosion
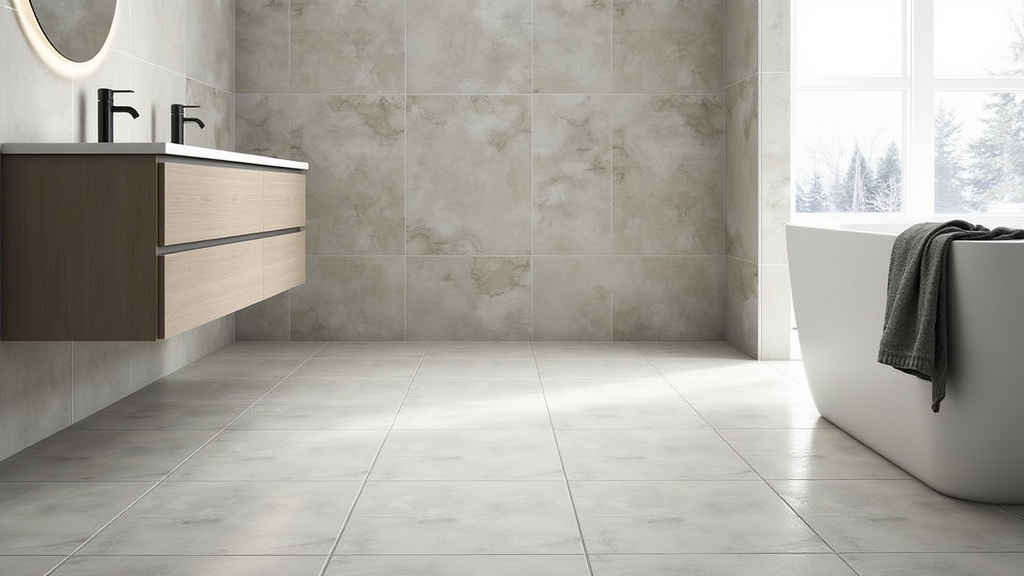
In a small apartment bathroom, steam from the shower has nowhere to go. This high-humidity environment acts as a catalyst for oxidation. If your hardware is made of cheap zinc alloy or has a thin electroplated finish, it will begin to pit or peel. Worth mentioning is that 'brushed' finishes often hide initial corrosion better than polished ones, but once the protective layer is breached, the metal underneath is toast.
Mechanical Stress on Fiberboard
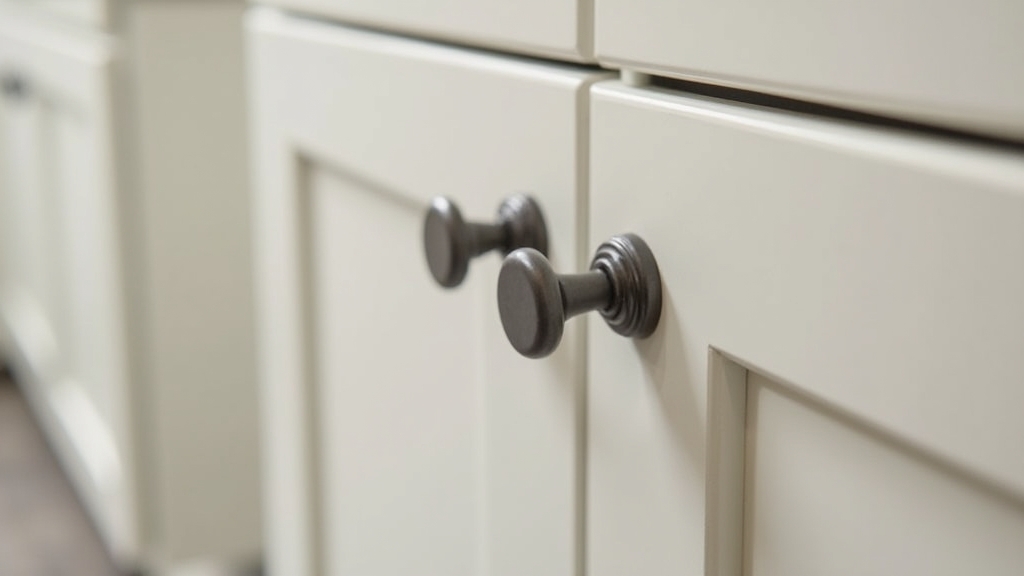
What most people miss is that the cabinet material itself contributes to hardware failure. Most modern vanities are made of MDF (Medium Density Fiberboard). Constant pulling on a loose knob causes the screw to 'chew' through the soft fibers, eventually enlarging the hole until the hardware can no longer be tightened. This is where it gets interesting: the weight of the hardware matters. Heavy solid brass pulls on a flimsy MDF door are a recipe for sagging over time.
The Center-to-Center Mismatch
The most common headache in an easy bathroom update is choosing the wrong size. Pulls are measured 'center-to-center,' which is the distance between the two screw holes. If you buy 3.5-inch pulls for 3-inch holes, you're forced to drill new holes, leaving unsightly scars on your vanity. On the other hand, if you understand your measurements from the start, the installation is a ten-minute job.
Immediate Steps to Take
If your hardware is currently failing, don't wait for the screw to strip the cabinet door entirely. Follow these immediate steps to prep for your upgrade.
Audit Your Current Setup
Remove one pull and one knob. Check the surface behind them. Is the finish of the cabinet discolored? If so, you’ll need new hardware with a larger 'footprint' or backplate to cover the mark. Now, the important part: measure the distance between the holes with a precision ruler or a dedicated hardware template. Standard sizes are often 3 inches, 96mm, or 128mm.
Selecting the Right Bathroom Hardware Finish
This is where your personal style meets durability. For high-moisture areas, I recommend Physical Vapor Deposition (PVD) finishes. This process creates a finish that is virtually immune to corrosion. Popular choices include:
- Matte Black: Modern and hides fingerprints, but can show water spots.
- Satin Nickel: The gold standard for durability and hiding scratches.
- Polished Chrome: Extremely resistant to corrosion but requires constant wiping to stay shiny.
- Champagne Bronze: A warm, modern alternative to brass that doesn't tarnish as easily.
Long-term Prevention Strategies
An easy bathroom update shouldn't be a yearly occurrence. To ensure your new vanity pulls and cabinet knobs last a decade, you must implement a few prevention strategies.
The Clear Coat Secret
If you fall in love with a hardware piece that isn't PVD-rated, you can apply a thin coat of high-quality carnauba wax or a clear metal lacquer. This creates an extra barrier against steam. Something to keep in mind: you should re-apply wax every six months during your deep clean.
Use Thread Locker
To prevent the 'loose knob' syndrome that ruins cabinet holes, apply a drop of blue (removable) thread-locking fluid to the screw before installation. This prevents the screw from vibrating loose due to daily use, ensuring the hardware stays snug against the cabinet face.
Improve Ventilation
Just as I tell my fellow gardeners to use fans to prevent mold on their indoor plants, you need airflow to protect your hardware. Ensure your bathroom fan is rated for the square footage of the room and run it for at least 15 minutes after every shower. This single step will double the life of your hardware finish.
When to Call a Professional
While updating hardware is the quintessential DIY task, there are times when a pro is necessary. If you are switching from knobs to pulls and need to drill perfectly aligned holes in expensive solid wood cabinets, a carpenter with a professional jig is worth the cost. Similarly, if your cabinet holes are completely stripped and the wood is crumbling, a professional can perform a structural repair with wood filler and stabilizers that a simple 'larger screw' won't fix. The good news is, for 90% of urban dwellers, a screwdriver and a little patience are all you need.