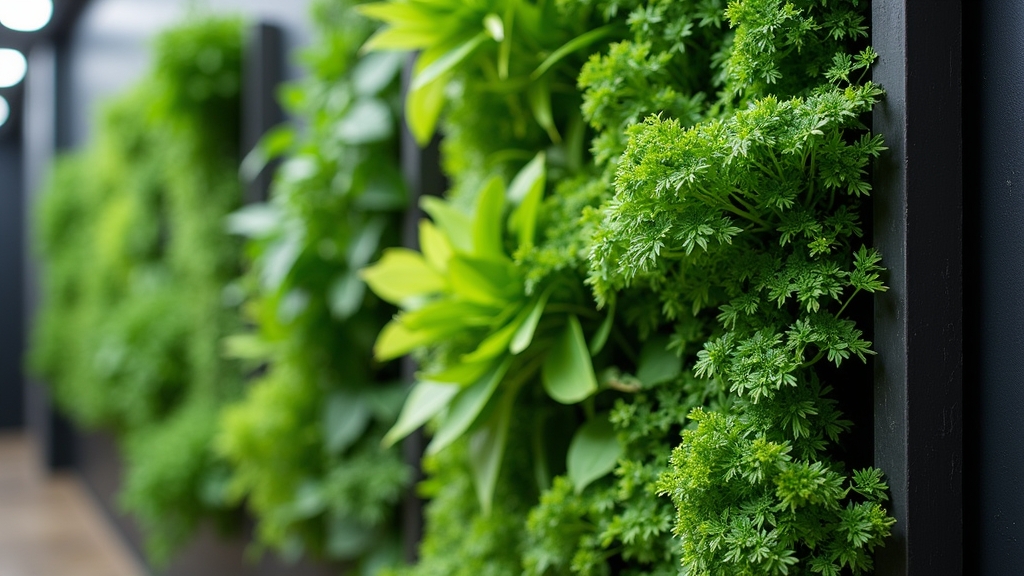
Why Herb Preservation is a Game-Changer for Your Home
In my years managing properties, I’ve seen countless garden beds go to waste because homeowners didn't know how to bridge the gap between a summer harvest and a winter pantry. Here is the thing: properly dried herbs aren't just a way to save money; they are a concentrated source of flavor that far exceeds anything you find in a dusty grocery store bottle. When you master the art of drying herbs, you are essentially capturing the peak essence of your garden to use during the months when the ground is frozen. Understanding the science of moisture removal while protecting volatile oils is the difference between flavorful seasoning and brown, scentless dust.
Harvesting by the Seasons: Timing is Everything
Timing your harvest is the most critical factor in determining the quality of your final product. Now, the important part: you must harvest before the plant flowers. Once a herb starts blooming, its energy shifts from leaf production to seed production, often resulting in a bitter or woody taste.
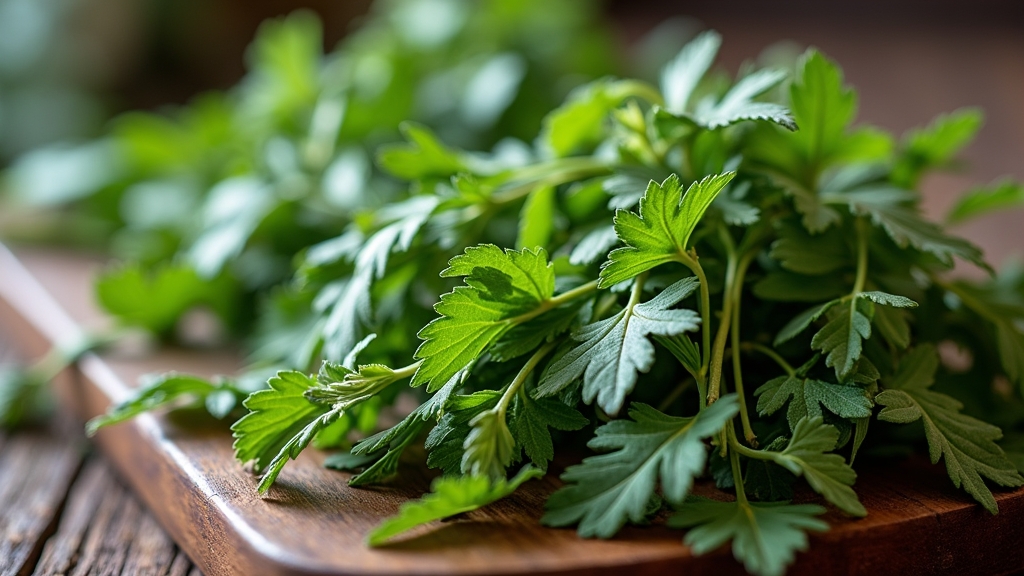
Spring: The Tender Greens
In early spring, focus on delicate herbs like chives, cilantro, and parsley. These soft-stemmed varieties are high in moisture and require immediate attention once picked. Harvesting these early prevents them from bolting in the summer heat.
Summer: Peak Essential Oils
Mid-summer is when Mediterranean herbs like rosemary, thyme, oregano, and sage reach their peak. The high intensity of the sun maximizes the essential oil content. This is where it gets interesting: you should always harvest in the morning, just after the dew has evaporated but before the sun gets hot enough to begin wilting the leaves.
Autumn: The Final Cut
Before the first frost hits, do a final sweep of your perennial herbs. Hardier varieties like sage and lavender can withstand a light chill, but once the cell walls freeze, the flavor profile changes significantly. This is your last chance to stock the pantry for the year.
The Step-by-Step Solution for Perfect Preservation
To ensure your herbs last until the next growing season, follow this rigorous process I've refined over dozens of harvests.
1. The Clean and Prep
Shake your herbs gently while they are still in the garden to remove insects. Once inside, what most people miss is that you should avoid washing them unless they are visibly muddy. Adding water to the surface increases the risk of mold during the drying phase. If you must wash them, use a salad spinner to get every last drop of moisture off.
2. Choosing Your Method
The method you choose depends on the herb's moisture content. The good news is that you don't need expensive equipment for most of these.
- Air Drying (Best for low-moisture herbs): Bundle 5-6 stems of rosemary, thyme, or bay leaves together with a rubber band. Hang them upside down in a dark, well-ventilated area. Using a rubber band is better than string because it shrinks as the stems dry, preventing the bundle from falling apart.
- Dehydrator (Best for high-moisture herbs): For basil, mint, and lemon balm, a dehydrator is your best bet. Set it to the lowest setting (95°F to 115°F). Anything higher will cook the leaves rather than dry them, destroying the oils.
- Screen Drying: Lay individual leaves on a fine mesh screen. This is ideal for large leaves like sage or for flower heads like chamomile.
3. Testing for Dryness
Herbs are only done when they are "cracker dry." If the leaf bends instead of snapping or crumbling, it still contains moisture. Something to keep in mind: if you jar herbs that aren't fully dry, you’ll find mold in your jars within a week, ruining the entire batch.
Practical Tips from Experience
I’ve managed many kitchens where herbs were stored incorrectly. On the other hand, when handled right, they stay potent for over a year. Here are my professional takeaways:
- Keep it Dark: Light is the enemy of chlorophyll and essential oils. Store your dried herbs in amber glass jars or inside a dark pantry.
- Leave them Whole: Do not crumble your herbs until you are ready to use them. Keeping the leaves whole preserves the oils inside. The moment you crush them, the flavor begins to dissipate.
- Labeling is Non-Negotiable: Many dried herbs look identical once they are processed. Label with the name of the herb and the date of harvest immediately.
- The Jar Test: After putting your herbs in a jar, check them the next day. If you see any condensation on the inside of the glass, take them out—they aren't dry enough yet.
Common Mistakes to Avoid
Avoid these frequent pitfalls to ensure your culinary garden harvest isn't wasted:
- Oven Drying: Most ovens don't go low enough in temperature. Even the "warm" setting usually exceeds 170°F, which is too hot. You'll end up with toasted herbs that taste like hay.
- Drying in Sunlight: While it seems natural, the sun bleaches the color and flavor out of the herbs. Always dry in a shaded, indoor spot.
- Crowding the Bundles: If you make your bundles too thick, the center will rot before the outside dries. Keep bundles small and ensure air can circulate around every stem.
- Harvesting After a Rain: Wait at least 24 hours after a rainstorm to harvest. The plants need time to concentrate their oils again after being diluted by the water.
Final Thoughts
Worth mentioning is that your home-grown herbs will be significantly stronger than store-bought versions. Start by using half the amount called for in recipes until you gauge the potency. By following these steps, you’re not just saving plants; you’re building a high-quality larder that will elevate your cooking all year round.