The Homeowner’s Shortcut to Lower Utility Bills
As an energy efficiency advisor, I often look beyond the insulation in your attic to the landscape surrounding your home. Mulching is one of the most cost-effective 'quick fixes' for reducing exterior water consumption and protecting your property's value. Here is the thing: a properly mulched garden can reduce soil evaporation by up to 70%, drastically cutting your irrigation needs and the energy used by your well or local water utility. In this guide, we will transform your garden into a self-sustaining ecosystem that saves you time and money.
Tools and Materials Needed
Before you start, gather these essential supplies to ensure the job is done efficiently:
- High-quality garden mulch: (Bark nuggets, shredded cedar, or composted leaves).
- Steel rake: For spreading and leveling.
- Pitchfork: Ideal for moving bulk mulch from a pile to a wheelbarrow.
- Standard wheelbarrow: To transport material without straining your back.
- Garden gloves: To prevent splinters and protect against soil bacteria.
- Hand trowel: For precision work around delicate perennials.
Preparation Steps
Now, the important part: you cannot simply throw mulch over a messy garden and expect professional results. Preparation is where most people miss the mark. Start by removing all perennial weeds, ensuring you pull them by the root. If you leave them beneath the mulch, the improved moisture levels will actually help them thrive. Next, edge your garden beds using a spade to create a 3-inch deep 'V' trench. This prevents mulch from washing onto your lawn during heavy rains and creates a clean, aesthetic border.
Step-by-Step Mulching Techniques
This is where it gets interesting. Many homeowners treat mulching as a visual task, but it is actually a precise engineering project for your soil. Follow these steps for maximum energy and water efficiency:
1. Moisture Check
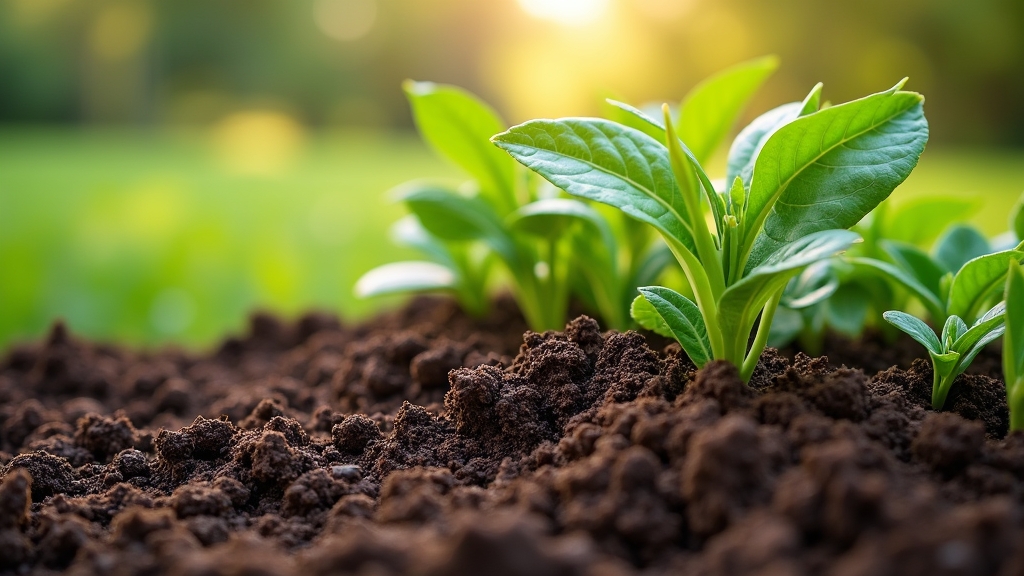
Before applying any garden mulch, ensure the soil is already moist. Applying dry mulch to bone-dry soil can actually create a hydrophobic barrier that prevents light rain from reaching the roots. If it hasn't rained recently, give your beds a deep soak the night before you plan to mulch.
2. Choosing Your Mulch Type
The good news is that you have several options depending on your specific goals. For long-term soil health and moisture retention, organic mulches are king:
- Shredded Bark: Excellent for slopes as it knits together and won't wash away.
- Wood Chips: Best for pathways and around established trees.
- Straw: Ideal for vegetable gardens, but ensure it is weed-seed free.
- Pine Needles: Perfect for acid-loving plants like azaleas and blueberries.
3. Application Depth
On the other hand, more is not always better. Aim for a consistent depth of 2 to 3 inches. Any thinner, and sunlight will reach weed seeds; any thicker, and you risk suffocating the soil and preventing oxygen exchange. Something to keep in mind is that fine-textured mulches (like sawdust) should be applied thinner than coarse materials (like large bark nuggets).
4. The 'Donut' Rule
Worth mentioning is the most common mistake: the 'mulch volcano.' Never pile mulch directly against the trunks of trees or the stems of shrubs. This traps moisture against the bark, inviting rot, fungal diseases, and rodent damage. Always leave a 2-3 inch gap around the base of the plant—think of it as a donut shape rather than a mountain.
Advanced Tips for Best Results
To truly optimize your garden's energy efficiency, consider the color and texture of your mulch. Light-colored mulches reflect more sunlight, keeping the soil cooler in blistering summer heat, which reduces plant stress and water transpiration. If you are using 'green' or fresh wood chips, be aware of nitrogen tie-up. As fresh wood breaks down, it temporarily pulls nitrogen from the top layer of soil. You can counter this by scattering a thin layer of blood meal or a high-nitrogen fertilizer before laying the mulch.
Troubleshooting Common Issues
Even with the best intentions, garden mulch can sometimes present challenges. If you notice a strange, orange, sponge-like growth, don't panic. This is likely 'Slime Mold,' which is harmless to plants and indicates that your mulch is successfully breaking down and holding moisture. Simply rake it over to dry it out. If you find your mulch is developing a crust that sheds water (hydrophobia), use a garden fork to fluff it up every few months. This ensures that irrigation actually reaches the root zone rather than running off the surface.
Summary of Benefits
By implementing these techniques, you aren't just making your yard look better; you are creating a functional barrier that regulates soil temperature, suppresses weeds without chemicals, and locks in vital moisture. For the energy-conscious homeowner, this translates to lower water bills and a more resilient landscape that can withstand climate fluctuations with minimal intervention.