Understanding the Value of Raised Garden Beds
Raised garden beds are more than just a trend in home landscaping; they are a functional solution for many common gardening challenges. Whether you are dealing with poor native soil, limited space, or physical constraints that make traditional gardening difficult, a raised bed offers a controlled environment for growing vegetables, herbs, and flowers. Here is the thing: while building a box and filling it with dirt seems straightforward, the long-term success of your garden depends on avoiding a few fundamental mistakes that many beginners make. In this guide, we will explore the practicalities of planning, building, and maintaining raised garden beds that stand the test of time.
Essential Tools and Materials
Before you begin construction, gathering the right supplies is vital to ensure the process goes smoothly. You do not need professional-grade equipment, but having the correct tools will prevent structural issues later on.
Required Tools
- Measuring Tape: Accuracy is key for fitting pieces together.
- Level: Essential for ensuring the bed sits flat on the ground.
- Power Drill and Driver: For securing the frame components.
- Hand Saw or Miter Saw: To cut your lumber to the desired lengths.
- Shovel and Rake: For site preparation and spreading soil.
- Staple Gun: For attaching liners or hardware cloth.
Recommended Materials
- Lumber: Rot-resistant wood like cedar or redwood is often preferred, though untreated fir or pine can work on a tighter budget.
- Galvanized Screws: Use exterior-grade screws that will not rust when exposed to moisture.
- Hardware Cloth (1/4 inch): A galvanized mesh used at the bottom to deter burrowing pests.
- Soil Mix: A blend of topsoil, compost, and aeration material like perlite or peat moss.
Preparation Steps: Setting the Foundation
Now, the important part: the preparation phase. Skipping these steps is what most people miss, leading to sinking beds or poor plant growth. First, identify a location that receives at least six to eight hours of direct sunlight. Most edible plants require significant solar energy to thrive.
Next, consider your water source. It is worth mentioning that a raised bed located too far from a hose will likely be neglected during the heat of summer. Once the location is set, you must level the ground. A bed that is not level will have uneven water distribution, where one end is perpetually soggy while the other remains bone dry. Remove any large rocks or thick sod from the footprint of the bed to ensure a stable base.
Detailed Step-by-Step Instructions
Step 1: Cutting and Preparing the Frame
Based on your design, cut your lumber to size. A common and practical size is 4 feet by 8 feet. This width allows you to reach the center of the bed from either side without ever stepping on the soil. Stepping on the soil compacts it, which ruins the primary benefit of a raised bed: aeration.
Step 2: Assembling the Walls
Lay out your boards on a flat surface. This is where it gets interesting: you can use corner posts (typically 4x4 pieces) to provide structural integrity. Screw the side boards into these corner posts. If you are building a bed taller than 12 inches, consider adding a mid-point support stake to prevent the long sides from bowing outward under the weight of the wet soil.
Step 3: Installing Pest Protection
Before moving the bed to its final location, flip it over. Attach a layer of galvanized hardware cloth to the bottom using a staple gun. This creates a barrier against gophers and moles while still allowing beneficial insects and worms to pass through. The good news is that this simple step can save an entire season's worth of root vegetables from being eaten from below.
Step 4: Positioning and Leveling
Move the frame to your prepared site. Use your level to check the boards in both directions. If one side is high, dig out a small trench for that board to sit in rather than propping up the low side with loose dirt, which will eventually wash away.
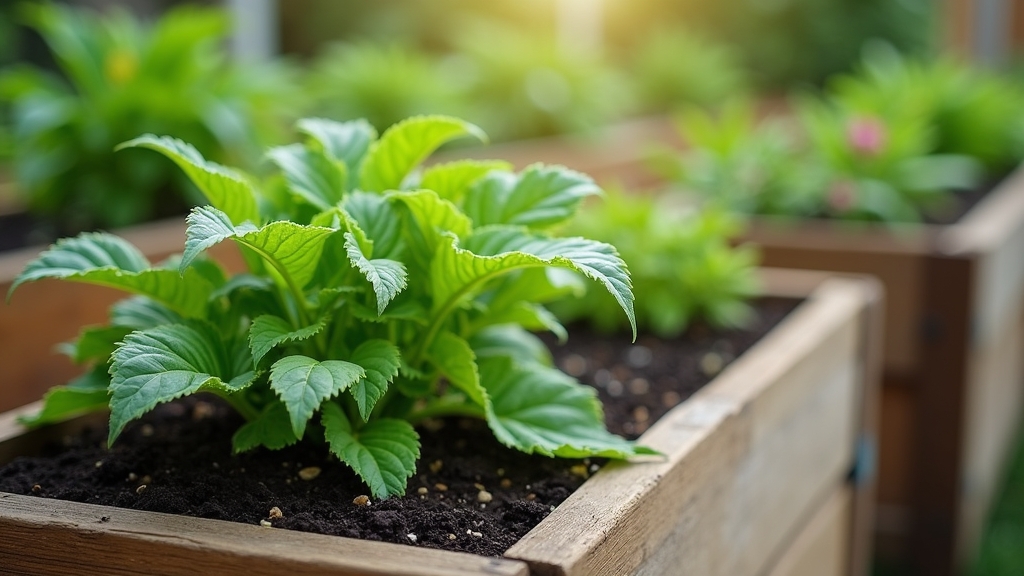
Step 5: Filling the Bed
Do not fill the bed with just 'dirt' from your yard. On the other hand, buying bagged potting mix for a large bed can be prohibitively expensive. A balanced approach is the "triple mix": one part topsoil, one part compost, and one part organic matter like leaf mold or peat moss. Something to keep in mind is that the soil will settle by about 2-3 inches over the first few weeks, so fill the bed nearly to the brim.
Common Mistakes to Avoid
1. Making the Bed Too Wide
One of the most frequent errors is building a bed that is 5 or 6 feet wide. Unless you have exceptionally long arms, you will find it impossible to weed or harvest the center without stepping into the bed. Always stick to a 3-foot or 4-foot width for accessibility.
2. Using the Wrong Wood Treatment
While you want your bed to last, avoid using older pressure-treated lumber or railroad ties which may contain chemicals that can leach into the soil. Modern pressure-treated wood is safer, but many organic gardeners still prefer untreated cedar or a food-safe wood sealer.
3. Ignoring Drainage
If you place your raised bed on a hard surface like concrete, you must ensure water can escape. Without proper drainage, the roots will rot. For beds placed on soil, the hardware cloth bottom usually suffices, but avoid lining the bottom with heavy plastic or landscaping fabric that doesn't breathe.
4. Poor Soil Quality
Using 100% compost can be too hot for some plants, while using 100% topsoil can be too dense. The secret is the blend. If your soil looks like a solid brick after it dries, you need more organic matter to improve the structure.
Troubleshooting Common Issues
If you notice your plants are yellowing despite regular watering, you might be overwatering, or the soil may lack nitrogen. Because raised beds drain faster than the ground, nutrients tend to leach out more quickly. Regular top-dressing with compost can solve this. If the wood begins to rot prematurely, check if soil is piled against the exterior or if the bed is in a perpetually damp, shaded area. Ensuring airflow around the exterior of the bed helps preserve the wood.
Tips for Best Results
- Mulch the Surface: Use straw or wood chips on top of the soil to retain moisture and suppress weeds.
- Crop Rotation: Don't plant the same family of vegetables in the same bed every year to avoid pest buildup.
- Vertical Support: Use the north side of the bed for trellises so tall plants like peas or beans don't shade out smaller crops.
- Early Season Warming: Because raised beds are above ground, the soil warms up faster in the spring, allowing for an earlier planting date.