Understanding Why Grass Dies
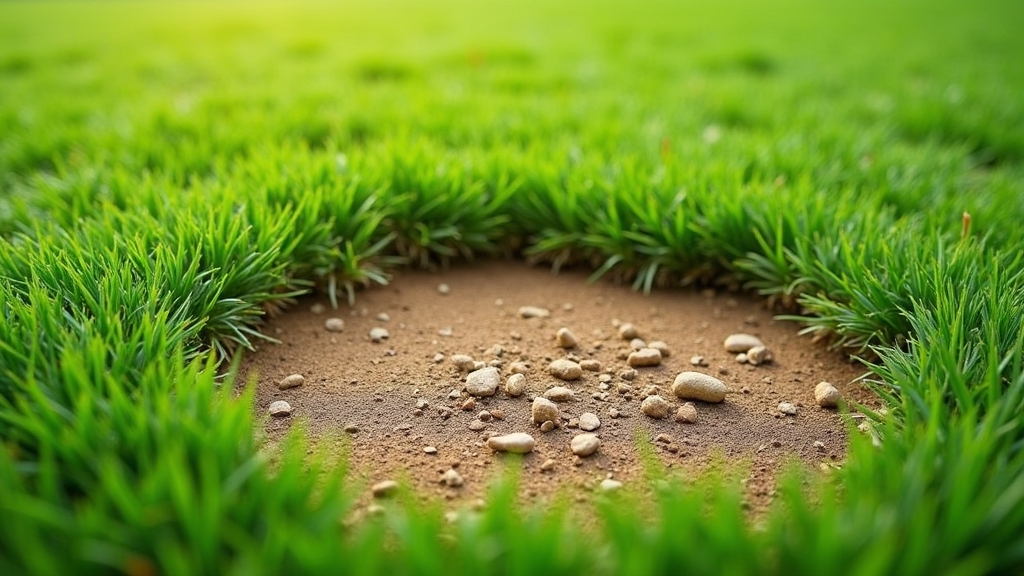
As a technician who has walked thousands of residential properties, I can tell you that bare patches are one of the most common frustrations for homeowners. Before we talk about how to fix dead grass, we have to look at why it happened in the first place. Here is the thing: if you don’t address the underlying cause—be it heavy foot traffic, pet urine, fungal disease, or soil compaction—the patch will simply return next season. Worth mentioning is that most patches are symptomatic of a larger soil issue or a localized environmental stressor.
In this guide, we are going to break down the three primary methods for lawn patch repair, focusing specifically on the realistic costs you can expect to encounter. Whether you are reseeding bare spots or opting for a quick-fix kit, the goal is long-term health, not just a temporary green-up.
Option 1: Loose Seed and Topsoil (The Budget-Friendly Approach)
This is the traditional method used by professionals. It involves purchasing high-quality grass seed for patches, a bag of nutrient-rich topsoil or compost, and perhaps a bit of starter fertilizer. You prepare the ground, spread the seed, and cover it lightly.
Pros and Cons of Loose Seed
The primary benefit of this method is control. You can choose the exact species of grass that matches the rest of your lawn, ensuring a seamless look once the patch fills in. The good news is that this is the most cost-effective way to treat large areas or multiple spots across a yard. On the other hand, it requires more labor on your part. You have to ensure the seed-to-soil contact is perfect, and you are responsible for keeping the area moist without washing the seed away.
Option 2: Pre-Mixed Patch Repair Kits (The Convenience Approach)
You have likely seen these in hardware stores. They are all-in-one canisters or bags containing grass seed, mulch (usually paper or wood fiber), and fertilizer. You simply pour them over the bare spot and add water.
Pros and Cons of Repair Kits
What most people miss with these products is that they are designed for convenience, not necessarily for a perfect match. They often use generic seed varieties that might be a slightly different shade of green than your existing turf. However, they are incredibly easy to use and the absorbent mulch does a fantastic job of holding moisture. Something to keep in mind is that you are paying a significant premium for the packaging and the pre-mixing service.
Option 3: Sod Patching (The Instant Solution)
Sod patching involves cutting out the dead area and replacing it with a fresh piece of pre-grown grass. This is the closest thing to an 'instant' fix available in the lawn care world.
Pros and Cons of Sod
Sod gives you an immediate green surface. It is excellent for areas on a slope where seed might wash away during a rainstorm. Now, the important part: sod is the most expensive option and requires the most physical prep work, as you must excavate the area to the correct depth so the new patch sits flush with the rest of the lawn. If the patch sits too high, your mower will scalp it; too low, and it will collect water and rot.
Detailed Cost Analysis: What Will You Actually Spend?
When we look at the financials, we have to consider the square footage. Let’s break down the cost for a standard 100-square-foot area divided into various smaller patches.
- Loose Seed & Topsoil: High-quality seed (approx. $15-$25 for a small bag), one bag of topsoil ($5-$8), and a small amount of fertilizer ($10). Total: ~$30-$45. Cost per square foot: ~$0.30 - $0.45.
- Repair Kits: Most kits cover about 10-20 square feet and cost $15-$20 each. To cover 100 square feet, you would need 5-8 kits. Total: ~$75-$160. Cost per square foot: ~$0.75 - $1.60.
- Sod: A single roll or square of sod (approx. 10 sq. ft) costs $5-$10. For 100 square feet, you need 10 units. Total: $50-$100 plus delivery fees if you can’t haul it yourself. Cost per square foot: ~$0.50 - $1.00.
This is where it gets interesting: While sod looks cheaper than repair kits on paper, the labor time is nearly triple. If you are hiring a professional, labor will usually add $100-$300 to these figures depending on the complexity of the job.
Best Use Cases for Each Method
In my experience, the 'best' method depends entirely on your specific situation:
- Use Loose Seed if you are working on a budget, have many small spots across a large yard, or are a perfectionist who wants an exact grass-type match.
- Use Repair Kits for high-visibility areas like the front walkway where you only have one or two small 'dog spots' and want a 5-minute fix.
- Use Sod for larger dead zones (over 2-3 feet wide), sloped areas, or if you are hosting an event next week and need the yard to look perfect immediately.
Final Recommendation Based on Situation
If you have the time, I always recommend the loose seed and topsoil method. It provides the strongest root system and the most natural look. To succeed, remember that seed needs 'skin-to-skin' contact with the earth. Rake away the dead grass, loosen the top inch of soil, and keep it damp—not soaking—until the grass is at least two inches tall.
If you are dealing with 'mystery' dead patches, check for grubs or soil compaction before spending a dime on seed. Now, the important part: if the soil is hard as a rock, no amount of seed or sod will thrive until you aerate that specific spot.