Why Garden Tools Lose Their Edge
Maintaining a garden requires reliable equipment. However, many homeowners struggle with hand tools that have lost their effectiveness. When a pair of shears or a trowel becomes dull, gardening becomes physically demanding and potentially harmful to your plants. Understanding why tools degrade is the first step in creating a sustainable maintenance routine.
The Role of Sap and Residue
Every time you prune a shrub or cut back a perennial, your shears encounter plant sap. This sticky substance acts as an adhesive for dust and grit. Over time, the sap hardens on the blade, creating a thick layer that prevents the two cutting surfaces from meeting cleanly. If you do not clean this residue immediately, it creates friction that mimics the feel of a dull blade.
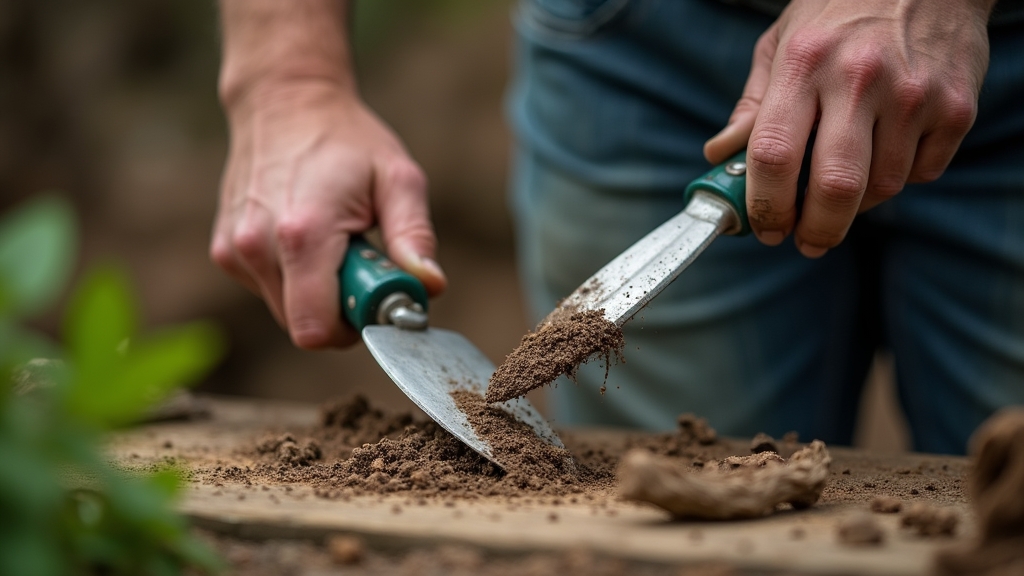
Soil Abrasion and Friction
Soil is essentially a collection of tiny, abrasive rocks. When you use a trowel or a spade, the friction between the metal and the earth gradually wears down the sharp leading edge. This process is slow but consistent. Tools used in sandy or rocky soils will dull significantly faster than those used in soft, organic compost. Take your time when inspecting your tools; you will often see small nicks or a rounded edge where there should be a sharp taper.
Oxidation and Rust
Rust removal is one of the most common tasks in garden tool care. Most hand tools are made of carbon steel or stainless steel. While stainless steel resists corrosion, carbon steel—prized for its ability to hold a sharp edge—is highly susceptible to rust. Moisture from the air, damp soil, or even the water in plant tissues can trigger oxidation. Rust eats away at the fine edge of a blade, leaving it jagged and inefficient.
The Impact of Neglected Tools
Using dull tools is not just a matter of convenience; it affects the health of your landscape. A sharp cut on a plant stem heals quickly. A dull blade crushes the stem, leaving ragged edges that serve as entry points for pests and diseases. For the homeowner, dull tools require more hand strength, which can lead to repetitive strain injuries or blisters over a long afternoon of gardening.
Immediate Steps to Restore Your Tools
It is worth doing right the first time. Before you even think about sharpening, you must clean the tool thoroughly. You cannot sharpen through dirt or rust without damaging your sharpening stones or files.
Step 1: Deep Cleaning
Start by scrubbing the tool with warm, soapy water and a stiff brush. For stubborn sap, use a small amount of mineral spirits or a dedicated sap remover on a rag. Wipe the tool dry immediately. Small details matter here; ensure you clean the pivot point of shears and the underside of trowel blades where dirt hides.
Step 2: Rust Removal
If you see orange or brown spots, you must remove them. For light rust, a piece of steel wool or a wire brush works well. For more advanced rust, soak the metal parts in white vinegar for 12 to 24 hours. After the soak, scrub the surface with an abrasive pad. Neutralize the vinegar by rinsing the tool in a mixture of water and baking soda, then dry it completely. Trust your instincts on this one; if the metal looks pitted, you may need a coarser sandpaper to smooth the surface.
Step 3: The Sharpening Process
For sharpening shears and pruners, use a fine-tooth mill file or a diamond whetstone. Follow the existing bevel of the blade. This is usually a 20 to 30-degree angle. Hold the tool securely in a vise or against a stable surface. Move the file in one direction, away from your body, following the curve of the blade.
Do not rush the process. It usually takes 5 to 10 strokes to restore an edge. Once you have sharpened the beveled side, flip the tool over and lightly run your file flat against the back to remove the "burr," which is the thin wire of metal created during sharpening.
Step 4: Lubrication and Protection
Once the edge is sharp, apply a light coat of oil. This prevents oxygen from reaching the metal and starting the rust cycle again. Use a 3-in-1 oil, camellia oil, or even a food-grade mineral oil. Wipe off any excess so the tool isn't greasy to the touch.
Long-Term Prevention Strategies
Prevention is the foundation of practical tool care. You can avoid hours of restoration work by implementing a few simple habits into your gardening routine.
Clean After Every Use
Keep a rag in your garden bucket. Before you put a tool away, wipe off the dirt and moisture. This simple five-second habit prevents the buildup of sap and the onset of rust. If you have been pruning diseased plants, dip the blades in a 10% bleach solution or use an alcohol wipe to prevent spreading pathogens.
Proper Storage Environments
Never leave your tools on the ground or exposed to the elements overnight. Store them in a dry, ventilated shed or garage. Hanging tools on a pegboard is ideal because it keeps the blades from touching each other and allows air to circulate. If your storage area is damp, consider using a dehumidifier or storing small hand tools in a bucket filled with clean sand mixed with a small amount of motor oil or mineral oil.
Use the Right Tool for the Job
Many homeowners dull their tools by using them for tasks they weren't designed for. Do not use bypass pruners to cut wire or thick, woody branches that exceed the tool's capacity. This can bend the blades out of alignment, making them impossible to sharpen correctly. If you have to struggle to make a cut, you probably need a larger tool, such as loppers or a pruning saw.
When to Call a Professional or Replace a Tool
While most sharpening can be done at home, some situations require a professional or a replacement. If the blades of your shears are severely bent, they will no longer meet correctly, and sharpening will not fix the gap. If the metal is so deeply pitted by rust that the structural integrity is compromised, it is safer to replace the tool. Professional sharpeners are a great resource for expensive, high-quality German or Japanese steel tools that require specific angles and specialized whetstones.
Summary of Tool Care
Practical home improvement is about maintaining what you own. By understanding the causes of tool degradation—sap, friction, and rust—you can take active steps to keep your garden equipment in top shape. Regular cleaning, mindful sharpening, and proper storage will save you money and make your time in the garden more productive and enjoyable.