Building a Living Foundation: The Core of Soil Improvement
In most homes, the backyard is often a mix of compacted fill dirt and exhausted topsoil left over from construction. The common instinct is to buy bags of generic fertilizer, but the real issue usually is a lack of biological activity and structure, not just a chemical deficiency. This guide focuses on long-term soil improvement through sustainable practices that turn your ground into a self-sustaining ecosystem.
The Science of Healthy Soil
What works best is viewing soil as a living organism rather than a substrate. High-quality garden soil requires a balance of minerals, organic matter, water, and air. When we talk about soil amendments, we are either adjusting the texture (sand, silt, clay) or the chemistry (pH and nutrient density). From experience, I have found that jumping straight to chemical fixes without addressing soil structure is the most common reason garden projects fail within three years.
Tools and Materials Needed
To implement these changes effectively, you need more than just a shovel. One thing many people overlook is the quality of their testing equipment.
- Soil Test Kit: Skip the color-changing strips; use a professional lab service or a high-quality digital probe for pH and NPK levels.
- Broadfork or Pitchfork: For aeration without destroying the soil's fungal networks.
- Organic Amendments: Finished compost, aged manure, leaf mold, or biochar.
- Mulch: Straw, wood chips, or shredded leaves.
- Cover Crop Seeds: Clover, winter rye, or vetch for off-season nitrogen fixation.
Preparation: Understanding Your Starting Point
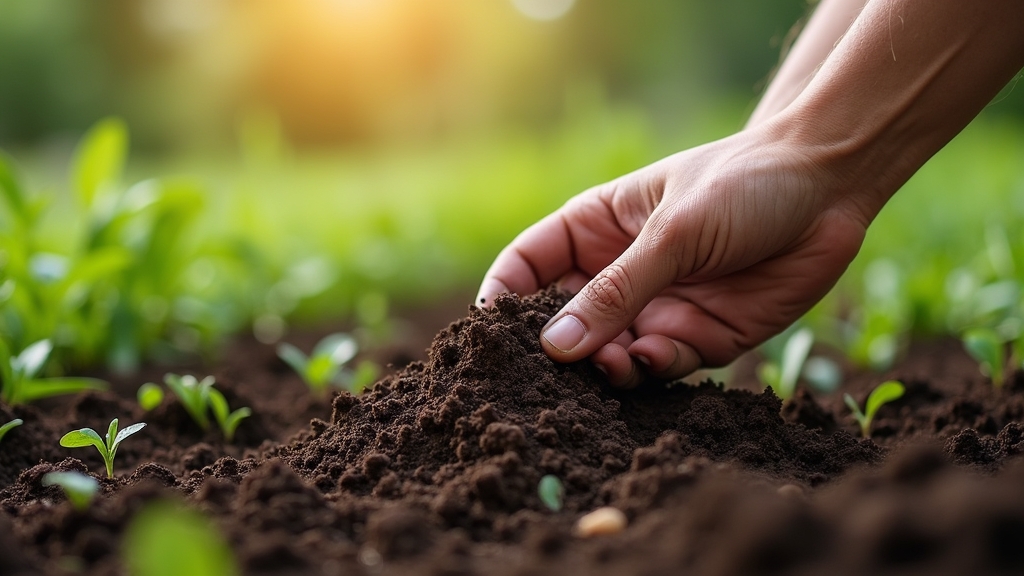
Over the years, I have learned that you cannot fix what you haven't measured. Before adding a single bag of lime or compost, you must identify your soil type. A common situation is homeowners adding sand to clay soil to 'loosen' it, which accidentally creates a substance similar to concrete. Instead, perform a ribbon test: squeeze a handful of moist soil. If it stays in a long ribbon, you have heavy clay. If it falls apart instantly, you have sand. If it holds a loose ball that crumbles when poked, you have the ideal loam.
Detailed Step-by-Step Instructions
Step 1: Aerate Without Inverting
The key thing to remember is that the most beneficial microbes live in the top 3-6 inches of soil. Traditional tilling flips the soil, exposing these microbes to UV light and killing them. Use a broadfork to gently lift the soil, creating channels for air and water without destroying the subterranean architecture.
Step 2: Incorporate Organic Matter
What I have found is that organic matter is the universal fixer. For clay soil, it provides space between particles for drainage; for sandy soil, it acts as a sponge to hold moisture. Layer 2-4 inches of high-quality compost over the surface. If you are starting a new bed, you can lightly rake this into the top inch, but generally, the earthworms will do the mixing for you.
Step 3: Adjust pH and Mineral Balance
Based on your soil test, add specific minerals. If your soil is too acidic (common in pine-heavy areas), add crushed limestone. If it’s too alkaline, use elemental sulfur. Avoid 'all-purpose' fertilizers. Instead, target specific needs—like bone meal for phosphorus or kelp meal for micronutrients—to avoid nutrient runoff that harms local waterways.
Step 4: The 'Living' Mulch Layer
In my experience, bare soil is dying soil. Once your amendments are down, cover the area with 3 inches of organic mulch. This regulates temperature, suppresses weeds, and slowly breaks down to feed the soil further. For vegetable gardens, straw is excellent; for perennial beds, use arborist wood chips.
Common Mistakes and Lessons Learned
Mistake 1: Over-Amending
A common mistake is thinking that if a little compost is good, a lot is better. Excessive phosphorus or nitrogen can actually lock out other nutrients or burn delicate root systems. Stick to the '10% rule'—organic matter should make up about 10% of your total soil volume.
Mistake 2: Using Unfinished Compost
From experience, adding 'hot' or unfinished compost can be disastrous. As the bacteria work to finish breaking down the material, they actually pull nitrogen out of the soil, starving your plants in the process. Always ensure your compost smells like earth, not ammonia or rot.
Mistake 3: Ignoring the 'Subsoil'
What many people overlook is the hardpan layer beneath the topsoil. If your garden has poor drainage despite good surface soil, you likely have a compacted sub-layer. Growing deep-rooted cover crops like Daikon radish can naturally 'drill' through this layer, improving drainage sustainably.
Tips for Best Results
- Feed the Microbes: Add a diluted molasses wash once a season to provide a carbon boost for beneficial bacteria.
- Time it Right: Apply heavy amendments in the fall so they have all winter to integrate with the soil biology.
- Water Management: Consistent moisture is required for the biology in your garden soil to process amendments. Never let your improved beds go bone-dry.
Troubleshooting Common Issues
Issue: Water pooling on the surface. This usually indicates surface tension from extreme dryness or heavy clay. The fix is consistent mulching and the addition of gypsum to help break down clay bonds at a molecular level.
Issue: Stunted, yellowing plants despite fertilizing. The real issue usually is pH imbalance. If the pH is too high or low, the plant literally cannot 'see' the nutrients in the soil. Re-test your pH before adding more fertilizer.
Issue: High weed pressure in new beds. This often happens when you till and bring dormant seeds to the surface. Transition to a 'no-dig' method to keep those seeds buried and suppressed.