In most homes, a properly installed ceiling fan is the most cost-effective way to improve comfort while slashing utility bills. By creating a wind-chill effect, a fan allows you to raise your thermostat by about 4 degrees Fahrenheit without losing comfort, potentially reducing cooling costs by up to 40%. However, from experience, the difference between an efficient cooling machine and a wobbling, noisy hazard lies entirely in the installation process.
The Energy Efficiency Advantage
Before reaching for your ladder, it is vital to understand that a ceiling fan cools people, not rooms. What works best is using fans only when a room is occupied. Over the years, I have learned that many homeowners leave fans running 24/7, which actually adds to the electrical load without providing any thermal benefit. The goal of this guide is to ensure your ceiling fan installation is structurally sound and electrically correct to maximize these savings.
Essential Tools and Materials
One thing many people overlook is that standard light fixture tools aren't always sufficient for the dynamic load of a spinning motor. You will need:
- Non-contact voltage tester (essential for safety)
- Wire strippers and crimpers
- Screwdriver set (specifically a long-neck Phillips for motor housing)
- Crescent wrench or socket set
- UL-listed 'Fan-Rated' outlet box and mounting bracket
- Wire nuts (usually included, but high-quality replacements are recommended)
- Electrician's tape
Pre-Installation: Avoiding the Most Dangerous Mistake
The real issue usually is the existing junction box. A common situation is a homeowner replacing a lightweight flush-mount light with a 30-pound ceiling fan using the original plastic box. Standard boxes are rated for static weight, but they cannot handle the torque and vibration of a fan. Never mount a fan to a standard light box.
Verifying the Junction Box
Check the inside of the box for a stamp that says "Accepted for Fan Support." If it isn’t there, you must replace it. If you don't have access to the joists from an attic, use an expandable heavy-duty ceiling fan brace. These are designed to be inserted through the hole in the drywall and ratcheted into the joists on either side, providing a rock-solid foundation.
Step-by-Step Ceiling Fan Installation
1. Power and Safety Check
Turn off the circuit at the breaker panel. Do not rely on the wall switch. Use your non-contact voltage tester inside the box to confirm no current is present. In my experience, double-checking the wires after the light fixture is removed is the only way to be 100% sure a secondary circuit isn't present in the box.
2. Installing the Mounting Bracket
Secure the mounting bracket to the fan-rated box using the provided heavy-duty screws and lock washers. Ensure the bracket is level. If the bracket is even slightly tilted, the fan will develop a wobble at high speeds that is almost impossible to balance later.
3. Assembling the Motor and Downrod
Thread the wires through the downrod and secure it to the motor housing. The key thing to remember here is the cotter pin and clevis pin. I have seen fans fall because the set screws were tight, but the safety pins were omitted. Tighten the set screws firmly against the downrod to prevent clicking noises during operation.
4. Ceiling Fan Wiring Mastery
This is where most DIY projects stall. In a typical ceiling fan wiring scenario, you will have three wires from the house (Black-Hot, White-Neutral, Green/Copper-Ground) and four from the fan (Black-Motor, Blue-Light, White-Neutral, Green-Ground).
- Single Switch Setup: Connect the fan's Black and Blue wires together to the house's Black wire. This means the wall switch turns both the light and fan on/off, while pull chains control speeds.
- Dual Switch Setup: If your wall box has two switches, connect the house Black to the fan Black, and the house Red (or second hot) to the fan Blue. This allows independent control.
- Safety Grounding: Always connect all green and bare copper wires together. What works best is ensuring the ground wire from the downrod, the bracket, and the house are all joined in a single wire nut.
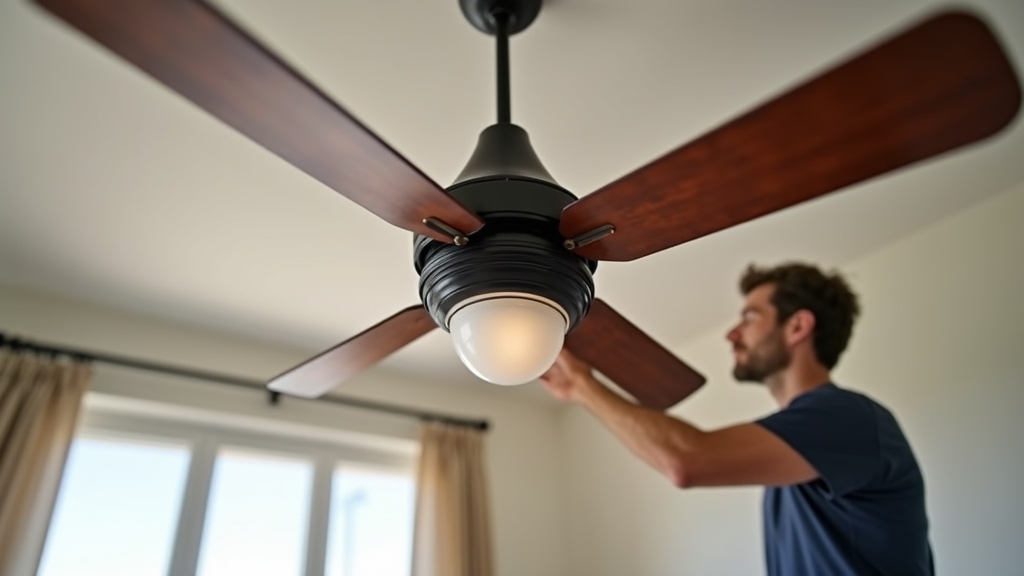
5. Attaching Blades and the Light Kit
Wait until the motor is hung and wired before attaching the blades. This prevents the blade arms from bending. Check the screws on the blade irons; if they are even slightly loose, the fan will hum. Finally, plug in the light kit assembly, ensuring the quick-connect pins are fully seated.
Troubleshooting Common Issues
Excessive Wobble
If the fan shakes, first check if the blades are warped or if the screws are loose. From experience, 90% of wobbles are caused by the mounting bracket not being flush against the ceiling. If the hardware is tight, use a balancing kit (weighted clips) to find the "heavy" blade and counteract it.
Humming or Buzzing
The real issue usually is the wall switch. Never use a standard dimmer switch to control fan speed. Dimmers reduce voltage in a way that starves the motor, causing it to hum and eventually burn out. You must use a dedicated fan speed controller or a remote kit.
Remote Control Not Working
If you installed a remote receiver in the canopy, check the dip switches. Both the remote and the receiver must have identical toggle patterns. Also, ensure the receiver's antenna is not buried behind the metal mounting bracket, as this significantly reduces range.
Tips for Best Results
To maximize your energy efficiency advisor's advice, remember the seasonal switch. In the summer, the fan should rotate counter-clockwise to push air down. In the winter, flip the switch on the motor housing so it rotates clockwise at a low speed. This pulls cool air up and pushes the warm air trapped at the ceiling back down into the living space, saving on heating costs.


