Understanding Grout: The Forgotten Structural Element
In my decade of residential maintenance, I’ve found that grout is rarely considered until it turns black or starts crumbling out of the joints. Grout is more than just a filler between tiles; it is a porous, cementitious product designed to accommodate the slight movement of your home while protecting the edges of your tile. Because it is porous, it acts like a hard sponge, absorbing every liquid, spill, and speck of dust it encounters. Understanding the science of why grout fails is the first step toward a permanent solution rather than a temporary aesthetic fix.
The Root Causes of Grout Deterioration
Porosity and Liquid Absorption
Standard sanded and unsanded grouts are cement-based. At a microscopic level, these materials are full of tiny voids. When you mop your floors with dirty water, those voids pull the grey, contaminated water deep into the structure of the grout. This is why grout often darkens over time even with regular cleaning. If you haven't applied a high-quality penetrative sealer, you are essentially leaving a doorway open for stains to become permanent.
Structural Movement and Settling
Cracking is rarely a product of the grout itself. It is usually a symptom of subfloor issues. If your house settles or if the subfloor has too much flex (deflection), the rigid grout will give way. I often see 'spiderweb' cracking in grout lines where the installer failed to use a decoupling membrane like Ditra over a plywood subfloor. In showers, vertical cracks in the corners usually occur because the installer used grout instead of a color-matched 100% silicone caulk at a change of plane.
Chemical Erosion
The biggest enemy of grout isn't dirt; it’s the wrong cleaner. Many homeowners reach for harsh acids or heavy bleach. While bleach kills mold, it can also weaken the cementitious bond of the grout over time, leading to powdering and 'soft' grout. Acidic cleaners (like vinegar) actually dissolve the calcium carbonate in the grout, slowly eating away the surface until the grout becomes deeply recessed and structurally compromised.
Immediate Steps for Cleaning and Repair
The Professional Cleaning Protocol
Before you reach for the heavy chemicals, start with an alkaline cleaner. Most household grime is acidic (fats, oils, skin cells), so an alkaline solution (pH 10-12) will neutralize and lift the dirt. Take your time with this—let the cleaner dwell on the grout lines for at least 10–15 minutes. It is worth doing right the first time rather than scrubbing fruitlessly on dry grout. Use a stiff nylon brush, not a metal one, which can scratch the tile glaze or shred the grout surface.
Spot Repairing Cracked Grout
If you have sections of missing or cracked grout, you cannot simply smear new grout over the old. It won't bond. You must remove at least 1/8 inch of the old material. I recommend a manual grout saw for small areas or an oscillating tool with a diamond blade for larger jobs. Small details matter here: ensure the channel is vacuumed completely free of dust before applying new grout, or the new material will simply peel away within weeks.
The Color-Sealing Secret
If your grout is structurally sound but permanently stained, don't regrout. Use a professional-grade epoxy color sealant. This isn't just 'paint' for grout; it’s a topical epoxy that bonds to the cement and creates an impermeable barrier. It's the most practical way to make 20-year-old grout look brand new while making it waterproof and stain-proof for the future.
Long-Term Prevention Strategies
The Importance of Penetrating Sealers
If you have new grout or have just finished a deep clean, you must seal it. Use a solvent-based penetrating sealer (impregnator) rather than a water-based one for better longevity. These sealers don't change the look of the grout; they live below the surface to repel oils and water. Trust your instincts on this one—if water doesn't bead up on your grout line, the sealer has failed and needs a refresh.
Managing Moisture in Bathrooms
Mold doesn't grow on grout; it grows on the soap scum and skin cells that stick to the grout. In showers, the best prevention is a daily squeegee and ensuring your bath fan runs for at least 20 minutes after a shower. If you reduce the moisture and the organic food source, the grout will stay clean for years without scrubbing.
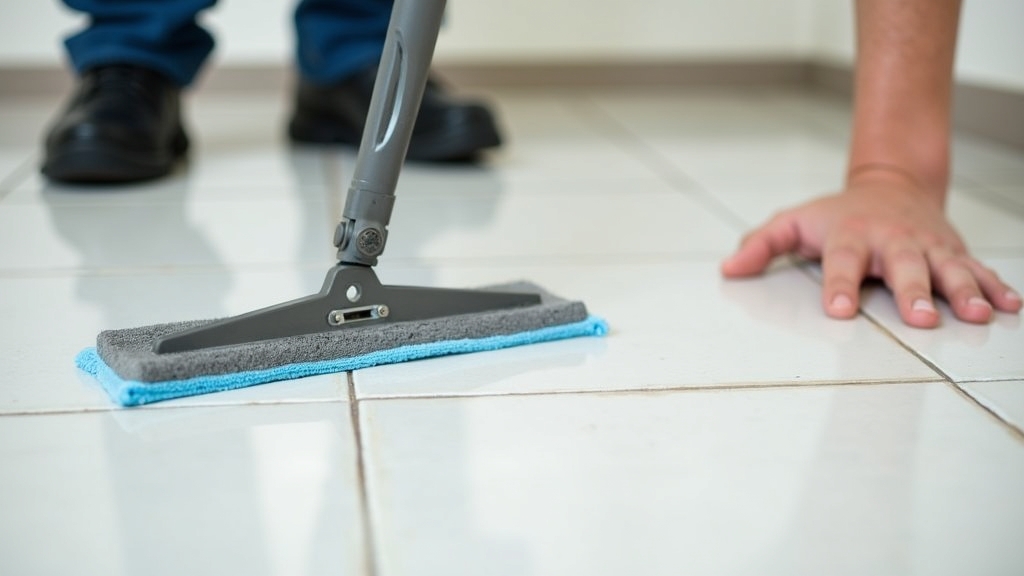
Choosing the Right Mop
Stop using traditional string mops. They simply push dirty water into the grout lines. Use a microfiber flat mop system. Microfiber is more effective at lifting dirt out of the textures of the tile and grout rather than just redistributing it. Change your cleaning solution frequently—if the water in your bucket looks grey, you are no longer cleaning; you are staining your grout.
When to Call a Professional
There are times when a DIY approach will cause more harm than good. You should call a professional if:
- The grout is 'mushy': This indicates water has penetrated the substrate (the wall or floor behind the tile), and you likely have significant water damage or rot.
- Large-scale replacement is needed: Removing grout from an entire room without damaging the tile edges requires specialized tools and a steady hand.
- Natural stone is involved: If your tile is marble, travertine, or limestone, many standard grout cleaners will permanently etch (dull) the stone. Professionals have specific pH-neutral equipment for these sensitive materials.
- Recurring cracks: If you repair a crack and it returns in the same spot, you have a structural deflection issue that needs a contractor's assessment.


