Professional Techniques for Mounting Heavy Wall Mirrors
In most homes, a large, ornate mirror is often the centerpiece of a room. However, after 30 years in the renovation industry, I have seen far too many DIY projects end with shattered glass and damaged drywall. The weight of a high-quality mirror is often underestimated, and the physics of how that weight pulls on a vertical surface is frequently misunderstood. Over the years, I have learned that the difference between a mirror that stays for decades and one that falls in a week comes down to preparation and the right mounting hardware.
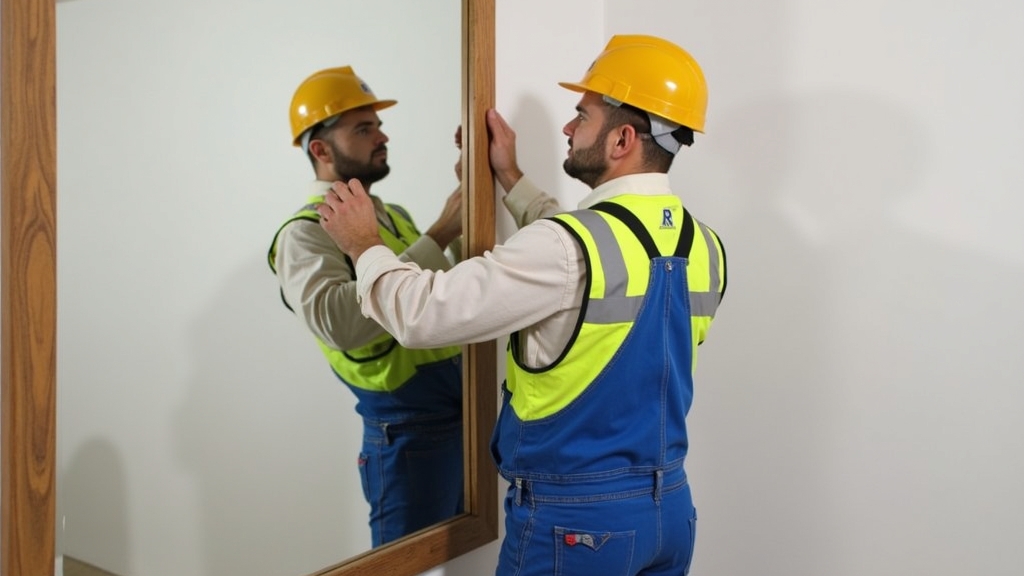
This guide will walk you through the essential steps to ensure your mirror stays exactly where you put it. We will cover how to assess your wall type, select the appropriate wall anchors, and utilize a stud finder to achieve maximum security. By the end of this article, you will have the knowledge to handle even the heaviest mirrors with professional confidence.
Common Mistakes to Avoid
From experience, the most frequent error I see is the use of hanging wire on frames that aren't designed for it. When you use a wire on a very heavy mirror, it puts an immense amount of inward pressure on the side rails of the frame, which can cause the frame to bow or the joints to fail over time. What works best is mounting the mirror directly to the hardware attached to the back of the frame, such as D-rings or a French cleat.
Another common situation is relying on the cheap plastic expansion anchors that come in the box with many consumer products. In my experience, these are rarely sufficient for heavy loads in drywall. They are prone to pulling out because they rely on friction against a small surface area. The real issue usually is that people don't account for the 'shear' force—the downward pull—that a heavy mirror exerts on the wall material itself.
Essential Tools and Materials
Before you begin, gather the following tools. Having everything on hand prevents the temptation to take shortcuts.
- Stud Finder: A reliable electronic or magnetic stud finder is non-negotiable for drywall safety.
- Level: A 2-foot or 4-foot level ensures your mirror isn't slightly tilted, which is much more noticeable with larger pieces.
- Power Drill and Bits: Necessary for creating pilot holes for anchors.
- Measuring Tape: To accurately locate the center of the wall and the distance between mounting points.
- Pencil: For marking positions without leaving permanent marks.
- Mounting Hardware: This may include toggle bolts, zinc self-drilling anchors, or French cleats.
Preparation Steps
Step 1: Weighing the Mirror
One thing many people overlook is the actual weight of the object. Don't guess. Step on a bathroom scale while holding the mirror, then subtract your own weight. Knowing whether a mirror is 30 pounds or 75 pounds changes which wall anchors you should select. Most hardware is rated for specific weight capacities; I always recommend using hardware rated for at least double the actual weight of the mirror for a safety margin.
Step 2: Identifying Wall Type
What I have found is that you must know what is behind your paint. Tap the wall; a hollow sound usually indicates drywall over wood studs. A dull, solid thud suggests plaster over lath or perhaps masonry. If you are dealing with plaster in an older home, you cannot use standard drywall anchors, as they will crack the plaster. In those cases, finding the wood lath or the studs is the only way to ensure a secure hold.
Step-by-Step Installation Instructions
Finding and Marking Studs
The key thing to remember is that a stud is your best friend. Whenever possible, at least one side of your mounting hardware should be driven directly into a wood stud. Use your stud finder to locate the edges of the stud, and mark the center. In most modern construction, studs are spaced 16 inches apart on center. If your mirror is wide enough, you may be able to hit two studs, which is the gold standard for safety.
Measuring the Mounting Points
Flip the mirror over and measure the distance between the two mounting points (D-rings). Then, measure the distance from the top of the mirror to these points. Transfer these measurements to the wall. I find it helpful to use painter's tape on the wall to mark these spots; you can write on the tape and then peel it off when you're done, leaving no marks on the paint.
Installing Wall Anchors
If you cannot hit a stud, you must use high-quality wall anchors. For heavy mirrors, I recommend toggle bolts. These have a 'wing' that expands behind the drywall, spreading the weight over a much larger surface area than a standard screw. To install:
- Drill a hole the size indicated on the toggle bolt package.
- Insert the bolt through the mounting bracket, then thread the toggle wing onto the bolt.
- Push the wing through the hole until you hear it snap open behind the wall.
- Tighten the bolt until the bracket is flush and snug against the wall.
Using a French Cleat
For exceptionally heavy mirrors, a French cleat is often the best solution. This consists of two interlocking metal or wood strips. One is mounted to the wall (ideally into studs), and the other is attached to the back of the mirror. This system distributes the weight across the entire width of the cleat and makes it nearly impossible for the mirror to be knocked off the wall accidentally.
Troubleshooting Common Issues
Hitting an Obstruction
If you start drilling and hit something hard that isn't wood, stop immediately. It could be a metal nail plate protecting electrical wires or plumbing. In my experience, if the drill won't progress with moderate pressure, you need to shift your mounting point slightly up, down, or sideways.
The Mirror Isn't Level
If you find the mirror is slightly off-level after installation, don't panic. If you used D-rings, you can sometimes slightly adjust the position of the ring on the back of the frame. If you used a cleat, ensure the wall-side cleat was perfectly leveled; if not, you may need to shim one side or re-drill one of the mounting holes slightly higher.
Tips for Best Results
One trick I've used for years is to apply small clear rubber bumpers to the bottom corners of the mirror frame. This prevents the mirror from vibrating against the wall and helps it hang perfectly plumb. Additionally, always double-check your measurements. As the old saying goes, 'measure twice, cut once'—or in this case, drill once. Checking the level at every stage of the process is the only way to guarantee a professional finish.


