Understanding the Constant Run: Why Your Toilet Won't Stop
A running toilet is more than just an annoying background noise; it is a significant source of water waste that can quietly inflate your monthly utility bills. Most homeowners assume that a running toilet requires a professional plumber, but in reality, the majority of these issues stem from three or four internal components that are easily accessible and inexpensive to address. By taking your time to understand the mechanics inside the tank, you can restore efficiency to your bathroom without a major renovation or expense.
When a toilet runs constantly, it usually means water is leaking from the tank into the bowl, or the fill valve is failing to shut off properly. This cycle of continuous filling is almost always a mechanical issue rather than a structural one. In this guide, we will focus on the most common culprit—the toilet flapper—and provide a comprehensive walkthrough to help you troubleshoot and repair the unit yourself. It is worth doing right the first time, as a proper fix can last for several years.
Essential Tools and Materials
Before you begin, gather your supplies. You won’t need heavy machinery for this; most repairs can be completed with basic household items. Small details matter here, so ensure your replacement parts match the specifications of your existing toilet model.
- Replacement Toilet Flapper: The most common part that needs replacing.
- Adjustable Wrench or Pliers: For loosening or tightening the fill valve nut if necessary.
- Scissors or Wire Cutters: To trim excess chain length.
- Rubber Gloves: While the water in the tank is clean tap water, gloves provide a better grip on slippery plastic components.
- Old Towel: To catch any drips when you remove the tank lid.
- Vinegar or a Small Scrub Brush: To clean mineral deposits off the flush valve seat.
Preparation Steps: Setting Up for Success
Preparation is the key to a stress-free repair. Do not rush the process; taking five minutes to set up correctly will prevent a mess later on. Trust your instincts on this—if a valve feels stuck, don't force it; apply gentle, consistent pressure instead.
1. Shut Off the Water Supply
Locate the silver handle on the wall behind or beneath the toilet. Turn this valve clockwise until it stops. This prevents new water from entering the tank while you work.
2. Drain the Tank
Flush the toilet and hold the handle down. This will allow as much water as possible to exit the tank into the bowl. You will be left with about an inch of water at the bottom, which is normal and won't interfere with your repair.
3. Remove the Tank Lid
Carefully lift the heavy ceramic lid and place it on a towel in a safe corner of the bathroom where it won't be stepped on. These lids are fragile and difficult to replace individually.
Detailed Step-by-Step Instructions for Repair
Step 1: Inspect the Flapper and Chain
Look at the rubber seal at the bottom of the tank; this is the toilet flapper. Often, a 'running' toilet is simply caused by a chain that is too long (getting caught under the flapper) or too short (preventing the flapper from seating fully). If the chain has too much slack, it can tangle. If it’s too tight, it will lift the flapper slightly. Adjust the clip on the chain so there is only about half an inch of slack when the flapper is closed.
Step 2: Clean the Flush Valve Seat
Over time, minerals and debris can build up on the rim where the flapper sits. If this surface isn't smooth, water will seep through. Run your finger (with a glove) around the rim. If it feels gritty, use a small brush or a cloth soaked in vinegar to wipe it clean. A smooth seal is vital for a quiet toilet.
Step 3: Replace a Worn Flapper
If the rubber flapper feels slimy, brittle, or has visible warped edges, it needs to be replaced. Disconnect the chain from the handle lever and pop the flapper’s side ears off the pins on the overflow tube. Bring the old flapper to the hardware store to ensure you get an exact match. Slide the new flapper onto the pins and reattach the chain. This small detail ensures a watertight seal.
Step 4: Adjust the Float Level
If the water level in the tank is too high, it will constantly pour into the overflow tube (the open pipe in the middle of the tank). Look for the 'water line' mark on the inside of the tank. If the water is higher than this, or higher than the top of the overflow tube, adjust the float. Most modern toilets have a screw on top of the fill valve; turning it counter-clockwise usually lowers the float and the water level.
Tips for Best Results
Achieving a professional-grade repair involves paying attention to the nuances of the hardware. Here are a few practical tips to ensure your fix holds up over time:
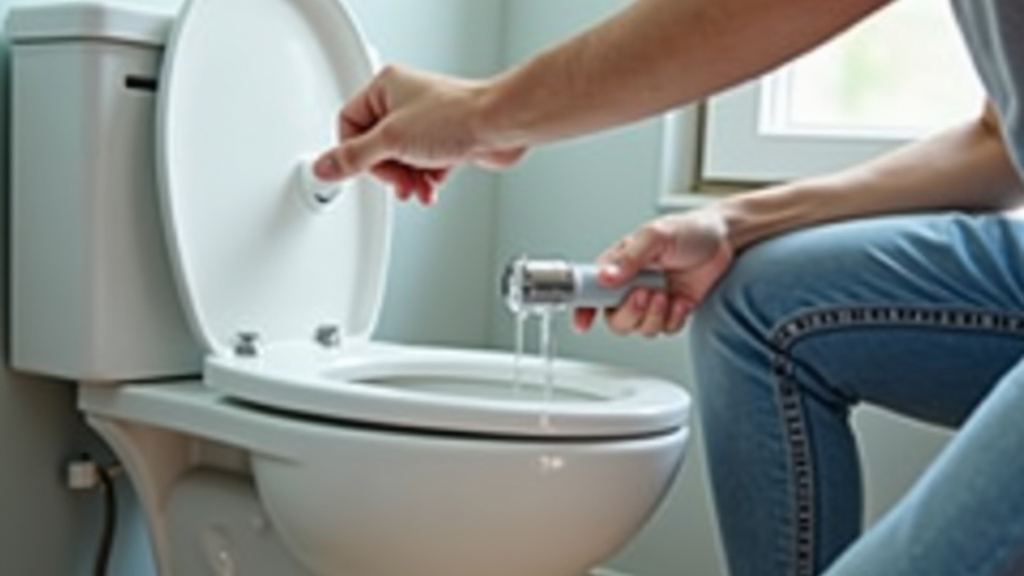
- Check for 'Phantom Flushes': After the repair, put a few drops of food coloring into the tank. Do not flush. Wait 20 minutes. If the color appears in the bowl, you still have a leak at the flapper.
- Avoid Chemical Tablets: Many 'drop-in' bleach tablets can degrade the rubber flapper and plastic parts quickly. Stick to manual cleaning for a longer-lasting repair.
- Listen Closely: After the tank refills, listen for a faint hissing sound. This can indicate a fill valve that isn't shutting off completely even after the float has risen.
Troubleshooting Common Issues
If you have replaced the flapper and adjusted the float but the toilet still runs, the issue may be deeper. Check the Refill Tube, which is the small flexible tube connecting the fill valve to the overflow pipe. If this tube is pushed too far down into the overflow pipe, it can create a siphon effect. Ensure it is clipped to the top of the pipe rather than shoved inside it.
If the water continues to run and you see bubbles coming from the bottom of the fill valve, the internal seal of the Fill Valve may be worn out. While you can sometimes take these apart to clean them, it is often more practical to replace the entire fill valve assembly. It is a straightforward task that follows the same logic as the flapper replacement—just ensure the water is off and the tank is dry before unscrewing the mounting nut under the tank.


