Understanding Your Home's Electrical Pulse
As someone who spends a lot of time setting up complex indoor grow light systems and hydroponic pumps in small apartments, I have learned that electrical systems are a lot like plants. They have limits, they require the right environment, and if you push them too hard, they shut down. A tripping circuit breaker is your home’s way of protecting itself from a potential fire. It is a safety feature, not just a nuisance.
When your power cuts out, you face a choice: do you handle the electrical troubleshooting yourself, or do you call in a professional? Taking your time with this decision is important because electricity demands respect. In this guide, we will compare the DIY approach to professional intervention so you can restore power safely and permanently.
The DIY Approach: Troubleshooting and Management
The DIY method focuses on identifying the cause of the trip and managing the load on your circuits. Most circuit breaker issues stem from simple human error—plugging too many high-wattage devices into a single outlet. It is worth doing right the first time by systematically checking your appliances.
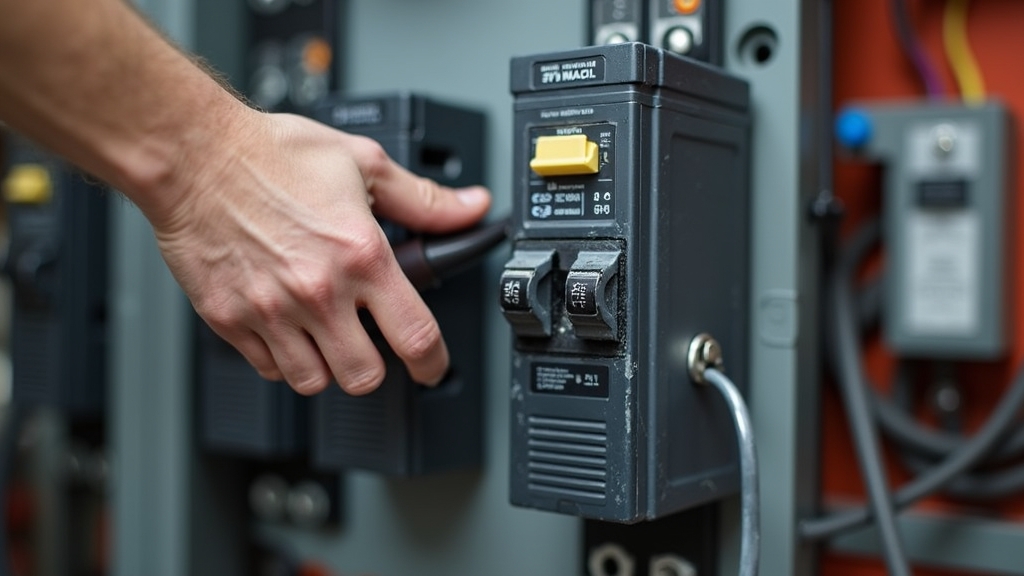
How to Reset a Breaker Box
Before you dive into complex fixes, you must know how to reset the breaker. Locate your electrical panel, usually found in a hallway, basement, or utility closet. Look for a switch that has moved to the 'off' position or is stuck in the middle. To reset it, flip it firmly to the 'off' position first, then back to 'on'. You should feel a distinct click. Trust your instincts on this one; if the breaker immediately snaps back to the middle, do not force it. This indicates a persistent short circuit.
Identifying an Overloaded Circuit
An overloaded circuit fix is often the simplest solution. This happens when the demand for electricity exceeds the circuit's capacity. For example, if I run my high-intensity LED grow lights, a space heater, and a vacuum cleaner on the same bedroom circuit, the breaker will trip. To fix this, distribute your high-wattage appliances across different circuits. Small details matter here; check the wattage labels on your devices to calculate the total load.
The Professional Approach: Repairs and Upgrades
Sometimes, the problem isn't what you plugged in, but the infrastructure itself. If a breaker trips even when nothing is plugged in, you likely have a hardware failure or a wiring issue. This is where a professional electrician comes in.
Replacing a Faulty Breaker
Circuit breakers are mechanical devices that can wear out over time. If a breaker becomes weak, it may trip at a lower amperage than its rating. A professional can test the breaker with a multimeter and replace the component inside the panel. This involves working with live electricity, which is why it is best left to those with the proper gear and training.
Addressing Short Circuits and Ground Faults
A short circuit occurs when a hot wire touches a neutral wire. A ground fault happens when a hot wire touches the ground wire or a metal box. These are serious fire hazards. An electrician uses specialized tools to trace the wiring behind your walls to find the point of failure. Do not rush the process of diagnosing these; finding a pinched wire behind a drywall sheet takes patience and precision.
Detailed Pros and Cons
DIY Method
- Pros: Zero cost; immediate resolution for simple overloads; increases your home maintenance knowledge.
- Cons: Cannot fix underlying wiring issues; risk of electrical shock if you open the panel improperly; may only provide a temporary fix.
Professional Method
- Pros: Guarantees safety and code compliance; identifies hidden fire hazards; provides a long-term solution.
- Cons: Higher cost (service fees); requires scheduling and waiting for a technician.
Cost Comparison
The DIY approach typically costs $0. If you need to buy a basic plug-in circuit tester, you might spend $15 to $20. In contrast, hiring an electrician for electrical troubleshooting usually involves a service call fee ranging from $75 to $150, plus labor and parts. Replacing a single breaker professionally can cost between $150 and $300 depending on your location and the type of breaker (AFCI/GFCI breakers are more expensive).
Best Use Cases for Each
Use the DIY method if the trip happened right after you turned on a specific appliance, like a hair dryer or a toaster. This is a clear sign of a simple overload.
Choose the professional route if you smell burning, see scorch marks on an outlet, or if the breaker trips consistently even when nothing is plugged in. If you live in an older building with screw-in fuses or outdated panels, professional help is mandatory. It is worth doing right the first time to ensure your home remains safe.
Final Recommendation
I recommend starting with the DIY investigation. Unplug everything on the affected circuit and reset the breaker. If the power stays on, slowly plug items back in to find the culprit. However, if the breaker trips again immediately with no load, stop what you are doing. At that point, your instincts are telling you something is wrong internally. Call a licensed electrician. Electricity, much like a delicate garden, requires the right balance to thrive without causing damage.


