Overview of Your Light Switch Replacement Project
In my 30 years as a contractor, I’ve seen homeowners get nervous about electrical work more than any other trade. Here is the thing: replacing a standard light switch is one of the simplest DIY tasks you can perform. You don't need a master's degree in electrical engineering; you just need a methodical approach and a healthy respect for safety. In this guide, we will walk through how to swap out a faulty or dated switch for a fresh one in about 15 minutes. We are focusing on the standard single-pole switch—the kind that controls one light from one location.
Tools and Materials Needed
You don't need a heavy-duty toolbox for this job. However, using the right tool makes a massive difference in the quality of the connection. What most people miss is that using a worn-out screwdriver can strip the small brass screws on a new switch, making it nearly impossible to tighten correctly.
- Non-contact voltage tester: This is your most important tool. It tells you if wires are still hot without you having to touch them.
- Phillips and Flat-head screwdrivers: Usually a #2 Phillips and a medium flat-head.
- Needle-nose pliers: Essential for bending wire loops around screw terminals.
- Wire strippers: In case you need to clean up a damaged wire end.
- New light switch: Ensure it matches the amperage of your circuit (usually 15-amp for residential lighting).
- New cover plate: Optional, but it’s a cheap way to make the job look professional.
Preparation: Safety First
Now, the important part: never work on a live circuit. Go to your electrical panel and locate the breaker for the room where you are working. Flip it to the 'off' position. Something to keep in mind is that labels on breaker panels are notoriously inaccurate. Just because it says 'Kitchen' doesn't mean it controls every outlet in the kitchen. Once the breaker is off, try to flip the light switch on and off. If the light stays off, you are on the right track, but we will still verify this with a tester inside the box.
Detailed Step-by-Step Instructions
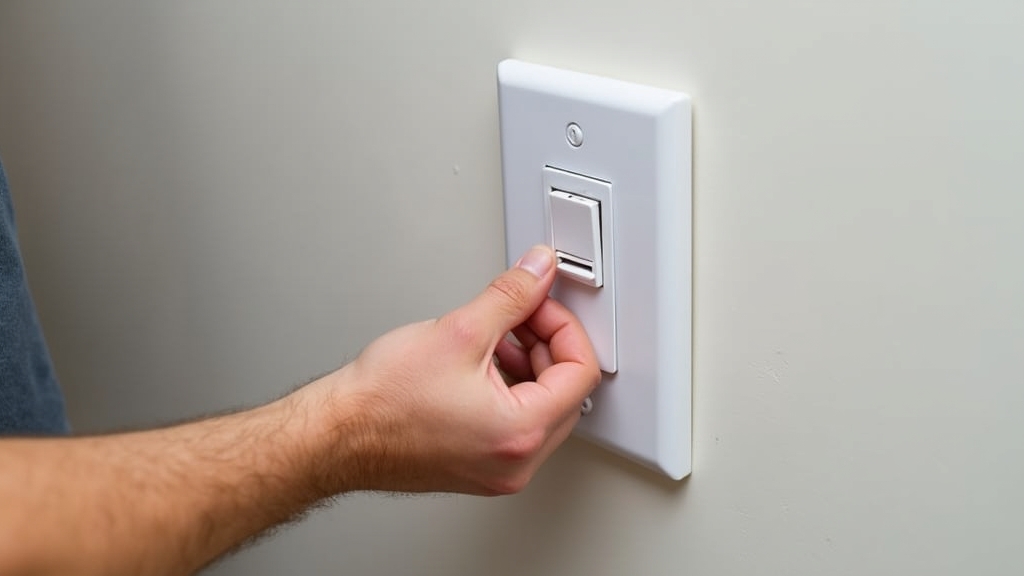
Step 1: Remove the Cover Plate
Use your flat-head screwdriver to remove the two small screws holding the decorative cover plate. Be careful not to chip the paint around the edges of the plate. If the plate is stuck to the wall by years of paint, score the edge lightly with a utility knife first. This prevents peeling the drywall paper away.
Step 2: Test for Power
Unscrew the two long screws holding the switch to the electrical box. Carefully pull the switch out by its mounting ears so the wires are exposed. This is where it gets interesting. Before you touch any bare metal or screw terminals, hold your non-contact voltage tester near the wires. If it chirps or glows red, the power is still on. Go back to the panel and find the right breaker. If it stays silent, you are safe to proceed.
Step 3: Disconnect the Old Switch
You will typically see two insulated wires (usually black) and one bare or green wire (the ground). Take a photo of the wiring with your phone. This simple step has saved many homeowners from a headache later. Loosen the screw terminals and unhook the wires. If the wires are pushed into holes in the back (often called 'back-stabbing'), you'll need to insert a small flat-head screwdriver into the release slot or simply snip the wires and strip off a fresh half-inch of insulation.
Step 4: Prepare the Wires
Examine the copper. If it looks burnt or brittle, trim it back and strip a fresh section. Use your needle-nose pliers to create a 'J' hook or 'U' shape at the end of each wire. This hook should be just large enough to wrap around the screw terminal on your new switch.
Step 5: Connect the New Switch
Connect the green or bare copper wire to the green grounding screw first. Then, connect the two remaining wires to the brass screws on the side. It doesn't matter which wire goes to which brass screw on a standard single-pole switch. Worth mentioning: Always hook the wire loop around the screw in a clockwise direction. As you tighten the screw, the rotation will pull the wire tighter around the post rather than pushing it off.
Step 6: Secure the Switch
Gently fold the wires back into the box in a zig-zag pattern. Don't just shove them; you don't want to pinch an insulator or loosen a connection. Line up the switch and tighten the mounting screws. Before you put the cover plate on, look at the switch from the side to make sure it is flush with the wall.
Tips for Best Results
The good news is that most modern switches are very durable. However, I always advise against using the 'push-in' or 'back-stab' connectors on the back of the switch. Over time, the spring tension in those holes can weaken, leading to a loose connection and a potential fire hazard. Always use the side screw terminals for a rock-solid mechanical connection. Also, if you are working in an older home with metal electrical boxes, I like to wrap the perimeter of the switch with two passes of electrical tape. This covers the screw terminals and prevents any chance of the 'hot' screws sparking against the side of the metal box during installation.
Troubleshooting Common Issues
On the other hand, if you flip the breaker back on and the light doesn't work, don't panic. Check your connections. A wire might have slipped out while you were pushing the switch back into the box. If the switch feels 'mushy' when you flip it, it might be a defective unit from the factory—it happens more than you'd think. Simply swap it for another. If the breaker trips immediately when you turn it on, you likely have a 'short to ground,' meaning a hot wire is touching the metal box or the ground wire. Pull the switch back out and look for signs of contact.


