Understanding the Need for Light Switch Replacement
We often take the humble light switch for granted until the moment it fails to perform its simple task. Whether it is a kitchen toggle that refuses to stay in the 'on' position or a bedroom dimmer that flickers intermittently, a failing electrical switch is more than just a minor inconvenience. Here is the thing: most light switch issues are symptoms of internal mechanical wear or underlying electrical connection problems that require a permanent fix rather than a temporary adjustment.
Addressing these issues promptly ensures the reliability of your home’s lighting system and maintains the integrity of your electrical circuits. While it might be tempting to wiggle a stuck switch to get it working one last time, the long-term solution involves a complete replacement and an assessment of the installation environment.
Root Causes and Contributing Factors
To implement a permanent solution, it is vital to understand why switches fail in the first place. What most people miss is that a light switch is a mechanical device with moving parts that are subject to friction and heat every time they are toggled.
Internal Component Wear
Inside every light switch are small metal contacts and springs. Over years of use, these contacts can become pitted or worn down. This wear increases electrical resistance, which in turn generates heat. Eventually, the spring mechanism may lose its tension, leading to a 'mushy' feel or a switch that won't hold its position.
Loose or Improper Wiring
Electrical switches can fail prematurely if the original installation was not secure. Loose wire terminations—often caused by the expansion and contraction of wires over time—can lead to arcing. Arcing occurs when electricity jumps across a gap, creating intense heat that can melt the plastic housing of the switch. Worth mentioning is that using the 'push-in' or 'stab-in' connectors on the back of many switches is often less reliable over the long term than using the side screw terminals.
Overloading the Circuit
Using a switch that is not rated for the specific load can lead to early failure. For example, using a standard switch to control a high-power motor or a large array of high-wattage fixtures can stress the internal components beyond their design limits. Something to keep in mind is the total wattage of the bulbs being controlled, especially if you are using older incandescent or halogen lighting.
Immediate Steps to Take When a Switch Fails
If you encounter a switch that is sparking, buzzing, or feels hot to the touch, immediate action is required. Now, the important part: safety must always be the first priority when dealing with household electricity.
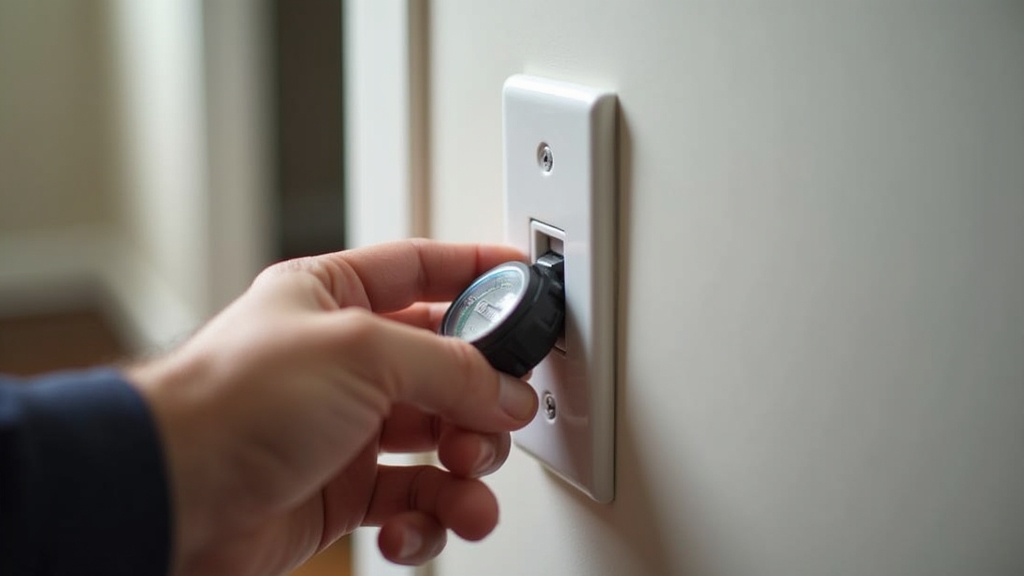
Isolate the Power
Before touching the switch or removing the wall plate, locate your home’s electrical service panel (circuit breaker box). Identify the breaker controlling the circuit for that room and flip it to the 'off' position. Verify the power is off by attempting to toggle the light switch or, ideally, using a non-contact voltage tester at the switch location.
Visual Inspection
Once the power is confirmed off, remove the cover plate and the mounting screws holding the switch in the electrical box. Pull the switch out slightly to inspect the wires. Look for signs of discoloration on the insulation, charred plastic, or loose wire nuts. These indicators will help you determine if you are dealing with a simple mechanical failure or a more significant wiring issue.
Long-Term Prevention and Replacement Strategies
When replacing a light switch, the goal is to ensure the new installation lasts for decades. This is where it gets interesting: the longevity of a replacement often depends more on the technique used during installation than the switch itself.
Choosing the Correct Switch Type
Ensure the replacement switch matches the circuit requirements. For instance, a single-pole switch is used for lights controlled from one location, while a three-way switch is required if the light is controlled from two different locations. Furthermore, if you are using LED bulbs, ensure that any dimmer switches are specifically rated for LED compatibility to prevent flickering and internal heat buildup.
The Importance of Side-Wiring
As mentioned previously, avoid the 'stab-in' ports on the back of the switch. Instead, wrap the stripped end of the wire clockwise around the side screw terminals and tighten them firmly. This creates a much larger surface area for contact and a more secure physical connection that is resistant to vibration and thermal expansion.
Wire Management and Box Volume
On the other hand, even the best wiring job can fail if the wires are jammed forcefully into a cramped electrical box. Ensure that the wires are folded neatly into the back of the box to allow room for the switch body. If the box is overcrowded, it can cause the wires to press against the side terminals of the switch, potentially causing a short circuit over time.
When to Call a Professional
While replacing a standard light switch is a common home improvement task, certain scenarios dictate the need for a licensed electrician. The good news is that most standard replacements are straightforward, but you should seek professional help if you encounter any of the following:
- Aluminum Wiring: If your home was built in the late 1960s or early 1970s and has aluminum wiring (identifiable by its silver color), specialized connectors and switches are required.
- Persistent Tripping: If the circuit breaker continues to trip even after a new switch is installed.
- Burning Smells: Any persistent odor of ozone or burning plastic coming from the walls.
- Complex Multi-Gang Boxes: If you open a wall plate and find a confused mass of wires serving multiple switches that you cannot easily identify.


