The Importance of Proper Wallpaper Removal
As someone who has spent over a decade designing and maintaining outdoor environments, I have learned that the foundation of any beautiful space—whether it is a perennial garden or a living room—depends entirely on the preparation of the surface. Removing old wallpaper is a task that many homeowners approach with trepidation. It is often seen as a tedious, messy chore, but when approached with the right strategy and a bit of patience, it can be a deeply satisfying part of a home renovation. Taking your time with this process ensures that the underlying drywall or plaster remains intact, saving you hours of repair work later. It is worth doing right the first time.
Overview of Common Removal Methods
Before you begin, you must understand that there is no universal 'best' method. The effectiveness of a technique depends heavily on the age of the wallpaper, the type of adhesive used, and the material of the wall beneath it. Generally, we categorize removal into three main approaches: manual stripping with adhesive removers, mechanical removal using a wallpaper steamer, and the dry-stripping method for modern, strippable papers.
The Manual Approach: Using Adhesive Removers
This method involves applying a liquid solution—either a store-bought chemical enzyme or a homemade mixture of hot water and vinegar—to the wall. To make this effective, a scoring tool is used to create tiny perforations in the paper, allowing the liquid to reach the glue. Small details matter here; if you do not score the paper adequately, the solution will simply bead off the surface.
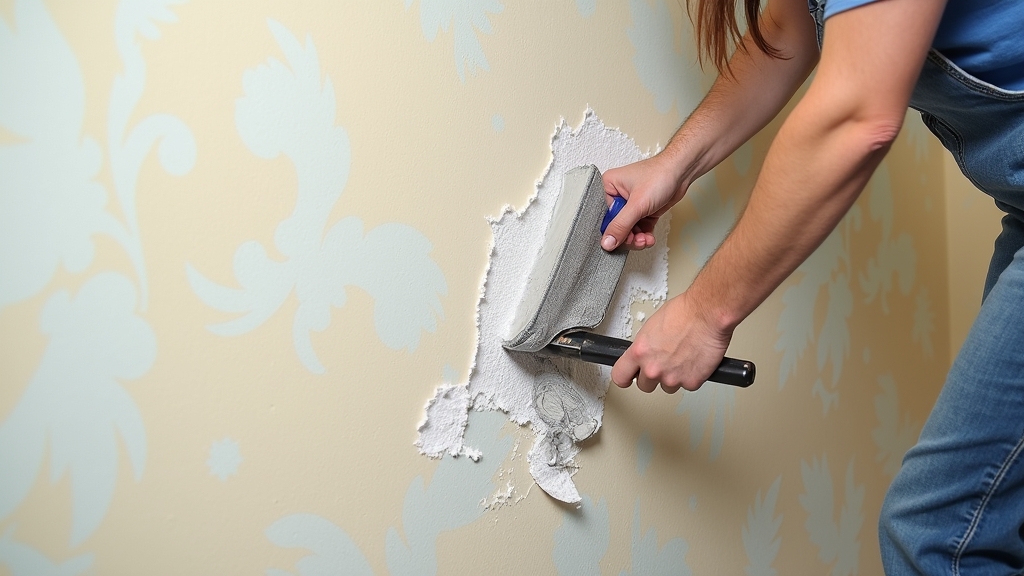
The Mechanical Approach: Using a Wallpaper Steamer
A wallpaper steamer uses boiling water to create steam, which is applied via a handheld plate. The heat and moisture work together to re-hydrate the old paste, making it pliable. This method is often preferred for stubborn, multi-layered wallpaper or very old adhesives that have hardened over decades.
Dry Stripping
Some modern wallpapers are designed to be 'strippable.' This means they can be pulled away from the wall without the need for water or chemicals. However, even with strippable paper, a thin layer of adhesive residue usually remains, requiring a final cleaning phase.
Detailed Comparison: Pros and Cons
Adhesive Removers and Scoring Tools
Pros: This method is generally inexpensive and does not require heavy equipment. It is highly effective for single layers of paper and is relatively safe for drywall if the water intake is monitored. Trust your instincts on this one; if the paper isn't moving after a few minutes of soaking, you may need a stronger solution or more frequent scoring.
Cons: It is physically demanding and can be very messy. The chemicals can sometimes have a strong odor, and the scoring tool, if used too aggressively, can damage the underlying wall surface, leading to more wall prep later.
Wallpaper Steamers
Pros: Steamers are incredibly powerful. They can penetrate several layers of paper and paint that would otherwise be impervious to liquid removers. Because they use only water, they are an eco-friendly choice that avoids chemical fumes.
Cons: Steamers can be dangerous if not handled with care, as the steam can cause burns. They also introduce a significant amount of moisture into the room, which can potentially damage the paper facing of drywall if left in one spot for too long. Additionally, renting or buying a steamer adds to the project cost.
Cost Comparison
When evaluating costs, consider both your budget and the value of your time. Manual stripping is the most budget-friendly, requiring only a scoring tool (usually under $10) and a bottle of adhesive remover or a bucket of hot water and vinegar. A wallpaper steamer can be rented for a daily fee (typically $25-$50) or purchased for $50-$150. While the upfront cost of steaming is higher, the time saved on a large room can justify the expense. Do not rush the process of choosing; assess the total square footage before committing to a method.
Best Use Cases for Each Method
When to Use Adhesive Removers
- Small rooms or accent walls.
- Newer wallpaper applied over a properly primed surface.
- Situations where you want to minimize the risk of steam-related moisture damage.
When to Use a Wallpaper Steamer
- Removing multiple layers of wallpaper.
- Dealing with wallpaper that has been painted over.
- Large-scale projects where manual scraping would be exhausting.
- Old plaster walls that can withstand higher heat and moisture levels.
Essential Wall Prep After Removal
Once the paper is off, your work is not quite finished. Wall prep is the most critical step for ensuring your next finish—whether paint or new wallpaper—looks professional. Use a sponge and warm water to remove any lingering adhesive residue. If the glue is stubborn, a light sanding once the wall is completely dry can help. Inspect the surface for any gouges caused by the scoring tool or scraper. Applying a small amount of joint compound and sanding it smooth will make a world of difference. It is worth doing right the first time to avoid seeing imperfections through your new decor.
Final Recommendation
For the average homeowner tackling a standard room, I recommend starting with a manual adhesive remover and a high-quality scoring tool. It offers the best balance of control and cost. However, if you find that the paper is not budging after a thorough soaking, do not force it. Transitioning to a wallpaper steamer is the professional move when resistance is high. Remember, every wall is different; trust your instincts and adjust your strategy as you learn how the adhesive reacts to your efforts.


