Understanding Why Laminate Floor Gaps Appear
In most homes, laminate flooring is installed as a "floating floor." This means the boards are not nailed or glued to the subfloor. Instead, they click together and rest on an underlayment. While this makes installation easier, it also means the floor expands and contracts with changes in temperature and humidity. Over the years, I have learned that gaps usually appear during the winter when the air is dry, causing the wood fibers to shrink slightly.
The real issue usually is that one board has lost its grip on its neighbor. Once a gap starts, it tends to grow because dirt and debris fall into the space, preventing the boards from naturally closing back up when humidity returns. From experience, simply filling floor board gaps with putty is a mistake. It looks terrible and eventually cracks. The goal is clicking laminate back together to restore the structural integrity of the floor.
Tools and Materials Needed for the Fix
What works best is having the right leverage. You do not need to tear up the whole floor to fix a gap in the middle of the room. Here is what I keep in my maintenance kit:
- Laminate floor gap fixer: This is a specialized tool with a suction cup and a striking surface.
- Double-sided carpet tape and a wood block: A great DIY alternative if you do not want to buy a dedicated tool.
- Rubber mallet: Essential for providing force without damaging the boards.
- Vacuum with a crevice tool: To remove debris from the gap.
- Wood glue (optional): A small amount can help keep the joint closed permanently.
- Microfiber cloth and glass cleaner: To ensure a clean surface for suction.
Preparation: Cleaning the Gap
One thing many people overlook is the debris inside the gap. If you try to force two boards together while there is grit or pet hair between them, they will never click shut. In my experience, this is the number one reason why repairs fail after just a few weeks.
Start by vacuuming the gap thoroughly. If the gap has been there for a long time, use a thin toothpick or a needle to gently scrape out any compacted dust. After vacuuming, clean the surface of the laminate boards where you will be attaching your tools. Any oils or floor wax will prevent the suction cup or tape from grabbing properly.
Step-by-Step: Clicking Laminate Back Together
A common situation is finding a gap in the middle of a high-traffic hallway. Here is how to fix it using the suction method, which is the cleanest and most effective way I have found.
Method 1: Using a Laminate Floor Gap Fixer
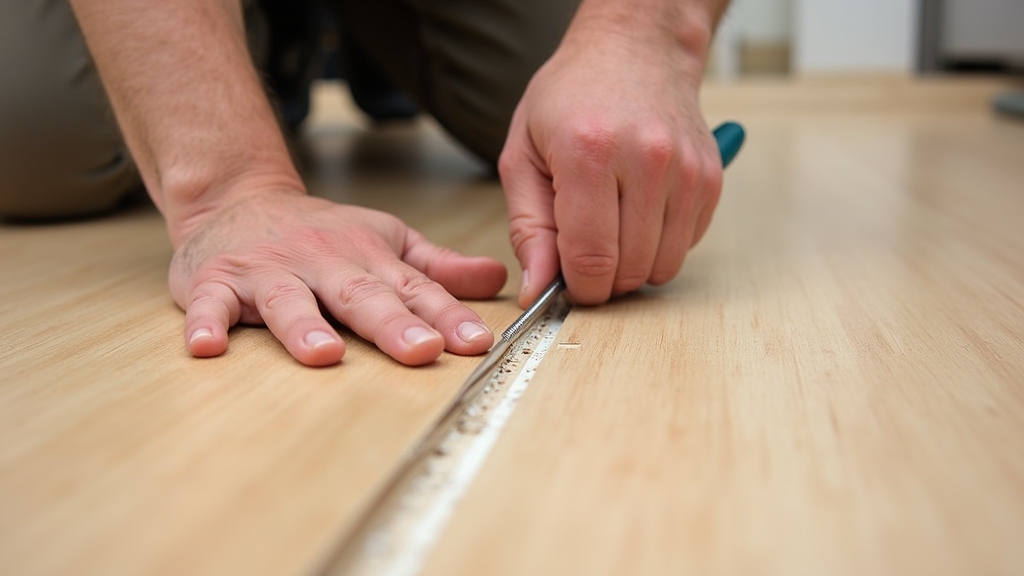
1. Position the tool: Place the suction cup tool on the board that has moved, about two inches away from the gap. Ensure the handle is locked down tight.
2. Apply a drop of glue: This is a pro tip. If you want the fix to last, put a tiny bead of wood glue on the exposed tongue of the gap. When you slide the boards together, this will act as an insurance policy against future movement.
3. Strike the block: Use your rubber mallet to hit the striking block of the tool in the direction of the gap. Use firm, controlled swings. You should see the board slowly creep toward its neighbor.
4. Check the seal: Continue tapping until the gap is completely closed. If the board is stubborn, check to see if it is hitting the baseboard at the other end of the room.
Method 2: The Double-Sided Tape Technique
If you do not have a professional tool, you can create one. Take a scrap piece of 2x4 wood (about 6 inches long). Apply high-quality double-sided carpet tape to one side. Press this firmly onto the laminate board you need to move. Stand on the block to ensure it is stuck well, then hit the side of the block with your mallet. This transfers the force to the floorboard without damaging the finish. When finished, peel the block off slowly to avoid leaving adhesive residue.
Tips for Long-Lasting Results
What I have found is that floor movement is often a symptom of a larger problem. Here are three ways to ensure your repair lasts:
- Check your expansion gaps: Laminate needs a 1/4 to 1/2 inch gap around the perimeter of the room, hidden under the baseboards. If the floor is tight against a wall, it has nowhere to go but up or apart.
- Monitor humidity: Try to keep your home between 35% and 55% humidity. Using a humidifier in the winter prevents the boards from shrinking excessively.
- Glue the problem areas: If a specific board keeps sliding out of place, it likely has a broken locking tab. In this case, applying wood glue inside the groove before clicking it back together is the only permanent solution.
Troubleshooting Common Issues
Sometimes the board simply won't budge. In my experience, this usually happens for one of two reasons. First, the board might be pinned down by something heavy, like a kitchen island or a heavy bookshelf. If a heavy object is sitting on one end of the floor, the boards cannot slide freely.
Second, the "tongue and groove" might be damaged. If you see pieces of particleboard sticking out of the gap, the locking mechanism is broken. You can still slide it back together, but you must use glue, as the mechanical lock is gone. If the gap keeps reappearing at the end of a row, check the "pull bar" at the wall. You may need to remove the baseboard and use a flooring pull bar to tighten the entire row from the edge of the room.


