After a decade of walking through thousands of residential homes, I can tell you that a squeaky floor is more than just a nuisance; it’s a cry for help from your home’s structural assembly. Most homeowners assume the wood is simply old, but the reality is usually mechanical: wood rubbing against wood, or a nail that has lost its grip and is sliding in and out of a joist. Here is the thing—the sound you hear is friction, and our goal is to eliminate that movement permanently.
Understanding the Source of the Squeak
Before you grab a drill, you need to play detective. Squeaks typically occur because of seasonal humidity changes causing wood expansion/contraction, subfloor gaps, or poor initial construction. Now, the important part: you must identify if the noise is coming from the finished floor rubbing against the subfloor, or the subfloor rubbing against the floor joists. Walking slowly and marking the exact spots with painter’s tape is the first step most people rush through, leading to a dozen unnecessary holes in their hardwood.
Essential Tools and Materials
- Squeeeeek No More Kit: Essential for carpeted areas (uses breakaway screws).
- Counter-snap screws: For hardwood floors to minimize visible damage.
- Wood glue or construction adhesive: For subfloor gaps accessible from below.
- Wood shims: To fill gaps between joists and subflooring.
- Stud finder: To locate the center of the floor joists.
- Power drill and specialized bits.
- Graphite lubricant: For minor surface friction between floorboards.
Preparation Steps for a Silent Fix
Preparation determines whether your fix lasts a season or a lifetime. Start by clearing the room of furniture. What most people miss is checking the humidity levels in the home. If your home is exceptionally dry (common in winter), the wood has shrunk. If you fix it now without addressing the humidity, the wood may buckle when the summer humidity returns. Aim for a consistent 35-55% humidity level before performing permanent repairs.
Locating the Joists
Finding the floor joists is non-negotiable. If you drive a screw into the subfloor but miss the joist, you haven't solved the problem; you've just added a new piece of metal to vibrate. Use a high-quality stud finder or the "tap test" with a rubber mallet. A dull thud indicates a joist, while a hollow ring indicates empty space.
Step-by-Step Instructions for Different Floor Types
Fixing Hardwood Floors from Above
If you don't have access to the basement or crawlspace, you'll have to work from the top. This is where it gets interesting: you don't actually need to leave massive screw heads showing. Use a counter-snap screw system. Drill a pilot hole through the hardwood and into the joist. Drive the specialized screw through the provided depth-control fixture. The screw will snap off below the surface of the wood. Fill the tiny hole with a matching wood putty, and the repair becomes virtually invisible.
Silencing Carpeted Floors
Carpeted floors are actually easier to fix because the carpet hides the repair. Using a tool like the "Squeeeeek No More" system, you drive a screw through the carpet and pad into the joist. The screw has a specific unthreaded section that allows it to snap off below the subfloor level. The good news is that the carpet fibers will close up over the entry point, leaving no trace of the work.
Fixing from Below: The Best Method
If you have an unfinished basement, you have the "golden ticket" of floor repair. Have someone walk on the floor above while you watch the joists. If you see the subfloor moving independently of the joist, you have a gap. On the other hand, don't just hammer a shim in as hard as you can. If you over-drive a shim, you will actually lift the floor and create new squeaks elsewhere. Apply construction adhesive to a thin wood shim and slide it gently into the gap until it’s snug.
Common Mistakes to Avoid
In my experience, the biggest mistake is using standard drywall screws. Drywall screws are brittle and will snap under the shear force of a shifting floor. Always use flooring screws or specialized snap-off screws designed for lateral movement. Another error is neglecting the "bridging." Sometimes the squeak isn't the floor at all, but the wooden X-bracing between joists rubbing together. A single well-placed screw into the bridge connection often solves the problem faster than any floor-level intervention.
Tips for Best Results
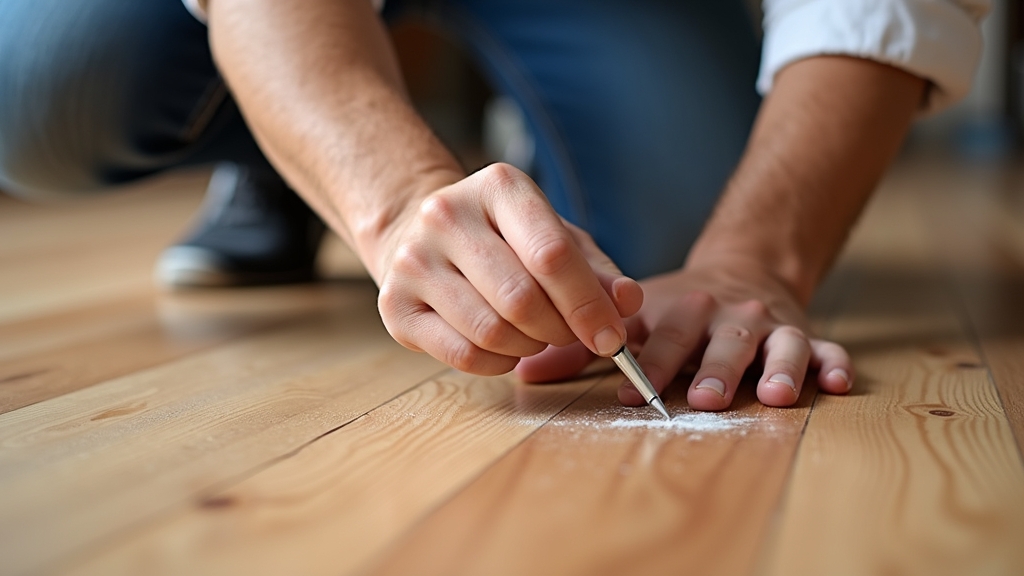
- Lubrication first: For minor squeaks in hardwood, try puffing some powdered graphite or talcum powder into the joints. Sometimes surface friction is the only culprit.
- Weight the floor: When screwing from above, have a heavy person stand on the board you are fastening to ensure it is pulled tight against the subfloor.
- Pilot holes are mandatory: Never drive a screw into hardwood without a pilot hole, or you will split the grain, turning a squeak into a replacement project.
Troubleshooting Persistent Issues
What if the squeak persists? Worth mentioning is the "sistering" technique. If a joist is warped or crown-down, it may not provide a flat surface for the subfloor. In this case, you may need to bolt a new, straight piece of lumber (a "sister") alongside the existing joist to create a level, solid nailing surface. Something to keep in mind: if you hear a "crunching" sound rather than a squeak, you might be dealing with an improperly installed underlayment or even grit caught between layers, which often requires a more invasive fix.


