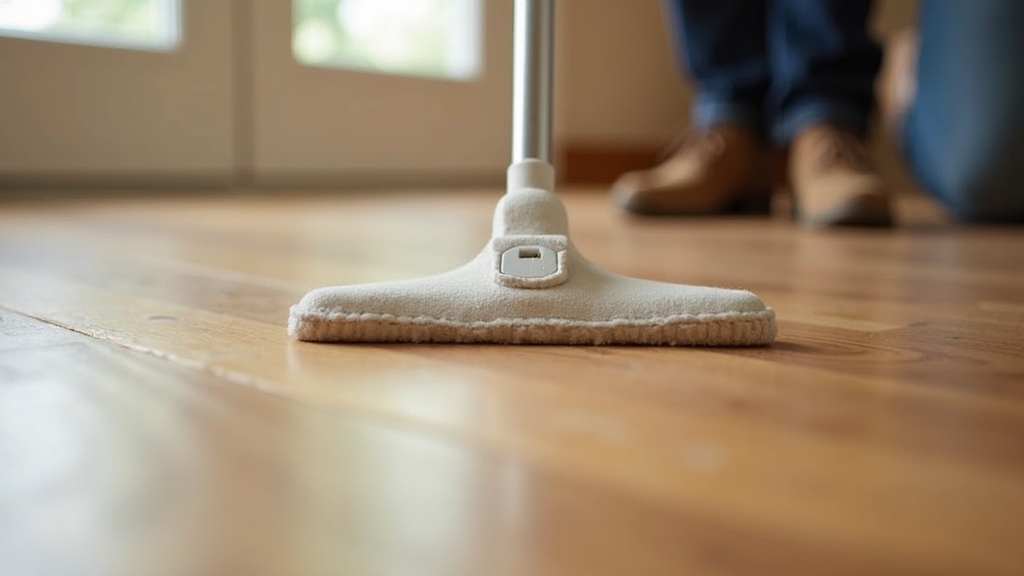
In most homes, a squeaky floor is more than just an annoyance; it is a persistent reminder of aging materials and shifting foundations. Over the years, I have managed dozens of properties, ranging from century-old Victorians to modern suburban builds. What I have found is that while almost every house develops a creak eventually, most homeowners approach the repair the wrong way. They reach for quick fixes that fail within months.
From experience, a squeaky floor isn't just 'character'—it's friction. Specifically, it's the sound of wood rubbing against wood or a nail rubbing against a floorboard. This guide will walk you through the professional methods I use to ensure a squeaky floor fix actually lasts, rather than just being a temporary band-aid.
Understanding the Root Cause
The real issue usually is a gap. When a house settles or humidity levels change, the wood joists, subflooring, and finished flooring expand and contract. This creates small spaces. When you walk across the floor, the boards deflect into those spaces, causing the friction that results in that high-pitched chirp or low-pitched groan.
One thing many people overlook is that the sound can originate from three different places: between the subfloor and the joist, between the finished floor and the subfloor, or between two pieces of the finished flooring itself. Identifying the exact source is the first step toward a permanent repair.
Tools and Materials Needed
In my experience, you cannot do this job right with just a hammer and some finishing nails. You need specific tools that address the mechanical failure of the floor structure.
- Stud Finder: A high-quality one that can detect wood through flooring.
- Squeeeeek No More Kit: This is a pro-favorite. It includes breakaway screws designed to disappear below the floor surface.
- Wood Glue or Construction Adhesive: Specifically subfloor adhesive (PL Premium is what works best).
- Wood Shims: For fixing issues from the basement or crawlspace.
- Power Drill and Drill Bits: For pre-drilling holes to prevent splitting.
- Canned Air or Vacuum: To clean out debris between floorboards.
- Weighted Objects: Such as heavy boxes or a helper to stand on the spot.
Common Mistakes to Avoid
What I have learned over the years is that 'hacks' often make the problem worse. Before we get into the steps, let's talk about what not to do.
Using Lubricants like WD-40
A common situation is a homeowner spraying lubricant into the cracks of hardwood. This is a disaster. It stains the wood, ruins the finish, and makes future refinishing impossible because the oil seeps into the grain. It might stop the sound for a week, but the friction will return as soon as the oil dries.
Relying on Baby Powder or Graphite
I’ve seen this suggested in countless 'DIY' blogs. While it can reduce friction between floorboards, it doesn’t fix the structural gap. Within a few vacuum cycles, the powder is gone, and your squeak is back. It’s a classic band-aid fix.
Driving Nails Straight Down
What works best is mechanical fastening. Old-school nails have smooth shanks. Over time, they loosen. If you just hammer a new nail next to an old one, the new one will eventually work its way out too. Always use screws, and preferably those designed to break off below the surface.
Preparation Steps: Locating the Culprit
You cannot fix what you can't find. The key thing to remember is that sound travels through wood. Where you hear the sound might not be exactly where the movement is occurring.
- The 'Walk-and-Mark' Method: Have a helper walk slowly across the floor while you are either on your hands and knees or in the crawlspace below. Mark the exact spot of the noise with blue painter's tape.
- Check for Joist Alignment: If you have access from below, watch the subfloor as someone walks above. If you see the subfloor moving independently of the joist, you've found your gap.
- Map the Joists: If you don't have access from below, use a stud finder to locate the floor joists. In most homes, joists are spaced 16 inches apart. Marking these is vital because any screw you drive must bite into the joist to hold long-term.
Detailed Step-by-Step Instructions
Method 1: The Below-Floor Fix (Best Results)
If you have an unfinished basement or crawlspace, this is the gold standard for floor repair. It’s invisible and permanent.
- Identify the Gap: Locate the space between the joist and subfloor.
- The Shim Technique: Spread wood glue on a thin cedar shim and gently tap it into the gap. Do not drive it in hard, or you will lift the floor and create a hump. You just want to fill the void.
- The Sistering Method: If the joist is warped, screw a short piece of 2x4 (a 'sister') alongside the joist, tight against the subfloor, and secure it with construction adhesive and screws.
- Use Squeak-Fix Brackets: There are commercial brackets (like Squeak-Relief) that pull the subfloor down to the joist using a screw mechanism. These are incredibly effective for stubborn gaps.
Method 2: Hardwood Floors from Above
When you can't get underneath, you have to go through the finish. This scares people, but it’s manageable.
- Locate the Joist: You must anchor into the joist. Screwing only into the subfloor rarely lasts.
- Pre-drill: Drill a pilot hole slightly smaller than your screw. This prevents the hardwood from splitting.
- The Breakaway Screw: Use a 'Squeeeeek No More' screw. These have a scored section. You drive the screw through a provided tripod tool, and once it hits the depth stop, you snap the head off.
- Fill the Hole: Use a matching wood fillet or wood putty to hide the tiny hole left behind.
Method 3: Carpeted Floors
This is actually the easiest squeaky floor fix because the carpet hides your work.
- Find the Joist: Use a thin bit or a dedicated joist-finding tool to poke through the carpet nap.
- Drive the Screw: Drive the breakaway screw directly through the carpet. The threads are designed not to catch the carpet fibers.
- Snap and Disappear: Snap the head off. The carpet nap will cover the remaining hole completely.
Tips for Best Results
From experience, I have found that temperature matters. If you fix a floor in the dead of winter when the air is dry, the wood might expand in the summer and create new stresses. Ideally, perform these repairs when the humidity is at a 'normal' middle ground for your region.
Another pro tip: Always use more than one screw. If a section of the subfloor is loose, one screw acts as a pivot point. Using two or three screws in a triangular pattern distributes the load and prevents the board from rocking.
Troubleshooting Common Issues
The Squeak Moved!
This is a common situation. You tighten one area, and the 'stress' moves to the next weak nail. If the squeak seems to migrate, it means your subfloor was improperly nailed during construction. You may need to follow the joist line and add a screw every 12 inches to fully stabilize the area.
The Joist is Steel or I-Beam
In newer homes, you might encounter engineered I-joists. You can't just shim these the same way. What works best is using construction adhesive injected into the gap using a 'caulk gun needle' and then weighted down until it cures.
Conclusion
A creaky floor doesn't have to be a permanent feature of your home. By avoiding the temporary 'hacks' like powders and oils and focusing on the mechanical connection between your flooring and the joists, you can achieve a silent home. Remember, the key is to stop the movement. If it doesn't move, it can't squeak.


