Why Exterior Trim Maintenance Matters
Exterior trim does more than just frame your windows and doors. From an energy efficiency perspective, well-maintained trim acts as a vital seal against the elements. When paint cracks or peels, moisture finds its way into the wood, leading to structural damage and energy loss. Taking the time to touch up your trim now prevents expensive repairs later. Small details matter here; a tiny gap in the paint can eventually lead to significant wood rot.
Assessing the Damage: Wood Rot and Peeling Paint
Before you buy supplies, walk around your home. Look for signs of wear such as flaking paint, discoloration, or soft spots in the wood. Wood rot is the primary enemy of exterior trim. You can test for it by gently pressing a flat-head screwdriver against suspicious areas. If the wood feels soft or spongy, you are dealing with rot. It is worth doing right the first time, so do not simply paint over soft wood. You must replace the damaged section or use a wood hardener and filler before proceeding.
The Role of Priming Trim
Many homeowners skip priming to save time, but this is a mistake. Priming trim creates a stable surface for the outdoor paint to bond to. It seals the wood grain and prevents tannins from bleeding through the finish. If you are touching up bare wood or areas where you have scraped away old paint, a high-quality primer is mandatory. Take your time with this step to ensure a long-lasting finish.
Option 1: The DIY Touch-Up
For minor scuffs and small areas of peeling, a DIY approach is the most cost-effective. You likely already have some of the necessary tools, such as a ladder or a scraper. The DIY route allows you to control the quality of the materials used and focus on the small details that professionals might overlook in a rush.
Pros of DIY
- Significantly lower cost.
- Flexible schedule; you can work on one side of the house at a time.
- Direct control over the quality of prep work.
Cons of DIY
- Time-intensive, especially for multi-story homes.
- Safety risks associated with ladder work.
- Potential for an uneven finish if you lack experience.
Option 2: Hiring a Professional
If your home has extensive trim or high peaks that are difficult to reach, hiring a professional might be the safer choice. Professionals have the equipment to reach difficult areas quickly and safely. However, this comes with a much higher price tag due to labor and insurance costs.
Pros of Professional Help
- Faster completion time.
- Higher quality finish on difficult-to-reach areas.
- Includes professional equipment like sprayers and scaffolding.
Cons of Professional Help
- High labor costs.
- Scheduling may be difficult during peak seasons.
- Less control over the specific brands of paint used unless specified in the contract.
Detailed Cost Comparison
Understanding the financial commitment helps you decide which path to take. Below is a realistic cost analysis for a standard two-story home with moderate trim work needed.
DIY Cost Breakdown
- Outdoor Paint (1 Gallon): $45 - $80. High-quality acrylic latex is best.
- Primer (1 Quart): $20 - $35.
- Sandpaper and Scrapers: $15 - $25.
- Brushes and Rollers: $30 - $50.
- Wood Filler/Epoxy: $15 - $30.
- Total DIY Estimate: $125 - $220.
Professional Cost Breakdown
- Labor: $500 - $1,500 (depending on the amount of trim and height).
- Materials: $100 - $250 (often marked up by the contractor).
- Total Professional Estimate: $600 - $1,750+.
Step-By-Step: How to Touch Up Trim Correctly
If you choose to do it yourself, follow these steps. Trust your instincts on this one; if a section looks like it needs more sanding, it probably does. Do not rush the process.
Step 1: Cleaning
Remove dirt, spider webs, and bird droppings. A simple solution of water and mild detergent works well. Let the wood dry completely for at least 24 hours before moving to the next step. Painting over damp wood is a recipe for future peeling.
Step 2: Scrape and Sand
Use a paint scraper to remove loose or flaking paint. Once the loose bits are gone, use 80-grit to 120-grit sandpaper to smooth the edges between the bare wood and the remaining paint. This process, called "feathering," ensures that the touch-up isn't visible once the new paint dries.
Step 3: Prime
Apply a coat of exterior-grade primer to any bare wood. For areas prone to moisture, consider an oil-based primer, though many modern high-quality acrylic primers are equally effective. Focus on the end-grain of the wood, as this is where moisture enters most easily.
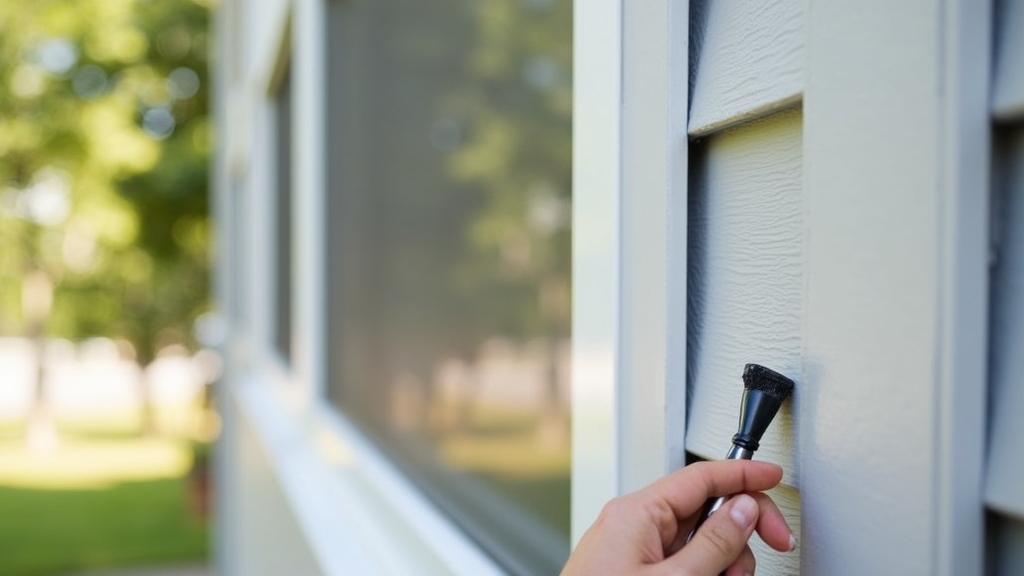
Step 4: Paint
Apply your outdoor paint in thin, even coats. Avoid overloading your brush, which leads to drips. Start from the top and work your way down. Two thin coats are always better than one thick coat. It is worth doing right the first time, so give the first coat ample time to dry according to the manufacturer's instructions.
Best Use Cases
When to DIY
You should choose the DIY route if the damage is localized to the first floor or easily accessible areas. It is also the best choice if you are on a tight budget and have a few weekends to spare. Small touch-ups around door frames and low-level windows are perfect for DIYers.
When to Call a Pro
Call a professional if you see widespread wood rot that requires structural replacement. Additionally, if your trim is located on the third story or requires specialized equipment like a boom lift, the safety risk outweighs the cost savings of doing it yourself.
Final Recommendation
For most homeowners, a hybrid approach works best. Handle the low-level curb appeal items—like the front door trim and porch railings—yourself. This allows you to focus on the small details that visitors notice. For the high-reaching soffits and fascia boards, hire a professional every 5 to 7 years to ensure the envelope of your home remains sealed. Maintaining your trim is an investment in your home's energy efficiency and structural integrity. Take your time, use quality materials, and your home will thank you for years to come.


