Elevate Your Workspace: Choosing the Right Custom Monitor Stand
In most homes, the home office has transitioned from a temporary kitchen-table setup to a permanent fixture of daily life. However, what I have found is that most people neglect the most important element of their desk: screen height. After guiding hundreds of homeowners through office renovations, I can tell you that the real issue usually isn't the desk itself, but the strain on your neck and the clutter on your surface.
A custom monitor stand—often called a desk shelf DIY project or a wood monitor riser—is the single most effective way to improve ergonomics while reclaiming lost desk space. In my experience, there are three primary ways to approach this project. Whether you want a simple weekend project or a full-width desk transformation, this guide will help you choose the method that fits your needs.
Option 1: The Minimalist Wood Monitor Riser
The minimalist riser is a classic. It’s a single platform designed to lift one screen to eye level. From experience, this is the perfect entry-level project for someone who has never touched a saw but wants a professional look.
The Build Process
This method involves a top board (the platform) and two small blocks or "feet." What works best is using a high-quality hardwood like oak or walnut. You simply cut your top board to size, sand it down, and attach the legs using wood glue and pocket holes or finish nails.
Pros and Cons
- Pros: Extremely affordable, takes up very little space, and can be completed in under two hours.
- Cons: Limited storage underneath; only supports one monitor effectively.
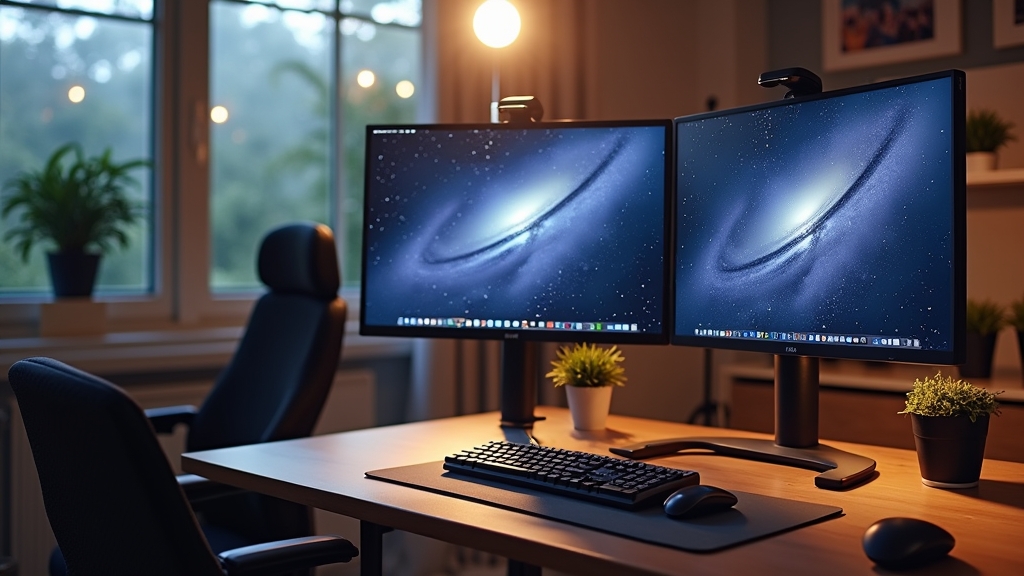
Option 2: The Full-Width Desk Shelf
A common situation is having a large desk that feels chaotic because everything is on one level. The full-width desk shelf (or "desk cockpit") spans almost the entire length of your workspace. One thing many people overlook is that this doesn't just hold your monitor; it creates a secondary layer for your speakers, notepad, and coffee.
The Build Process
Because of the span, you need to consider structural integrity. Over the years, I have learned that any span over 30 inches in wood will eventually sag under the weight of a dual monitor stand setup. To prevent this, you should add a center support leg or use a thicker 1.5-inch butcher block piece for the top shelf.
Pros and Cons
- Pros: Massive amount of under-shelf storage; looks incredibly high-end; perfect for ergonomic monitor height adjustments.
- Cons: More expensive materials; requires more precise measuring and leveling.
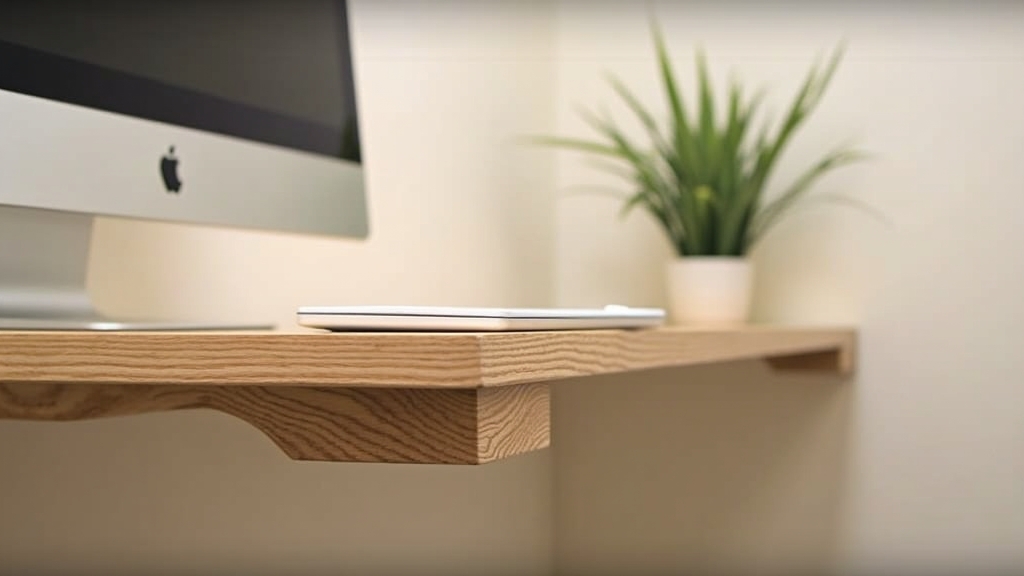
Option 3: The Integrated Floating Riser
If you are looking for a truly custom, "built-in" look, the floating riser is the way to go. This involves mounting the shelf directly to the wall behind your desk or using hidden metal brackets that attach to the back of the desk frame itself.
The Build Process
This is the most advanced method. You'll use heavy-duty floating shelf brackets. The key thing to remember here is weight distribution. Since there are no front legs, the torque on the mounting points is significant. What I’ve found is that this works best when you can drill directly into the wall studs.
Pros and Cons
- Pros: Zero footprint on the desk surface; the cleanest possible aesthetic.
- Cons: Not portable; requires drilling into walls; difficult to adjust once installed.
Detailed Cost Comparison
When planning your renovation, the budget is always a top priority. Here is how the three options generally break down:
- Minimalist Riser: $20 - $40. Primarily the cost of a small piece of wood and some sandpaper.
- Full-Width Desk Shelf: $60 - $150. Costs increase due to higher-quality wood and the need for multiple legs or specialty hardware.
- Floating Riser: $80 - $200. The cost is driven by the heavy-duty mounting hardware and wall anchors.
Best Use Cases for Each
Over the years, I have learned that the "best" option depends entirely on how you work:
- Choose the Minimalist Riser if you have a small desk or a single laptop setup. It's about function over flair.
- Choose the Full-Width Desk Shelf if you use a dual monitor stand. This is the gold standard for productivity and cable management.
- Choose the Floating Riser if you are a minimalist who wants a "clear desk" policy. It’s perfect for those who do a lot of paper-based work alongside their computer.
Final Recommendation
If you are just starting your home office journey, what works best is Option 2: The Full-Width Desk Shelf. It provides the most versatility for future upgrades. You can easily switch from one monitor to two, and the storage space underneath is a lifesaver for hiding your keyboard and mouse when you need more room on your desk. The key thing to remember is to measure your eye level before you build; your monitor should be positioned so that your eyes are level with the top third of the screen.