Creating a Functional Workspace in Limited Square Footage
In most homes, the demand for a dedicated workspace often clashes with the reality of available floor space. Whether you are living in a compact urban apartment or trying to squeeze a workstation into a multi-purpose guest room, the challenge remains the same: how to balance productivity with living space. From experience, the most effective solution is to go vertical. A wall-mounted desk, often referred to as a DIY Murphy desk, provides a stable work surface that disappears when not in use.
As someone who has spent years designing outdoor structures and functional garden features, I have found that the principles of load-bearing stability and spatial efficiency translate perfectly to interior furniture. The key thing to remember is that a folding desk is only as good as its connection to the wall. This guide will walk you through a practical, quick-fix approach to building a folding wall desk that is both sturdy and aesthetically pleasing.
Essential Tools and Materials
Before you begin, gathering the right supplies is critical for a smooth assembly. What works best is choosing high-quality hardware that can withstand the repetitive motion of folding and unfolding.
Required Materials
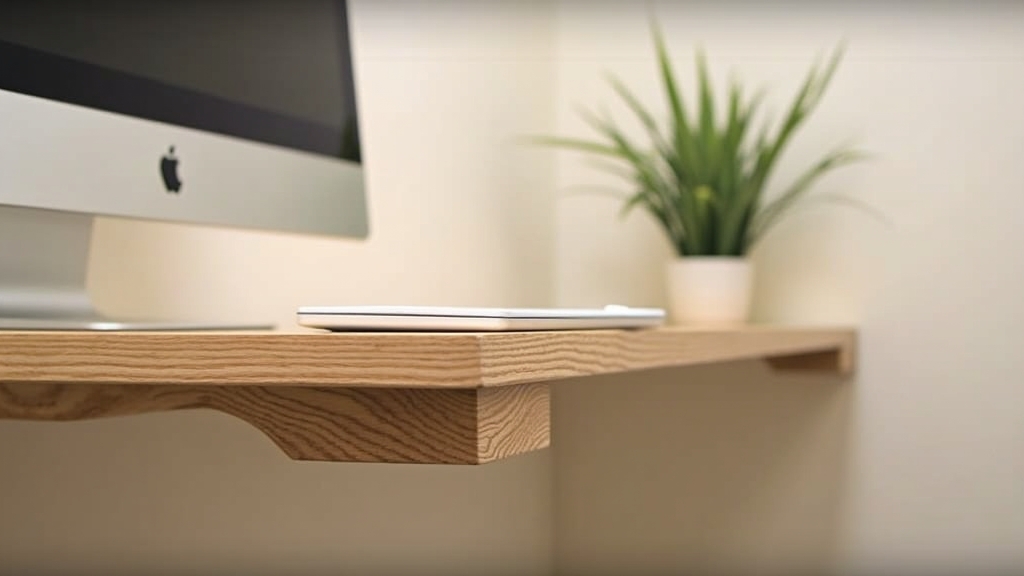
- Desktop Board: A piece of 3/4-inch plywood, butcher block, or edge-glued pine (standard size is 24" x 36").
- Ledger Board: A 1x4 or 2x4 piece of lumber, cut to the same width as your desktop.
- Hinges: Two or three heavy-duty gate hinges or a continuous piano hinge for a flush look.
- Support System: Folding shelf brackets, heavy-duty chains, or gas struts.
- Fasteners: 3-inch wood screws (for wall studs) and 1-inch screws (for the desk surface).
- Finish: Wood stain, paint, or a clear polyurethane sealant.
Necessary Tools
- Power drill and driver bits.
- Stud finder.
- Level (essential for a flat work surface).
- Measuring tape and pencil.
- Sandpaper (120 and 220 grit).
- Saw (if you need to trim your lumber to size).
Preparation Steps: Measuring and Safety
A common situation is for DIYers to start drilling before they have properly assessed the wall structure. In my experience, the most important step in any wall-mounted project is locating the studs. Relying on drywall anchors for a desk is a recipe for failure, as the leverage exerted by a person leaning on the desk can easily pull the hardware out of the wall.
Start by determining the ideal height for your desk. For most adults, a standard desk height is between 28 and 30 inches. However, one thing many people overlook is the height of the chair they intend to use. Measure your chair's seat height and ensure there is at least 10 to 12 inches of clearance for your legs. Once the height is determined, use a stud finder to mark the center of at least two studs within the area where the desk will be mounted.
Step-by-Step Instructions for Building Your Desk
1. Prepare the Desktop and Ledger
Begin by sanding your desktop board. Over the years, I have learned that spending extra time on the edges prevents snags on clothing and makes the workspace much more comfortable. Use 120-grit sandpaper for the initial pass and finish with 220-grit for a smooth surface. Cut your ledger board to the exact width of your desktop. This board will act as the stationary point on the wall that supports the hinges.
2. Mount the Ledger Board
Using your level, draw a horizontal line on the wall at your desired desk height. Align the top of the ledger board with this line. Drill pilot holes through the ledger and into the wall studs. Secure the ledger board using 3-inch wood screws. What I have found is that using a level twice—once before drilling and once after the first screw is in—ensures a perfectly flat surface.
3. Attach the Hinges to the Desktop
Lay the desktop board flat on the floor or a workbench. If you are using a piano hinge, align it along the back edge of the board. If using individual hinges, place them approximately 4 to 6 inches from each side. Pre-drill small pilot holes to avoid splitting the wood, then secure the hinges to the desktop with the appropriate screws.
4. Connect the Desktop to the Ledger
This step usually requires a second pair of hands. Hold the desktop up to the ledger board so that the hinges bridge the gap between the two. While someone holds the desk level, screw the other side of the hinges into the ledger board. The real issue usually is keeping the board steady during this process; if you are working alone, you can temporarily prop the desk up with a storage bin or a ladder.
5. Install the Support Mechanism
If you are using folding brackets, mount them to the studs beneath the ledger board and then to the underside of the desk. If you prefer the "Murphy" style with chains, attach eye hooks to the wall studs (higher than the desk) and to the sides of the desktop. Ensure the chains are taut when the desk is in the horizontal position. This provides the tension needed to keep the desk stable under weight.
Tips for Best Results and Longevity
In my experience, the difference between a "wobbly" desk and a professional-grade installation lies in the details. One thing many people overlook is the impact of humidity on wood. If your home office is in a basement or a garage-converted space, ensure you seal the wood on all sides—including the bottom—to prevent warping.
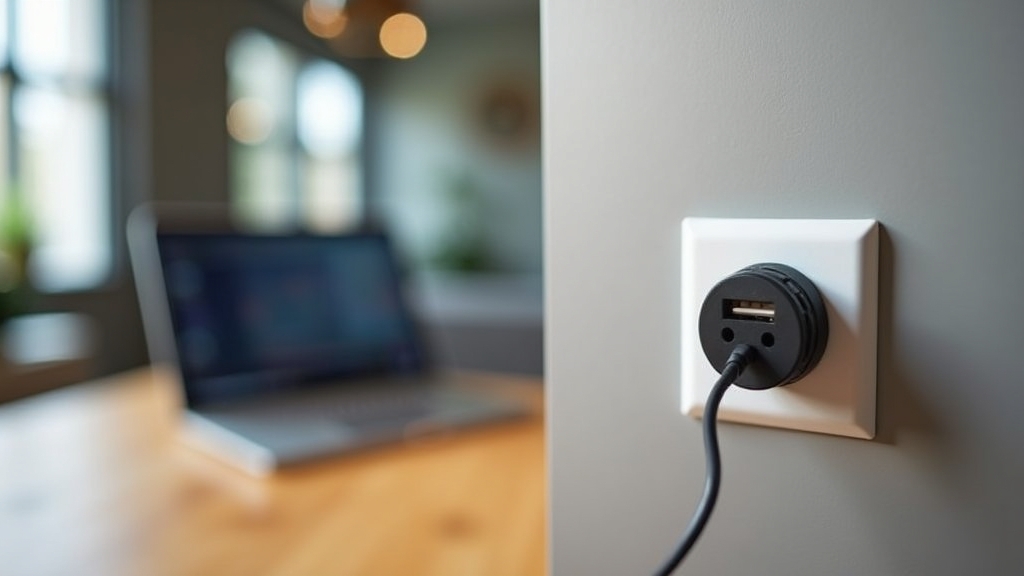
Another tip for a clean look is to incorporate cable management during the build. Drill a 2-inch hole in the corner of the desktop and install a plastic grommet. This allows you to run power cords through the desk rather than over the edge, keeping the space tidy when folded.
Troubleshooting Common Issues
The key thing to remember is that mechanical parts wear down over time. If your desk starts to sag, check the following:
- Loose Screws: Constant folding can loosen the screws in the hinges. Tighten them, or if the wood is stripped, use a larger gauge screw or a wood filler fix.
- Uneven Surface: If the desk isn't level when deployed, the wall may not be perfectly flat. You can shim the ledger board or adjust the length of the support chains/brackets to compensate.
- Wall Stress: If you notice cracks in the drywall around the ledger, the weight limit is likely being exceeded, or the screws missed the center of the stud. Re-mount the ledger into the center of the studs for better weight distribution.